32
Visit our website at http://www.globalhobby.com or for Customer Service at http://globalservices.globalhobby.com
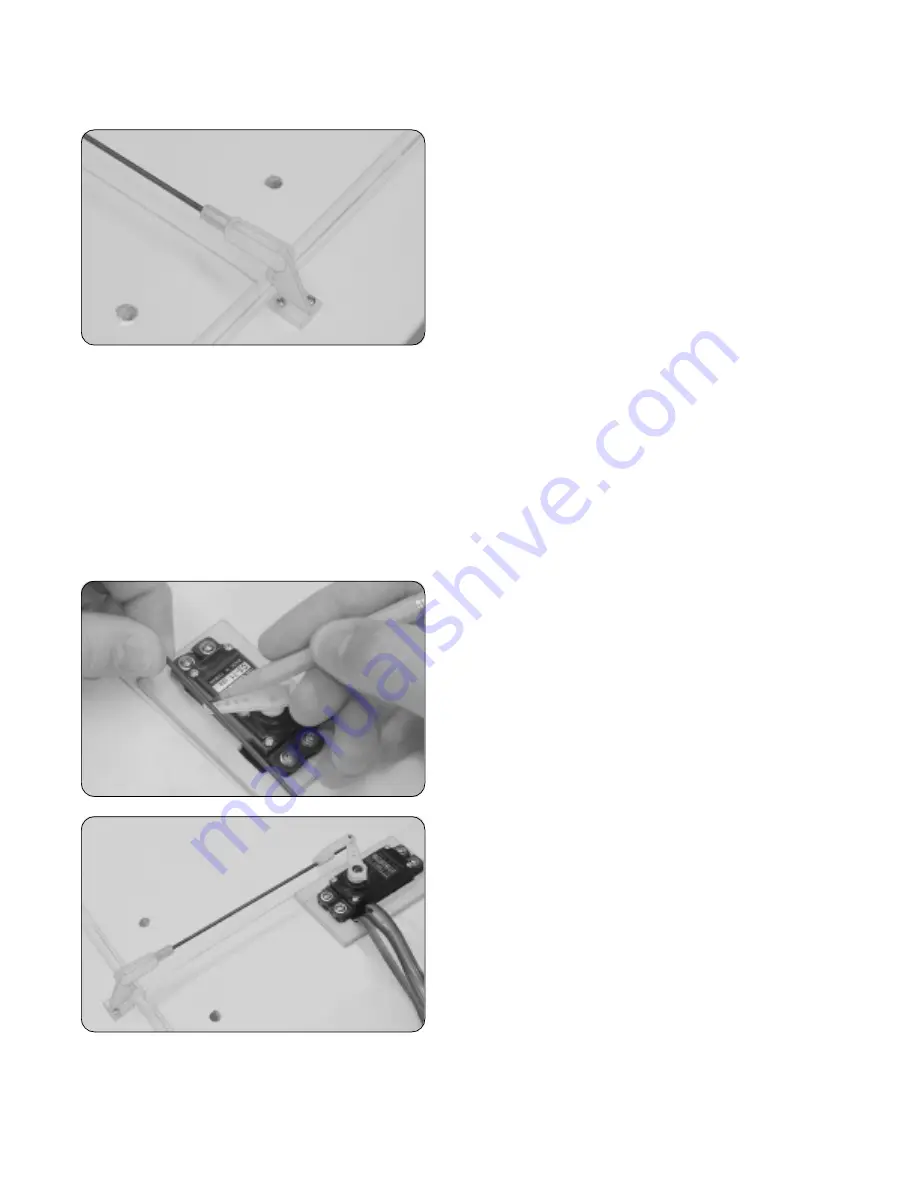
Step 2: Installing the Pushrod Assembly
❑
Thread the nylon clevis onto the pushrod wire and snap
it into the
outermost hole
in the control horn.
❑
With the center-flap servo in the "up" position, install the
servo horn onto the servo, making sure it's angled forward
about 30º.
❑
With the center-flap in neutral, use a pencil to mark where
the pushrod wire crosses the hole that you enlarged in the
servo arm.
❑
Using a pair of pliers, carefully bend the pushrod wire
down at a 90º angle at the mark you drew. Cut off the excess,
leaving 5/16" of wire beyond the bend.
❑
Secure the pushrod wire to the servo arm using the
nylon 90º snap keeper.
❑
Install and tighten the servo horn retaining screw.
IMPORTANT
You should double-check that the center-flap is aligned properly after mounting the wing to the fuselage.
With the wing mounted to the fuselage, the top of the center-flap should be firmly up against the wing saddle. If it's not,
remove the wing and make adjustments to the clevis until you're satisfied with the alignment.
IMPORTANT
If you don't plan on making the center-flap operable, please skip ahead to the photo & procedure at the top
of the next page.
❑
Using a modeling knife, cut away all but one arm from a large "4-point" servo horn.
❑
Enlarge the
fifth hole
out from the center of the servo arm using a 5/64" diameter drill bit.
❑
Connect your radio system and plug the center-flap servo lead into the receiver. Check to ensure that the servo
output shaft is rotating in the correct direction. When you move the flap switch on your transmitter into the down position,
the servo output shaft should rotate counter-clockwise. If it doesn't, flip the servo reversing switch on your transmitter.
❑
Use several pieces of masking tape to hold the center-flap in the neutral position.


