


Introduction
29
1
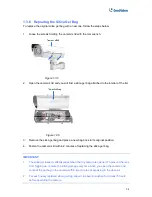
1.3.4 Device Installation
1.3.4.1 Installation Guidelines
To produce quality image and to avoid software recognition errors, make sure you adhere to the
guidelines when installing your GV-LPC1100. See
GV-LPR Camera Installation Guide
.
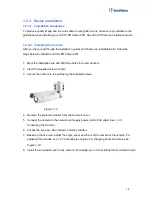
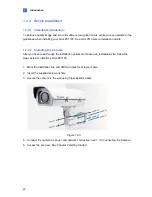
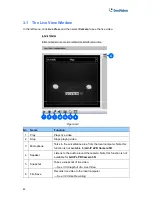
1.3.4.2 Installing the Camera
After you have read through the installation guides and chosen an installation site, follow the
steps below to install the GV-LPC1100.
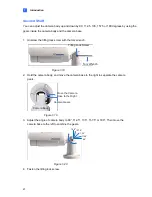
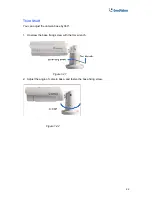
1. Mark the installation site and drill four holes for screw anchors.
2. Insert the supplied screw anchors.
3. Secure the camera to the wall using the supplied screws.
Figure 1-28
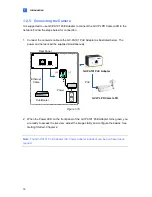
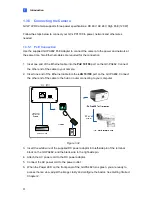
4. Connect the camera for power and network connection. See
1.3.5 Connecting the Camera
.
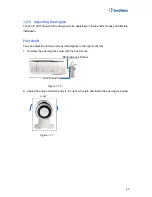
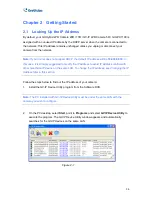
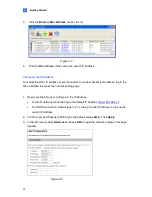
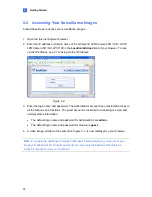
5. Access the live view. See
Chapter 2 Getting Started
.