172
7.4 Remote Monitoring with E-Map
You can use the Remote E-Map to monitor and manage the camera.
7.4.1 Creating an E-Map for the IP Camera
With the E-Map Editor, you can create an E-Map for the camera. The E-Map Editor is
available in the two applications: Main System and E-Map Server. The following is an
example of running the E-Map Editor included in the Main System.
1. Go to Windows
Start
menu, point to
Programs
, select
GV folder
and click
E-Map Editor
.
2. To create an E-Map, click the
Add Map
button on the toolbar. A New Map file appears.
3. Double-click the New Map file, and click the
Load Map
button on the toolbar to import a
graphic file.
3. To create a host, click the
Add Host
button on the toolbar and select
Add Camera
.
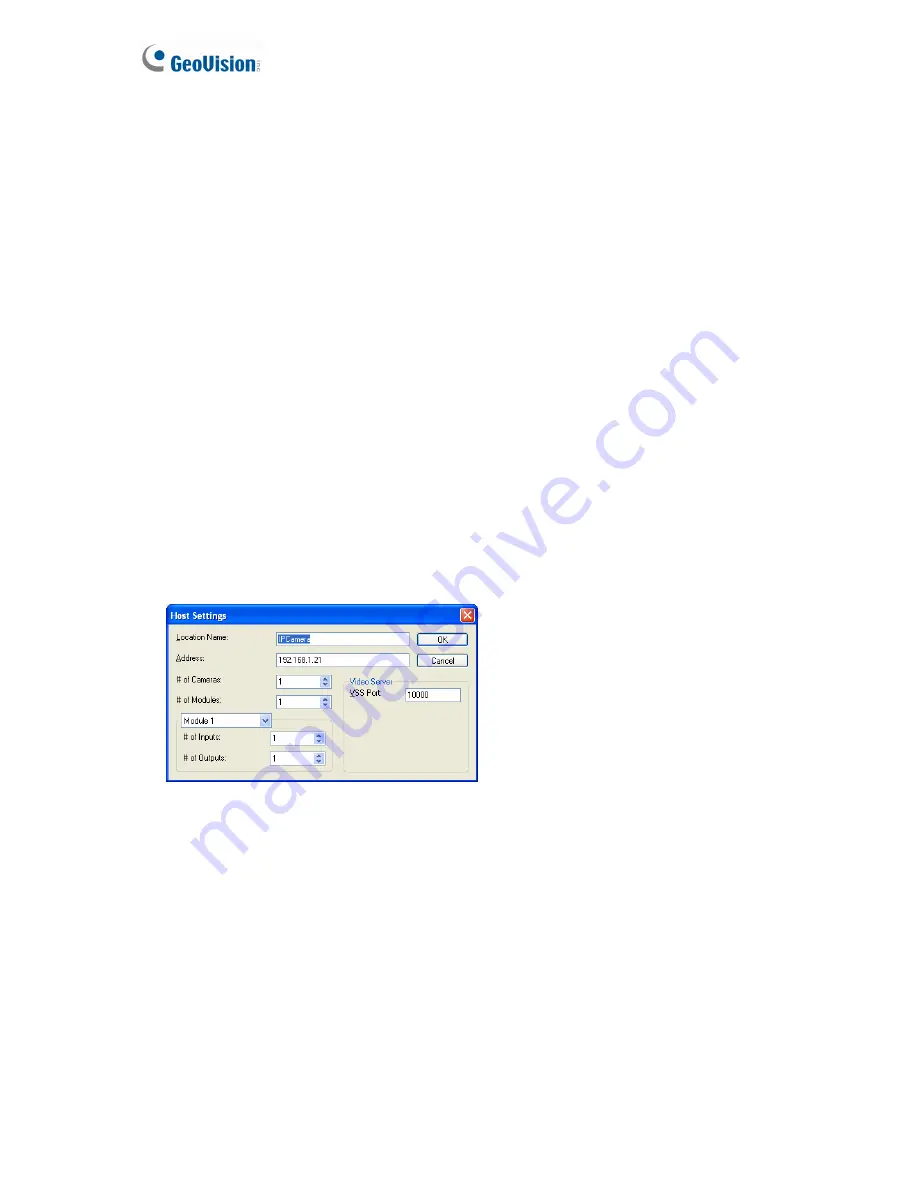
4. Right-click the created New Host in the Host View, and select
Host Settings
.
This dialog
box appears.
Figure 7-12
4. Give the camera a location name, and type its IP address (or domain name). Modify the
default VSS port
10000
if necessary.
5. Click
OK
to save the settings.
6. Expand the created host folder. Drag and drop the icons of cameras and I/O devices
onto the imported E-Map.
7. Close the E-Map Editor. Click
Yes
when you are promoted to save the file.
For details on creating an E-Map file on the E-Map Server, see “E-Map Server”,
E-Map
Application
,
DVR
User’s Manual
on the Surveillance System Software DVD.


