○
○
○
○
○
○
○
○
○
○
○
○
○
○
○
○
○
○
○
○
○
○
○
○
○
○
○
○
○
○
Sample Mode 4•7
You must assign unique and specific regions of the keyboard to
each sample in the list before you will be able to save your multi-
sample. When you’ve finished assigning all samples in the list,
press ESCAPE to return the main SAMPLE TRANSLATOR
screen.
If you assigned every sample correctly then you should see a
small check mark at the extreme right of each sample name in
the list. If this is the case, you can press STORE and select a
name and destination for your new sound.
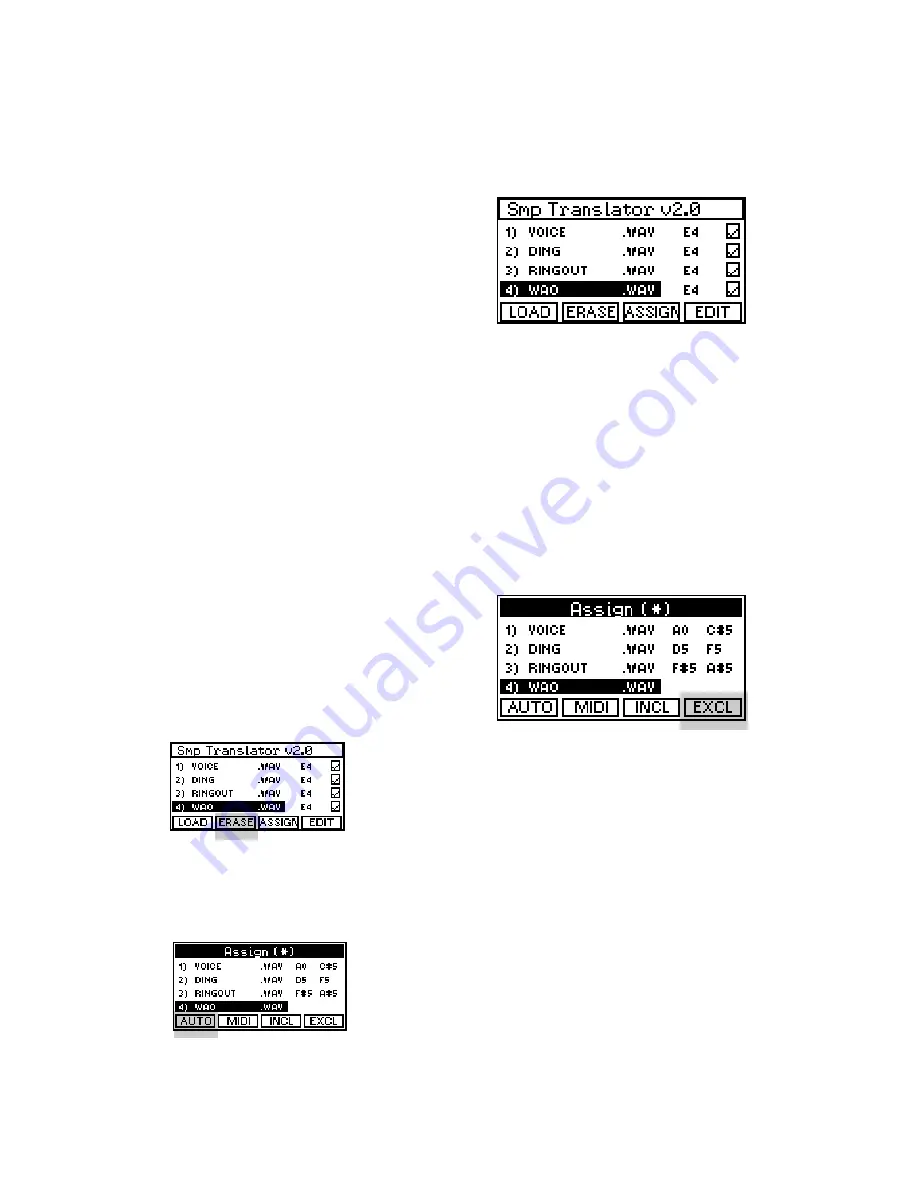
Other assign functions
If you wish to temporarily remove a sample from the assigned
group, press the EXCLUDE button, (F4).
This sample will either need to be re-assigned later or it must be
erased from the group, (using the ERASE button, (F2) from the
main SAMPLE TRANSLATOR screen), before you will be able
to save your multi-sample.
Another very useful function in the assign menu is the AUTO
button, (F1). This will prepare a “rough key map” for you by auto-
matically assigning each of the samples in the list to it’s own
separate range of keys. It arranges the samples in order accord-
ing to the source note of each sample, (the key on the keyboard
which plays back the sample at it’s original pitch) or, if the source
pitches are the same, the order of the samples in the list. To use
this function, simply go to the assign menu after loading your
samples and press the AUTO button.
Summary of Contents for 271221
Page 2: ......
Page 3: ...Cod 271221 English Owner s manual...
Page 52: ...1 28 User Guide...
Page 62: ...2 10 User Guide...
Page 86: ...5 8 User Guide...
Page 114: ...8 10 User Guide...
Page 124: ...9 10 User Guide...
Page 132: ...10 8 User Guide...
Page 186: ...14 2 User Guide...
Page 213: ...Tables A 27...
Page 216: ...A 30 Appendix...


