April 2009
7-20
Programming Meter Settings
Setting up User Tables (cont.)
3.
The next step is to create a Table ID.
a.
Press
[ENTER]
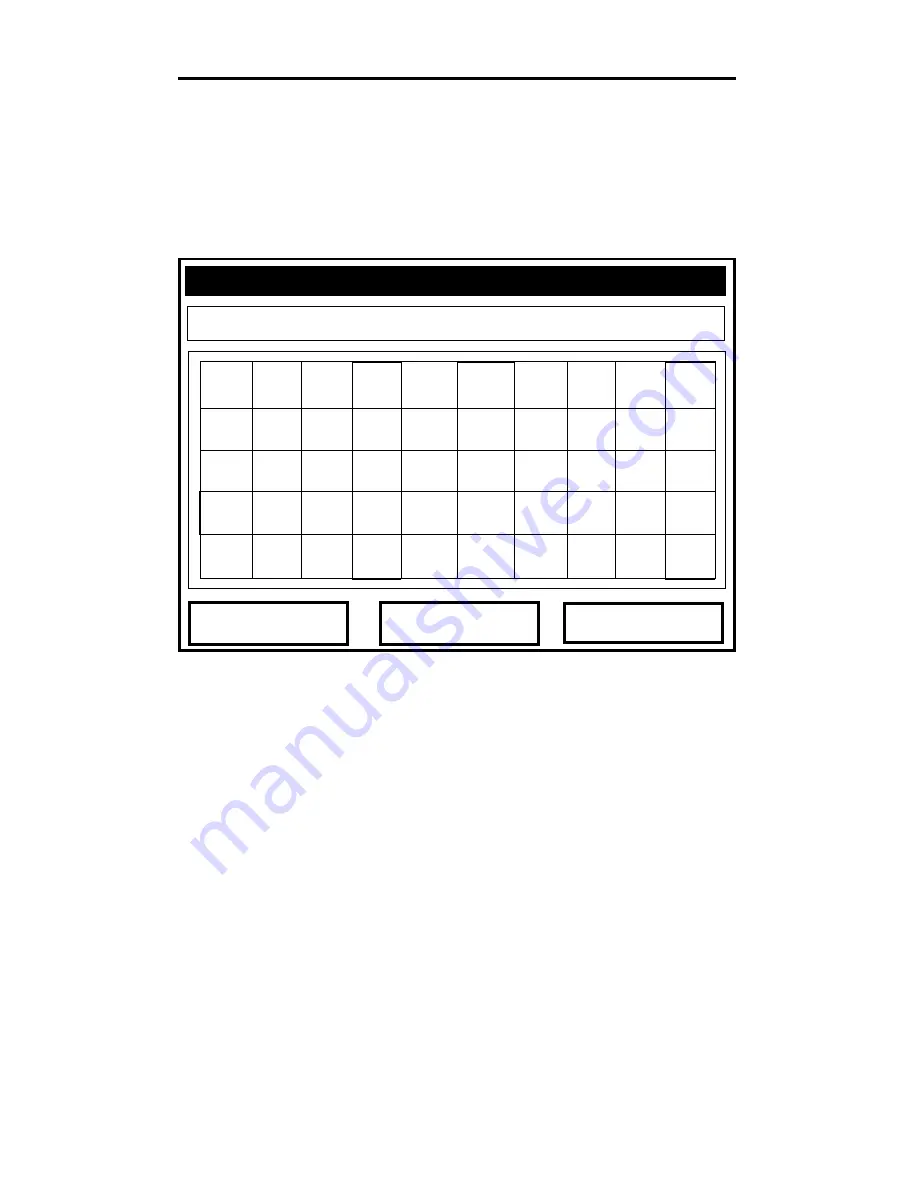
to open the window. The screen now appears
similar to Figure 7-9 below.
Figure 7-9: The Text Creation Window
b.
Use the four arrow keys to scroll to the desired letter or
symbol, and press
[ENTER]
to add the letter to the label.
Note:
Pressing
[SEL]
causes the screen to alternate between a
set of upper-case (capital) letters and a set of symbols.
Use both screens to create the desired label.
c.
Repeat this procedure for each letter or symbol you wish to
add to the label. (The Table ID window can display up to
15 characters.) If you wish to delete a letter, press
[F1]
(Delete) to erase each letter or symbol, from right to left on
the label.
d.
When you have completed the label, press
[F3]
(OK) to
confirm the label, or
[F2]
(Cancel) to leave the window
without adding the label.
Delete
Cancel
OK
UserTable1
A B C D E F G H I J
K L M N O P Q R S T
U V W X Y Z 0 1 2 3
4 5 6 7 8 9 . , “ ‘
= < >


