GE M
EDICAL
S
YSTEMS
D
IRECTION
5184024-100, R
EVISION
5
LOGIQ
WORKS
® B
ASIC
S
ERVICE
M
ANUAL
4-18
Section 4-3 - System Check
3.) Enter the "AE Title" and the "Port Number" in the "Properties" section.
4.) Choose the "Dicom Query/Retrieve" entry from the text field above.
5.) Enter the "AE Title" and the "Port Number" in the "Properties" section.
6.) Choose the "Dicom Storage Commitment" entry from the text field above.
7.) Enter the "AE Title" and the "Port Number" in the "Properties" section
5.) Choose the "Dataflow" tab.
1.) Choose a dataflow from the list.
2.) Enter the "Name" in the "Properties" section.
3.) Choose a entry in the "Default Dataflow" field.
4.) Choose a "Dataflow View" from the list and add with <<.
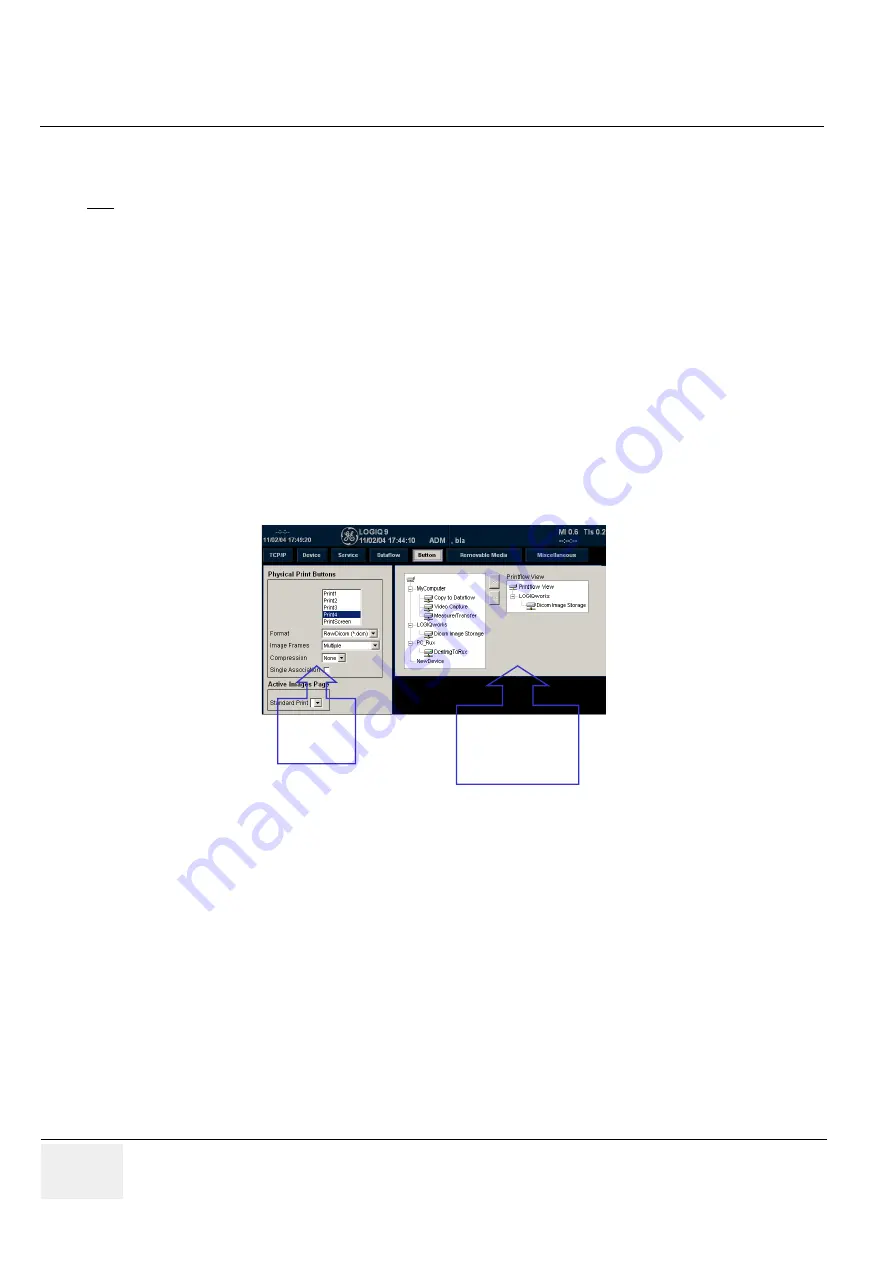
6.) Choose the "Button" tab.
7.) Do as described below:
4-3-4
Verification of the installation
To verify the correct installation of the TRUAccess Plug-In 2.0.2 or 3.0 do this:
1.) Start RA 600 and import an image from the database.
2.) Open an image.
3.) Start the TRUAccess Plug-In for the image from the context menu.
4.) Choose the Plug-In tool panel.
5.) Click on “Settings”.
6.) Click on “Utility”.
7.) Open the “About” tab. If “Version 2.0.2” or “Version 3.0” is displayed in the “Software version” field
the Plug-In is successfully installed.
NOTE
For LOGIQ 7 the AE Title has always to begin with "AE_" otherwise the images can not be transferred.
Figure 4-18 Configuring the scanner
Assume
entries
Select LOGIQWorks
and assume it with
>>
in the Printflow View


