CyberDome II
User Manual
40
You have now disabled passwords. Anyone will be able to access the camera’s programming without a
password.
Installation date
To customize your installation date, do the following:
1. From the
Program select menu 2
screen, press
2
. The
Password protection
screen displays.
2. Using the joystick, pan right to proceed past the
Password protection
screen. The
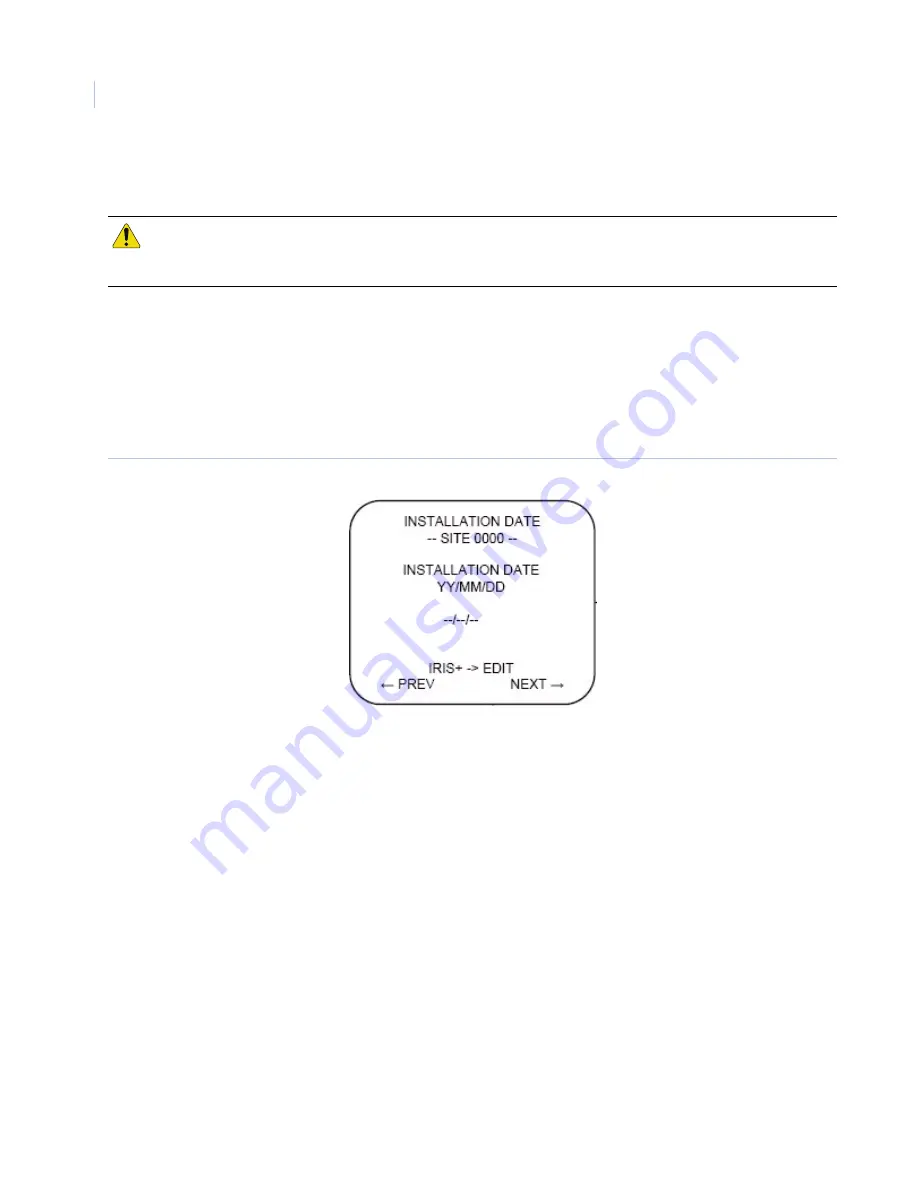
Installation date
menu displays (
Figure 54
).
Figure 54. Installation date menu
3. Press
iris +
to edit the date.
4. Using the joystick to navigate the number selection string, enter the desired installation date in
YY/
MM/DD
format.
5. Once you have verified that it is the correct date, press
iris +
again to save the date.
Note:
Once set the installation date cannot be erased.
Power up actions
You can set the CyberDome II to do a certain actions when it is first powered up. To set a power up action, do
the following:
1. From the
Program select menu 2
screen (
Figure 48
on page 37), select
2
. The
Password protection
screen displays (
Figure 52
on page 39).
2. Using the joystick, navigate to right to proceed past the
Password protection
screen, and then again to
pass the
Installation date
screen.
3. Choose the action you want the camera to take when it first powers up.
•
Select
1
for none, or no actions.
CAUTION:
If you change the password from the default, when you select
Password disable
, the password is changed
back to the default automatically. So, if you ever reenable passwords, make sure to change the password
again, or remember that the password is the default password (3477).
Summary of Contents for CyberDome II
Page 1: ...CyberDome II User Manual ...
Page 6: ...CyberDome II User Manual vi ...
Page 8: ...CyberDome II User Manual viii ...
Page 50: ...CyberDome II User Manual 42 ...
Page 54: ...CyberDome II User Manual 46 ...
Page 58: ...CyberDome II User Manual 50 ...


