User Manual 2056
MAN10xxx-01 6
2 While holding down the TEAR key, turn on the printer. The Paper Out and ONLINE LEDs
blink which indicates the printer is out of paper.
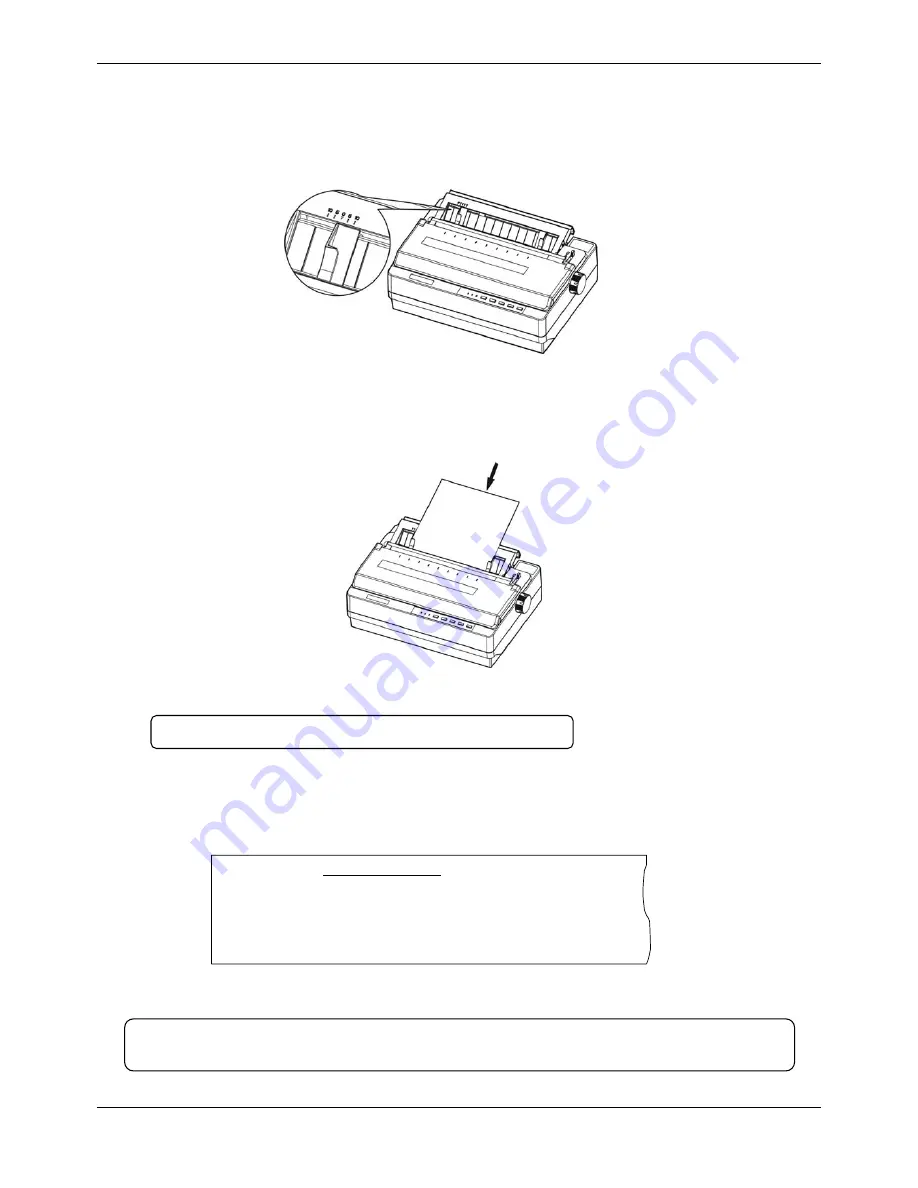
3. Adjust the right paper guide of the rear cover to the range of the scale. Then adjust the
left paper guide to make the distance match the width of the paper. (As shown below)
4. Slide a piece of cut sheet down firmly between the right and left paper guides until it
meets resistance. The printer loads the cut sheet automatically and begins printing when
pressing ONLINE key.
5. Press the ONLINE key to pause the printing.
6. To end the self test, make sure the printer is not printing. Press LF/FF or LOAD/EJECT
key to eject cut sheet; then turn off the printer.
Figure 1-9 Adjust the right and the left paper guides of the rear cover
Figure 1-10 Install cut sheets
ASCII Self-test mode
COMPUPRINT 2056 VX.X XXXXXXX/XX/XX
SN: XXXXXXXXXXX
!"#$%&’( )*+-./0123456789:;<=>?@ABCDEFGHIJKLMNOPQRSTUVWXYZ[\]^_`ab
!"#$%&'( )*+ /0123456789:;<=>?@ABCDEFGHIJKLMNOPQRSTUVWXYZ[\]^ `abcd
Figure 1-11 ASCII Self-test mode
Caution: Make sure the window is closed while printing.
Note: If the self test did not print satisfactorily, see details in Chapter 4. If it
prints correctly, go on to the next section.
Summary of Contents for Compuprint 2056
Page 1: ...User Manual MAN10xxx 01 ...
Page 2: ......
Page 29: ...User Manual 2056 MAN10xxx 01 21 ...
Page 45: ...User Manual 2056 MAN10xxx 01 37 ...
Page 67: ......


