


116
232002430G(03)
CAUTION
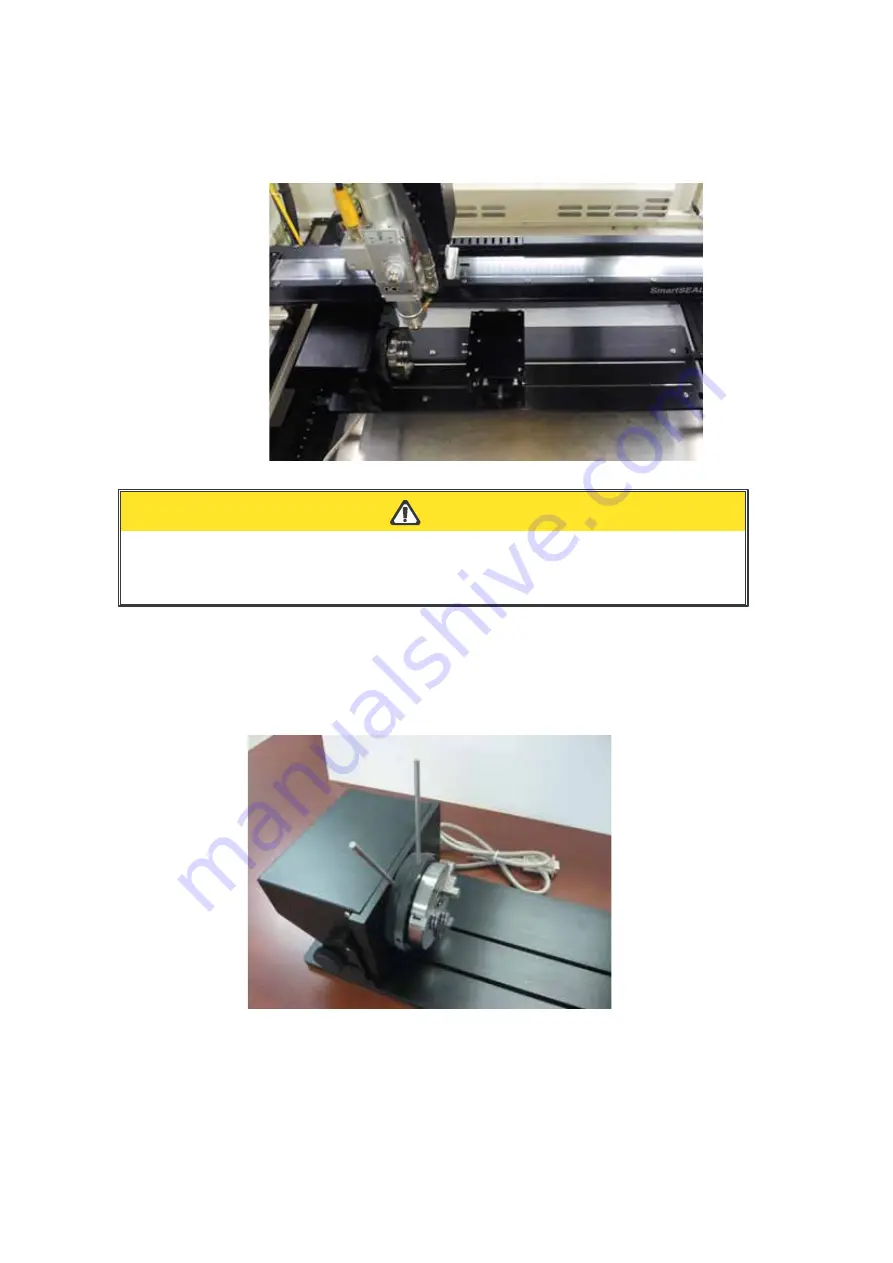
6) The Rotary Chuck now is properly installed. Power on the FMC280 laser system, the
Rotary Chuck will be automatically detected, the working table will move to its proper
position.
Please make sure that the laser cutting head will not collide with the Rotary Chuck prior
to start work by lowering the work table down first.
LOADING OBJECTS:
To load the working object to Rotary Chuck, you can use the enclosed tools to widen or tighten the
metallic claws. Simply insert the two metal pins into the holes on the turn-dial and turn it to widen or
tighten the claws to hold the working object.
There are two different ways that the Rotary Chuck can hold an object, by sliding the clamps inwards or
outwards to hold the object as shown below.
Summary of Contents for LaserPro FMC280
Page 1: ...www delinit by...
Page 20: ...16 232002430G 03 Step 3 Loosen the lock Step 4 Remove the top board and each sideboard...
Page 27: ...232002430G 03 23 3 2 Right Profile View Ethernet Port USB Port Power Socket Main Power Swiych...
Page 28: ...232002430G 03 24 3 3 Left Profile View Water Outlet Water Inlet Assist Air Inlet...
Page 29: ...232002430G 03 25 3 4 Rear View...
Page 33: ...232002430G 03 29...
Page 34: ...232002430G 03 30...
Page 38: ...232002430G 03 34...
Page 39: ...232002430G 03 35...
Page 40: ...232002430G 03 36...
Page 44: ...232002430G 03 40 4 Enter your Mac OS X User Name and Password then press OK 5 Press Active...
Page 45: ...232002430G 03 41 6 Press OK when activation is complete 7 Register Parallels Desktop...
Page 101: ...232002430G 03 97 5 3 4 4 LaserPro FMC280 Print Driver Paper Page...
Page 113: ...232002430G 03 109 8 Now you are ready to output the modified image by clicking File Print...
Page 128: ...124 232002430G 03 Chapter 9 Appendix LaserPro FMC280 Specification Sheet www delinit by...


