4-3
Windows 98 Software Installation -
Plug and Play via USB
2.
Insert the GCC Elite 21 Series CD-ROM
into the Windows 98 PC. Turn on the
printer and make sure the display is
reading “Ready”. Plug the USB cable into
the printer, then into the PC.
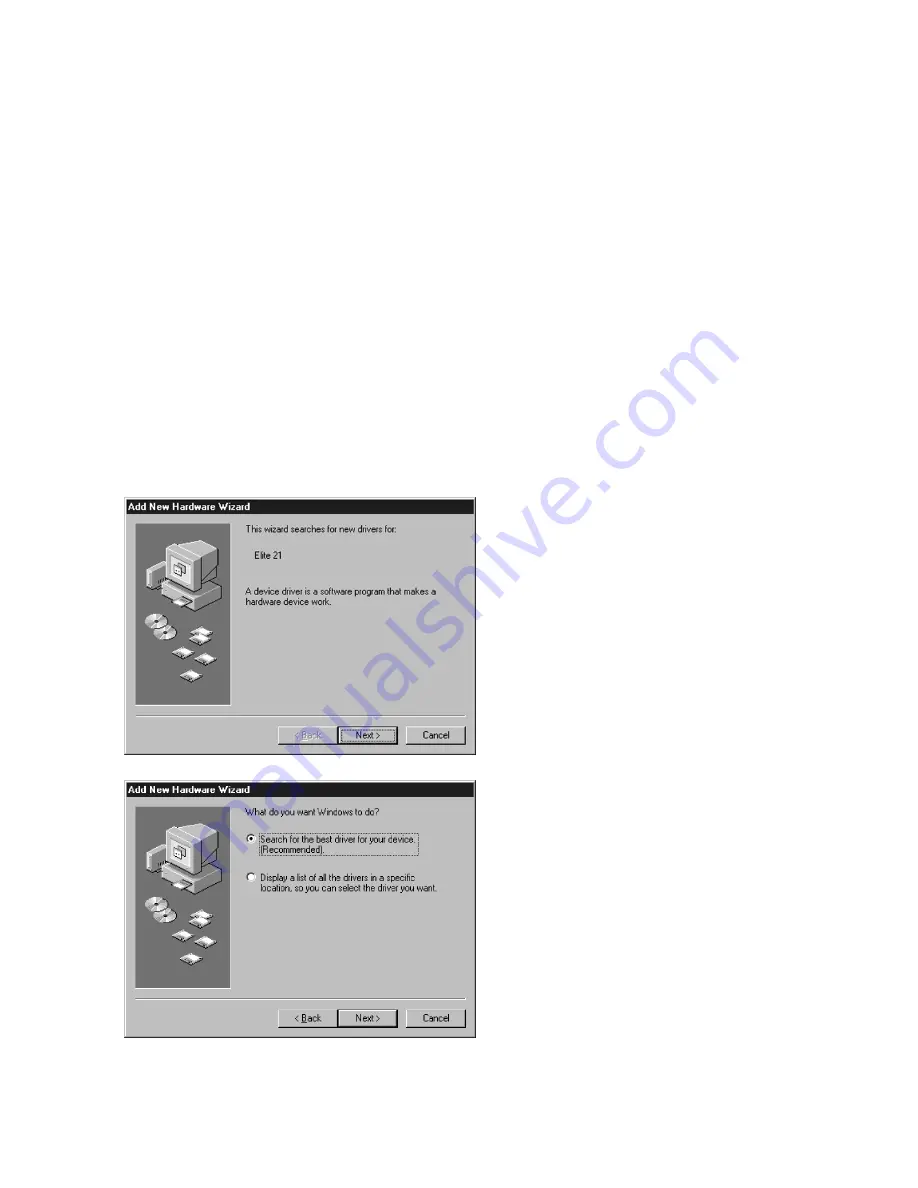
The Add New Hardware Wizard will start
up. Click Next.
3.
The next window will ask what you want
Windows to do. Choose “Search for the
best driver for your device” and click
Next.
GCC’s Windows 98 USB printing software is installed through the Windows Plug and
Play process. When the printer is plugged into the PC, the PC should automatically
begin a two-step Plug and Play installation. The first step is to install the USB printing
software, and the second step is to install specific software for your GCC Elite 21
Series printer. The steps for these installations are as follows:
1.
If a previous version of GCC’s USB Monitor software has been installed on your PC, you must
uninstall the software before installing your USB printer. To do this, run the “Uninstall GCC USB”
program found in the “Win98USB” folder on the Elite 21 CD-ROM and restart the computer.
Summary of Contents for Elite 21DN
Page 1: ...GCC Elite 21 Series User s Manual Elite 21N Elite 21DN...
Page 14: ...1 6 Step 4 Remove Tape 1 Remove packaging tape from the front and rear covers of the printer...
Page 143: ...5 20 Clicking on Device Settings brings up the following window...
Page 159: ...6 13...
Page 163: ...6 17 Clicking on Device Settings brings up the following window...


