6-6
9.
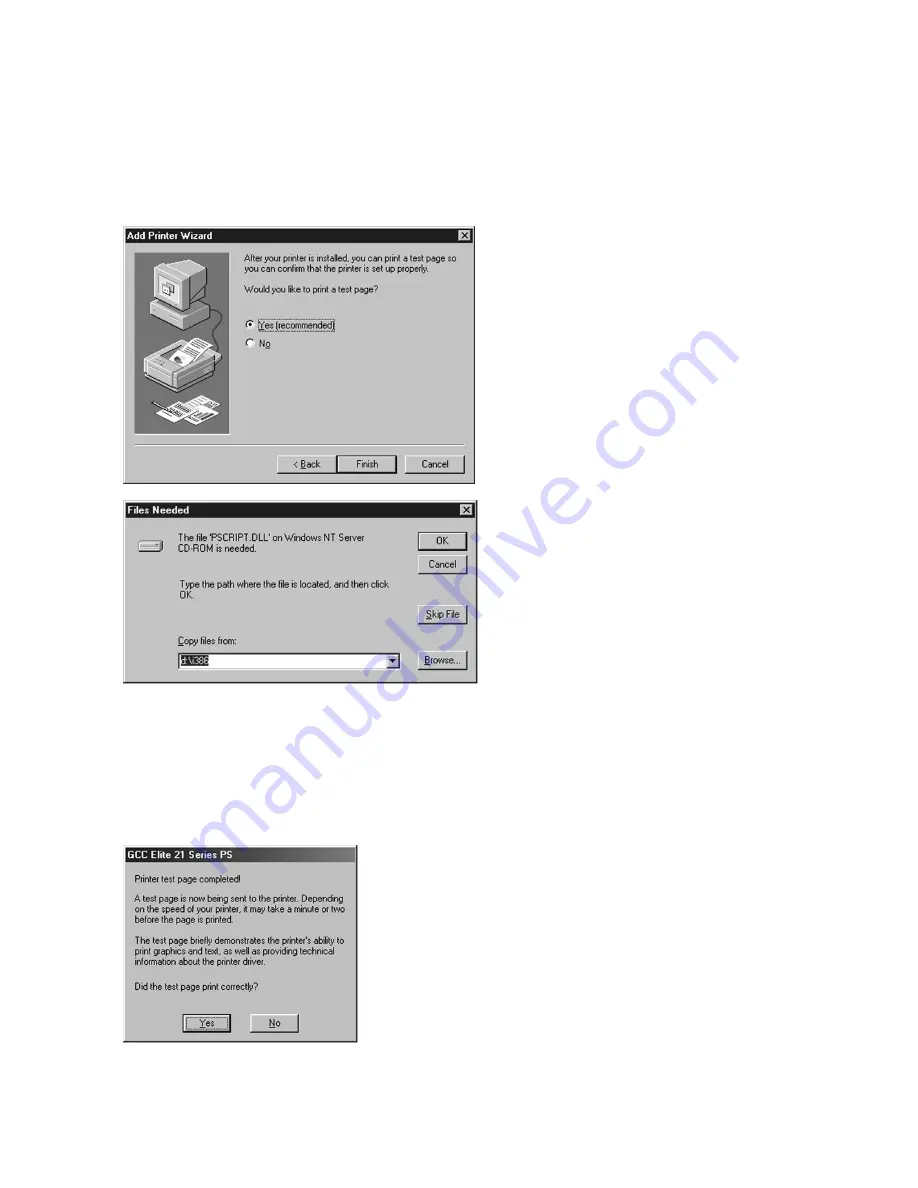
A window will appear asking if you wish
to print a test page. Click Yes if you are
installing a local printer. Click No if you
are installing the driver and will be setting
up the printer as a network device later.
Click Finish.
10. A dialog box may appear informing you
that some of the files needed for the
installation are located on the Windows
NT 4.0 CD-ROM. Eject the GCC Elite 21
CD and install the Windows NT 4.0 CD. If
the blue Windows NT CD window
appears, close this window. Use the
Browse button to access the NT CD.
Select the folder called ‘i386’ on the NT
CD, then click Open. Click the file called
“PSCRIPT.DLL.” Click Open, then click
OK.
A progress bar will appear, showing the
progress of the installation.
11. When finished, the test page will be
generated (if you chose to print a test
page in Step 9). If the page prints, click Yes
in this window. If not, click No and follow
the Windows troubleshooting steps that
appear.
Summary of Contents for Elite 21DN
Page 1: ...GCC Elite 21 Series User s Manual Elite 21N Elite 21DN...
Page 14: ...1 6 Step 4 Remove Tape 1 Remove packaging tape from the front and rear covers of the printer...
Page 143: ...5 20 Clicking on Device Settings brings up the following window...
Page 159: ...6 13...
Page 163: ...6 17 Clicking on Device Settings brings up the following window...


