Viewing Data Totals
You can view the accumulated data you have saved to the
device, including the number of rides, time, distance, and
calories.
Select
History
>
Totals
.
Deleting a Ride
1
Select
History
>
Rides
.
2
Select a ride.
3
Select >
Delete
> .
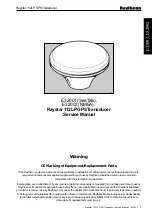
Garmin Connect
You can connect with your friends on Garmin Connect. Garmin
Connect gives you the tools to track, analyze, share, and
encourage each other. Record the events of your active lifestyle
including runs, walks, rides, swims, hikes, triathlons, and more.
To sign up for a free account, go to
.
Store your activities
: After you complete and save an activity
with your device, you can upload that activity to Garmin
Connect and keep it as long as you want.
Analyze your data
: You can view more detailed information
about your activity, including time, distance, elevation, heart
rate, calories burned, cadence, an overhead map view, pace
and speed charts, and customizable reports.
NOTE:
Some data requires an optional accessory such as a
heart rate monitor.
Plan your training
: You can choose a fitness goal and load one
of the day-by-day training plans.
Share your activities
: You can connect with friends to follow
each other's activities or post links to your activities on your
favorite social networking sites.
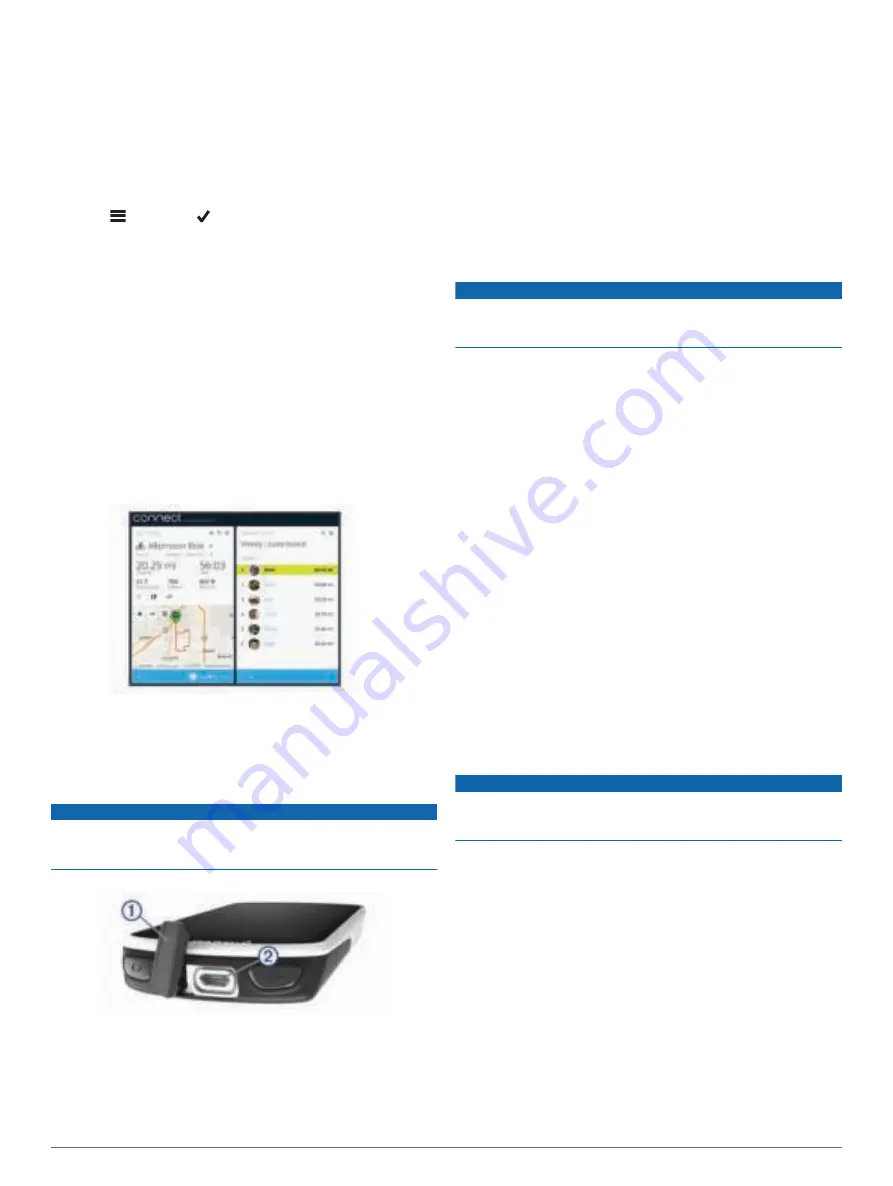
Sending Your Ride to Garmin Connect
NOTICE
To prevent corrosion, thoroughly dry the USB port, the weather
cap, and the surrounding area before charging or connecting to
a computer.
1
Pull up the weather cap
À
from the USB port
Á
.
2
Plug the small end of the USB cable into the USB port on the
device.
3
Plug the large end of the USB cable into a computer USB
port.
4
Go to
5
Follow the on-screen instructions.
Data Recording
The device uses smart recording. It records key points where
you change direction, speed, or heart rate.
When a power meter is paired, the device records points every
second. Recording points every second provides an extremely
detailed track, and uses more of the available memory.
For information about data averaging for cadence and power,
Data Averaging for Cadence or Power
.
Data Management
NOTE:
The device is not compatible with Windows 95, 98, Me,
Windows NT
®
, and Mac
®
OS 10.3 and earlier.
Connecting the Device to Your Computer
NOTICE
To prevent corrosion, thoroughly dry the USB port, the weather
cap, and the surrounding area before charging or connecting to
a computer.
1
Pull up the weather cap from the USB port.
2
Plug the small end of the USB cable into the USB port.
3
Plug the large end of the USB cable into a computer USB
port.
Your device appears as a removable drive in My Computer
on Windows computers and as a mounted volume on Mac
computers.
Transferring Files to Your Device
1
Connect the device to your computer.
On Windows computers, the device appears as a removable
drive or a portable device. On Mac computers, the device
appears as a mounted volume.
NOTE:
Some computers with multiple network drives may not
display device drives properly. See your operating system
documentation to learn how to map the drive.
2
On your computer, open the file browser.
3
Select a file.
4
Select
Edit
>
Copy
.
5
Open the portable device, drive, or volume for the device.
6
Browse to a folder.
7
Select
Edit
>
Paste
.
The file appears in the list of files in the device memory.
Deleting Files
NOTICE
If you do not know the purpose of a file, do not delete it. Your
device memory contains important system files that should not
be deleted.
1
Open the
Garmin
drive or volume.
2
If necessary, open a folder or volume.
3
Select a file.
4
Press the
Delete
key on your keyboard.
NOTE:
If you are using an Apple
®
computer, you must empty
the Trash folder to completely remove the files.
Disconnecting the USB Cable
If your device is connected to your computer as a removable
drive or volume, you must safely disconnect your device from
your computer to avoid data loss. If your device is connected to
your Windows computer as a portable device, it is not necessary
to safely disconnect the device.
1
Complete an action:
• For Windows computers, select the
Safely Remove
Hardware
icon in the system tray, and select your device.
16
History
Summary of Contents for EDGE 1030
Page 1: ...EDGE 1030 Owner sManual...
Page 31: ......
Page 32: ...support garmin com August 2017 190 02220 00_0A...