Part # 1382677 - 2/15
MASTER SERIES
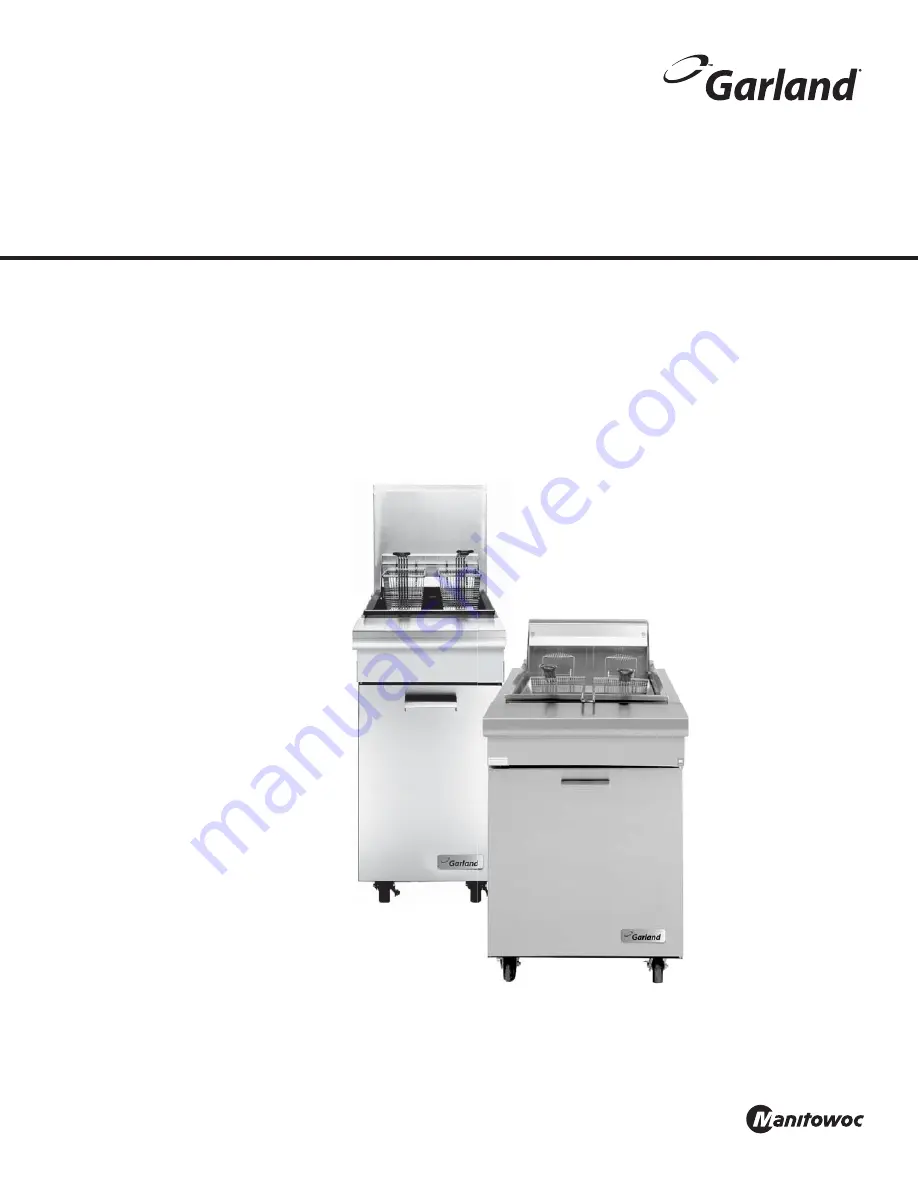
HEAVY DUTY GAS FRYERS
MODELS M/MST35 & M/MST70
Installation, Operation and Maintenance Manual
This manual is updated as new information and models are released. Visit our website for the latest manual.
Page 1: ...15 MASTER SERIES HEAVY DUTY GAS FRYERS MODELS M MST35 M MST70 Installation Operation and Maintenance Manual This manual is updated as new information and models are released Visit our website for the...
Page 2: ...nt parts Garland will have no obligation with respect to any product that has been improperly installed adjusted operated or not maintained in accordance with national and local codes or installation...
Page 3: ...s M Series Low Profile Backguard 9 Assembly Instructions M Series Backguard 9 Radiation Shield 10 OPERATION 10 Using the Fryer for the First Time 10 Lighting Instructions 11 Stand By 11 Complete Shut...
Page 4: ...10 000 BTU Hr 32 23kW Hr 85 000 BTU Hr 24 91kW Hr 4 0 WC 10mbar 9 0 WC 22mbar 51 1 05MM 1 1 4 N P T Gas input ratings shown here are for installations up to 2 000 feet 610mm above sea level Input must...
Page 5: ...up to 2 000 feet 610mm above sea level Input must be derated for high altitude installations Gas manifold pipe size 1 1 4 N P T INSTALLATION NOTES Combustible Wall Clearances Entry Clearances Manifol...
Page 6: ...tions Before assembly and connection check gas supply A The type of gas for which the unit is equipped is stamped on the data plate located on inner door panel Connect a unit stamped NAT only to natur...
Page 7: ...king oil to prevent rust Casters A The installation shall be made with a connector that complies with the Standard for Connectors for Moveable Gas Appliances ANSI Z21 69 CSA 6 16 Addenda Z21 69B 2006...
Page 8: ...e and large objects should not be placed in front of this fryer which would obstruct the air flow through the front A minimum of 24 610mm should be provided at the front of the unit for servicing and...
Page 9: ...at hole marked X with 1 4 20 bolts nuts and washers 6 Install front panel 5 previously remove 7 Install flue cap 6 previously removed 1 X X 2 5 8 7 3 6 9 4 Assembly Instructions M Series Backguard 1 R...
Page 10: ...g level must cover the thermostat bulbs when fryer is in operation After turning the main burner on set the thermostat at 325 to check calibration of the thermostat Let the burner cycle at least four...
Page 11: ...ipping on spilled liquid etc when moving the fryer with liquid in the vessel If the fryer is to be moved it is recommended that the liquid in the vessel be cooled to room temperature and removed from...
Page 12: ...21 3 5 Min Fillets 350 177 3 4 Min Clams 350 360 177 182 1 3 Min Chicken Small Pieces 350 177 6 10 Min Large Pieces 350 360 177 182 8 11 Min Cutlets Chops 1 thick 325 163 5 7 Min OPERATION Continued F...
Page 13: ...cratching Use a water based stainless cleaner commercially available if you want a high shine Stainless Steel For routine cleaning just wash with a hot water and detergent solution Wash just a small a...
Page 14: ...r out rapidly so beware of splattering in this event 5 We recommend that the drained compound be allowed to cool to 100 F 38 C or lower before transporting the stock pot or other container removing th...
Page 15: ...res on thermostat b Set too low b Raise setting c Out of calibration c Re calibrate d Thermostat defective d Replace 2 Thermostat does not control set point 2 See Below a Out of calibration a Re calib...
Page 16: ...spaced away from the dial plate at least the thickness of a dime NOTE DO NOT TURN ADJUSTING SHAFT MORE THAN TWO TURNS IN EITHER DIRECTION OR PERMANENT DAMAGE CAN RESULT THIS ACTION MAY VOID THE STANDA...
Page 17: ...Part 1382677 2 15 Page 17...
Page 18: ...inuing product improvement may necessitate change of specifications without notice Every new piece of Manitowoc Foodservice equipment comes with KitchenCare and you choose the level of service that me...
Page 19: ...nuing product improvement may necessitate change of specifi cations without notice Every new piece of Manitowoc Foodservice equipment comes with KitchenCare and you choose the level of service that me...
Page 20: ...Pi ce n 1382677 2 15 Page 17 D PANNAGE ET R GLAGES suite NOIR NOIR BLANC THERMOSTAT HAUTE LIMITE THERMOSTAT EN FONCTION G N RATEUR DE VEILLEUSE INTERRUPTEUR MARCHE ARR T EN OPTION BLANC BLANC...
Page 21: ...ec des contacts qui ouvrent lorsqu il y a une augmentation de chaleur Il r agira des changements de temp rature de 1 lorsque la friteuse fonctionne au ralenti et qu aucune nourriture n est frire Tourn...
Page 22: ...e rendement de l l ment thermo lectrique 5 Cette friteuse ne demande aucune lubrifi cation ENTRETIEN ET NETTOYAGE suite D PANNAGE ET R GLAGES R glages Le br leur de votre Friteuse GARLAND de conceptio...
Page 23: ...RAIT JAMAIS TRE UTILIS E Une solution de blanchiment ou d eau chaude peut tre utilis e pour nettoyer hygi niquement l acier inoxydable sans le d t riorer ENTRETIEN ET NETTOYAGE suite Directives De Dra...
Page 24: ...rsque la friteuse n est pas utilis e Un compos friture brunissant et de la chapelure ou de la p te inexactes peuvent laisser croire que les produits sont cuits Utiliser une recette d j exp riment e ou...
Page 25: ...on vous recommande fortement de les utiliser Pour une p riode d utilisation maximale du compos les utilisateurs avis s trouvent qu ils obtiennent les meilleurs r sultats en cuisant les fritures basse...
Page 26: ...friteuse doit tre remplie avant son allumage 1 Tourner le bouton du thermostat la temp rature pour friture Le bouton du thermostat est situ l int rieur du compartiment l avant de la friteuse 2 Ouvrir...
Page 27: ...quelques secondes Voir les directives d allumage et d arr t Comment allumer le br leur principal lorsque la veilleuse est allum e FONCTIONNEMENT FIGURE 2 C T S DE DEVANT CRAN DE CHALEUR ARRI RE ALUMIN...
Page 28: ...lons 1 4Po 20 crous et rondelles 6 Installer le panneau avant 5 enlev pr c demment 7 Installer le capuchon d vent 5 enlev pr c demment 1 X X 2 5 8 7 3 6 9 4 Directives D assemblage Protecteur Arri re...
Page 29: ...vide dans la pi ce Pour qu un syst me d vent fonctionne correctement l air de remplacement doit entrer dans la pi ce o l vent est situ Tous les br leurs au gaz et les veilleuses ont besoins de suffi s...
Page 30: ...t test e et le thermostat a t calibr avec de l huile dans bac par cons quent il est n cessaire de nettoyer le bac l huile avant d ajouter le compos friture Rincer le bac avec de l eau claire et ensui...
Page 31: ...entretien ou soutien de n importe quelle sorte pour des applications autres que commerciales Directives Pour La Pr installation Avant l assemblage et le raccordement v rifi er l alimentation de gaz A...
Page 32: ...u dessus du niveau de la mer Le d bit calorifi que doit tre r duit pour les installations en haute altitude Diam tre tuyau collecteur 1 1 4 Po N P T NOTES D INSTALLATION D gagements Par Rapport Aux Mu...
Page 33: ...22mbar 51 1 05MM 1 1 4 N P T AUSTRAILIAN RATES 97 9Mj Hr 97 9Mj Hr 0 8 Kpa 2 25 Kpa 1 6mm 1 05mm 1 1 4 N P T Les indications pour les entr es de gaz s appliquent des installations inf rieures 2 000 pi...
Page 34: ...ri re Profi l Bas Pour S rie M 9 Directives D assemblage Protecteur Arri re Pour S rie M 9 cran De Chaleur 10 FONCTIONNEMENT 10 Premi re Utilisation De La Friteuse 10 Directives D allumage 11 Friteuse...
Page 35: ...en et les r parations doivent tre eff ectu s par un agent d entretien autoris par Garland utilisant des pi ces de rechange d origine Garland Garland n aura aucune obligation en ce qui concerne n impor...
Page 36: ...2 15 FRITEUSE GAZ HAUTE PERFORMANCE S RIE MASTER MOD LES M35 M70 Instructions D installation et D utilisation This manual is updated as new information and models are released Visit our website for th...