


2.1.4
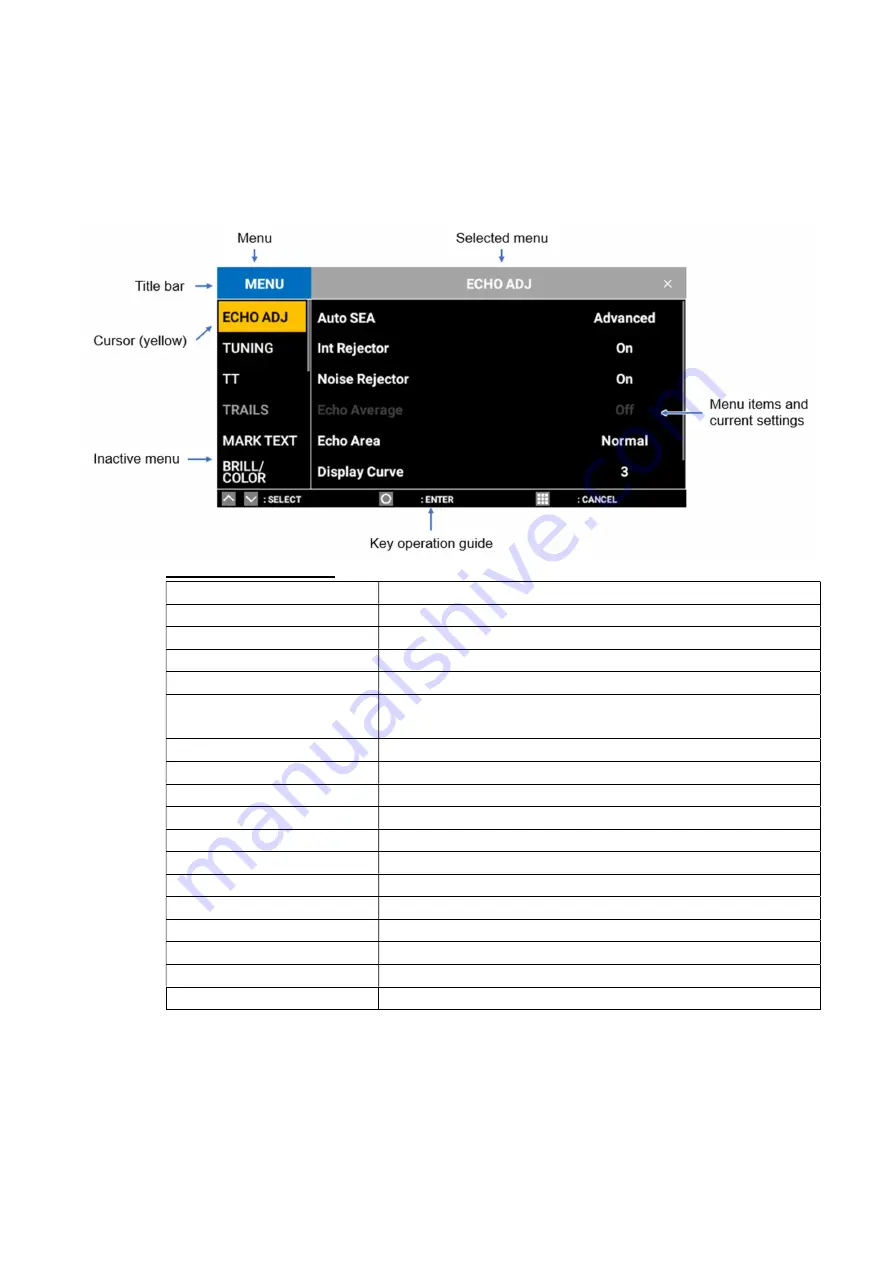
Overview of menu operations
17 menus are available. This section describes basic menu items.
To select a menu, tap a menu or move the cursor onto the menu you want to select with
the arrow keys, then press the
ENTER
key.
Description of menus
Menu
Description
ECHO ADJ (ADJUST)
For adjustment related to radar echoes
TUNING
For tuning adjustment
TT
For settings and adjustment related to TT indications
TRAILS
For settings related to echo trails
MARK TEXT
For setting the transparency of own ship’s mark and
menus and for setting the data box
BRILL/COLOR
For brilliance and color adjustment
ALERT SETTINGS
For settings and adjustment related to alerts
ALERT LIST
A list of alert messages
OTHERS
For other settings and adjustment
I/O PORT
For I/O port settings
UNITS
For setting units
SECTOR BLANKS
For settings related to transmission stop area
TESTS
System diagnosis and LCD test
SCANNER SETUP
For settings related to antenna
RESET
For settings related to the internal memory
INSTALLATION
Default settings
SERVICE
For adjustment related to antenna rotation speed
2-4
2
.
RADAR


