


About Actions (for Mac OS users)
218
6.
Load the document in the ScanSnap.
For details, refer to
"Paper Sizes of Documents" (page 26)
and
7.
Press the [Scan] button on the ScanSnap.
D
Scanning starts.
D
When scanning is completed, the [Print] window appears.
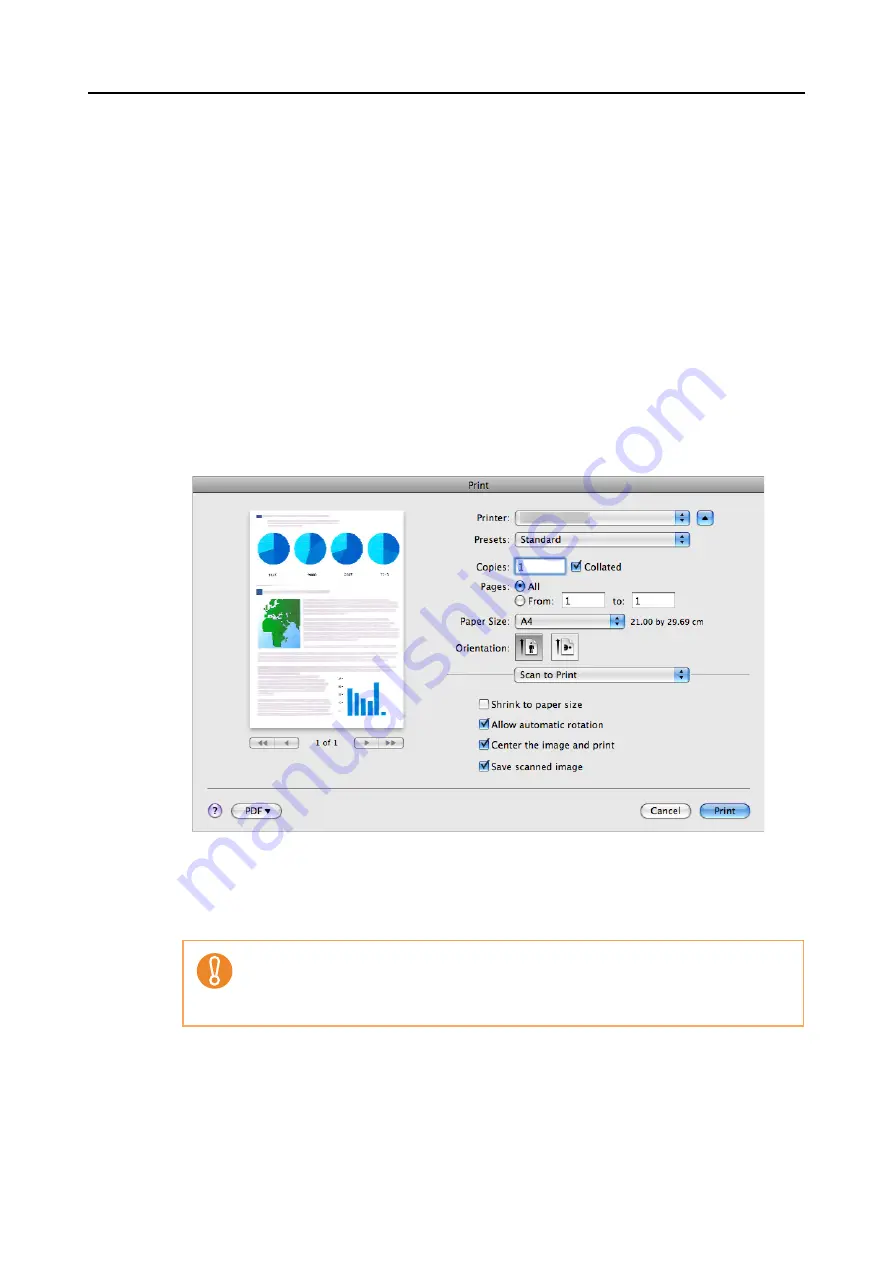
8.
Configure print setup options in the [Print] window.
You can select the printer to be used and specify the number of copies and size of the
scanned image data to be printed.
For details about [Print] window, refer to the ScanSnap Manager Help.
9.
Click the [Print] button.
D
Printing is performed.
z
You cannot perform scanning when the [Print] window is displayed. Close the [Print]
window before scanning the next document.
z
Do not move, delete, or rename the scanned image data in other applications while the
[Print] window is displayed.


