


About Actions (for Windows users)
80
4.
Load the document in the ScanSnap.
For details, refer to
"Paper Sizes of Documents" (page 26)
and
5.
Press the [Scan] button on the ScanSnap.
D
Scanning starts.
D
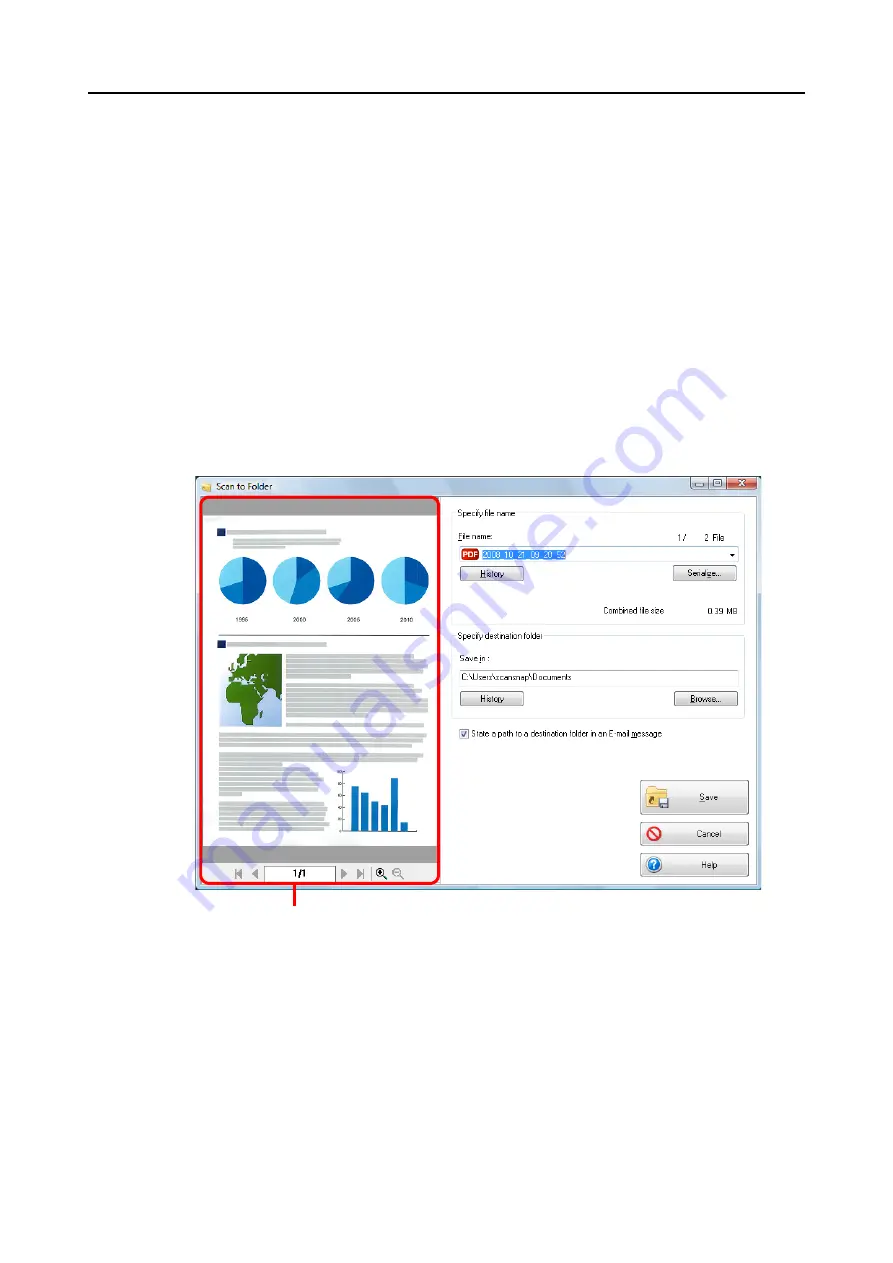
When scanning is completed, the [Scan to Folder] dialog box appears.
6.
Check the scanned image in the [Scan to Folder] dialog box.
You can also change file names, destination folders, and specify whether to state a path
to the destination folder in an e-mail message to notify others.
For details about the [Scan to Folder] dialog box, refer to ScanSnap Manager Help.
Preview


