


About Actions (for Windows users)
127
6.
Press the [Scan] button on the ScanSnap.
D
Scanning starts.
D
When scanning is completed, Scan to Microsoft SharePoint starts up.
7.
Save the scanned image data.
z
Connecting to SharePoint
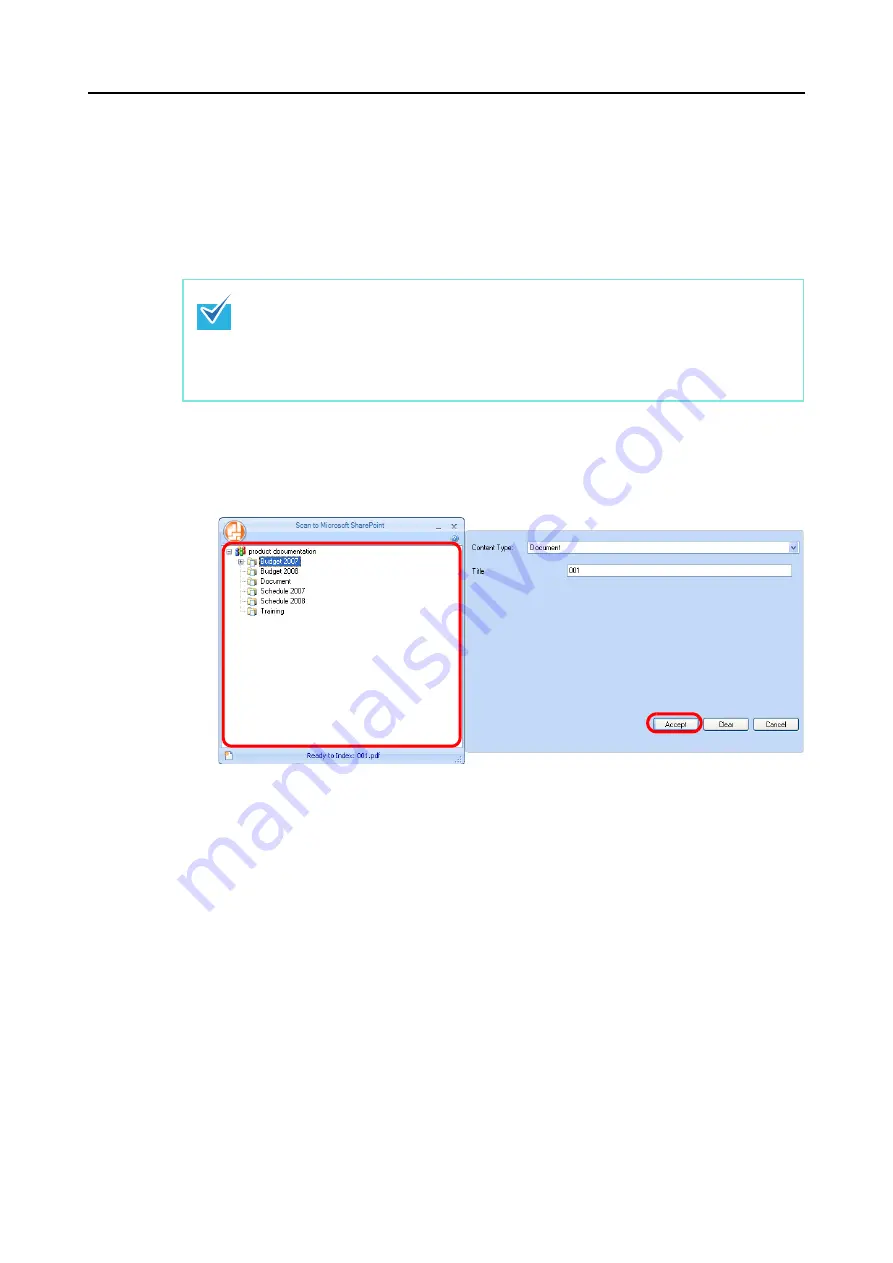
1. Select a folder in which you want to save the scanned image data.
2. In the Scan to Microsoft SharePoint Index Pane, enter information, such as the title,
and click the [Accept] button.
D
The scanned image data is saved in the specified folder.
z
To save a large file to SharePoint or Office Live, you may need to have the system
administrator change the SharePoint or Office Live setting.
z
When you start up Scan to Microsoft SharePoint for the first time, you need to register a
SharePoint site. Once you register the SharePoint site,ScanSnap Manager
automatically connects to that site from the next startup.
For more details, refer to the Scan to Microsoft SharePoint User Guide.


