Application Note 0053
Rev 5:09.05.2017
Page 1 of 3
How to Setup the Black Bluetooth Scanner
This How to Guide is used for troubleshooting connection problems with the
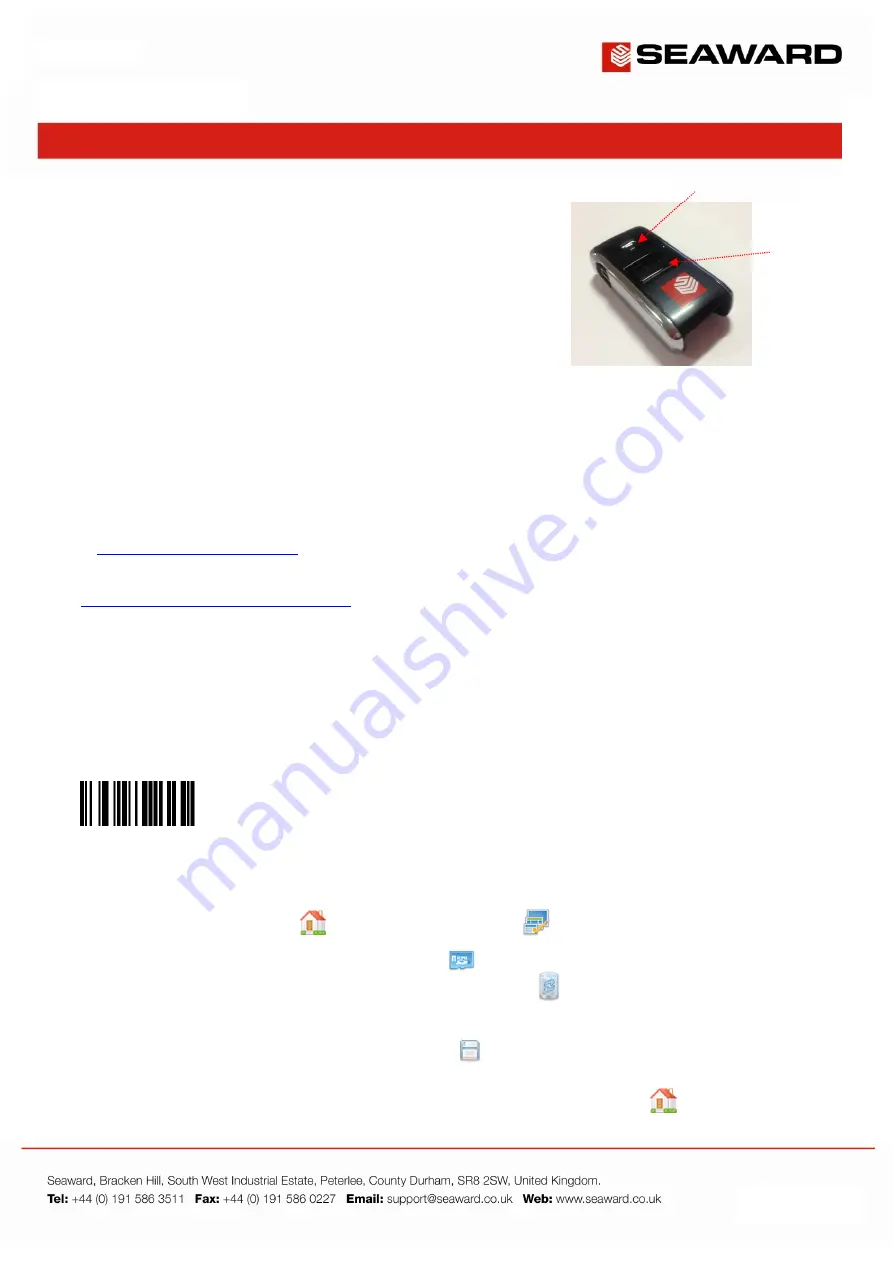
black Seaward Bluetooth scanner (pictured) when experiencing difficulty
connecting to your Apollo
Series
portable appliance tester or PrimeTest
300
/
350
.
Please check all aspects of this guide before contacting the technical support
helpline.
Basic Setup and Pairing with the Apollo
Series
Instruments
If you are having problems with your barcode scanner it is natural to presume that the scanner is faulty, but in our
experience the failure rate for this product is actually very low and in most cases setup problems are the likely cause.
This guide aims to help you correctly setup and test your scanner to quickly get you back up and scanning.
Before we start please ensure you have completed steps
1
to
3
below.
1)
Please register your Apollo to receive an additional 12 months warranty plus full access to Product Support. You can do this
at
www.seaward.co.uk/warranty24
or by completing the form in the “Care and Support” card and returning by post.
2)
Please ensure your Apollo has the latest firmware installed, to do this please see the following link:
www.seaward.co.uk/apollo-series-firmware
3)
Please charge your Bluetooth Scanner before you use it. This needs to be done via the USB port of a PC or a
USB adaptor –
it cannot be charged via the port of a Seaward instrument.
Our next step is to check that the barcode scanner is setup in the right Bluetooth connection mode, we do this by
following step
4
below, we usually only need to do this once when we initially setup a new scanner, but it’s always
worth checking this setting again if experiencing problems.
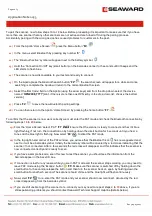
4)
Scan the barcode below using the Bluetooth scanner by pressing the Trigger key (large button).
We now need to pair the scanner with our Apollo, but before we can do that it is important that we clear the Apollo’s
memory of any past pairings that may be causing problems. We do this by following steps
5
to
9
below. [
Be warned
this will mean that you need to re-pair all Bluetooth devices used with this Apollo
].
5)
From the Apollo ‘Home Screen’
press the Menu button
‘F4’
.
6)
In the menu, select ‘Memory’ by pressing key number
‘8’
.
7)
Next enter the restore menu by pressing restore menu button
‘F4’
.
8)
Now use the arrow keys (up/down and left/right) to select
only
the ‘
Delete Bluetooth Favourites
’ ensure that
no other boxes are selected and then press button
‘F4’
and then select
‘Yes’
to delete the Bluetooth
favourites.
9)
You can then return to the Apollo ‘Home Screen’ by pressing the home button
‘F1’
.
Connection On / Off Key
(small button)
Scan Trigger Key
(Large button)


