


About Actions (for Windows Users)
149
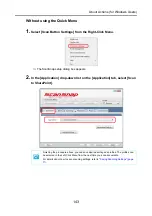
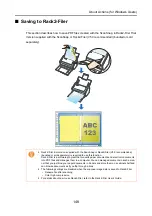
Using the Quick Menu
1.
Load the document into the ScanSnap.
For details, refer to
"Paper Sizes of Documents to Be Scanned" (page 27)
2.
Press the [Scan] button on the ScanSnap.
⇒
Scanning is started.
⇒
When scanning is complete, the Quick Menu appears.
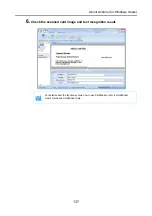
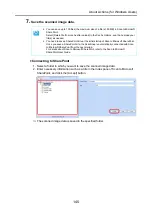
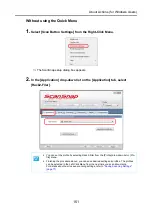
3.
Change settings for the [Scan to Rack2-Filer] action (If you do not want
to change settings, go to Step
1. Move the mouse pointer to the
mark on the [Scan to Rack2-Filer] icon, and then
select the [Settings] menu.
⇒
The [ScanSnap -> Rack2] dialog box appears.
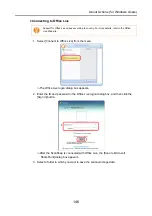
When [JPEG(*.jpg)] is selected for [File format] in the [File option] tab on the ScanSnap
setup dialog box, the [Scan to Rack2-Filer] icon is grayed out and cannot be selected.
Summary of Contents for PA03586-B205
Page 1: ...Operator s Guide P3PC 2432 02ENZ0 ...
Page 14: ...Contents 14 Installation Specifications 368 About Maintenance 369 Index 370 ...
Page 44: ...For S1500 44 12 Click the Close button 13 Remove the Setup DVD ROM from the DVD ROM drive ...
Page 264: ...About Actions for Mac OS Users 264 4 Check the scanned image data ...