Chapter 3 - Setup and Installation
Stand-Alone Dual Port Single Host Configuration
56
2
Re-install the Disk I/O card. Repeat step 1 for the second Disk I/O card.
3
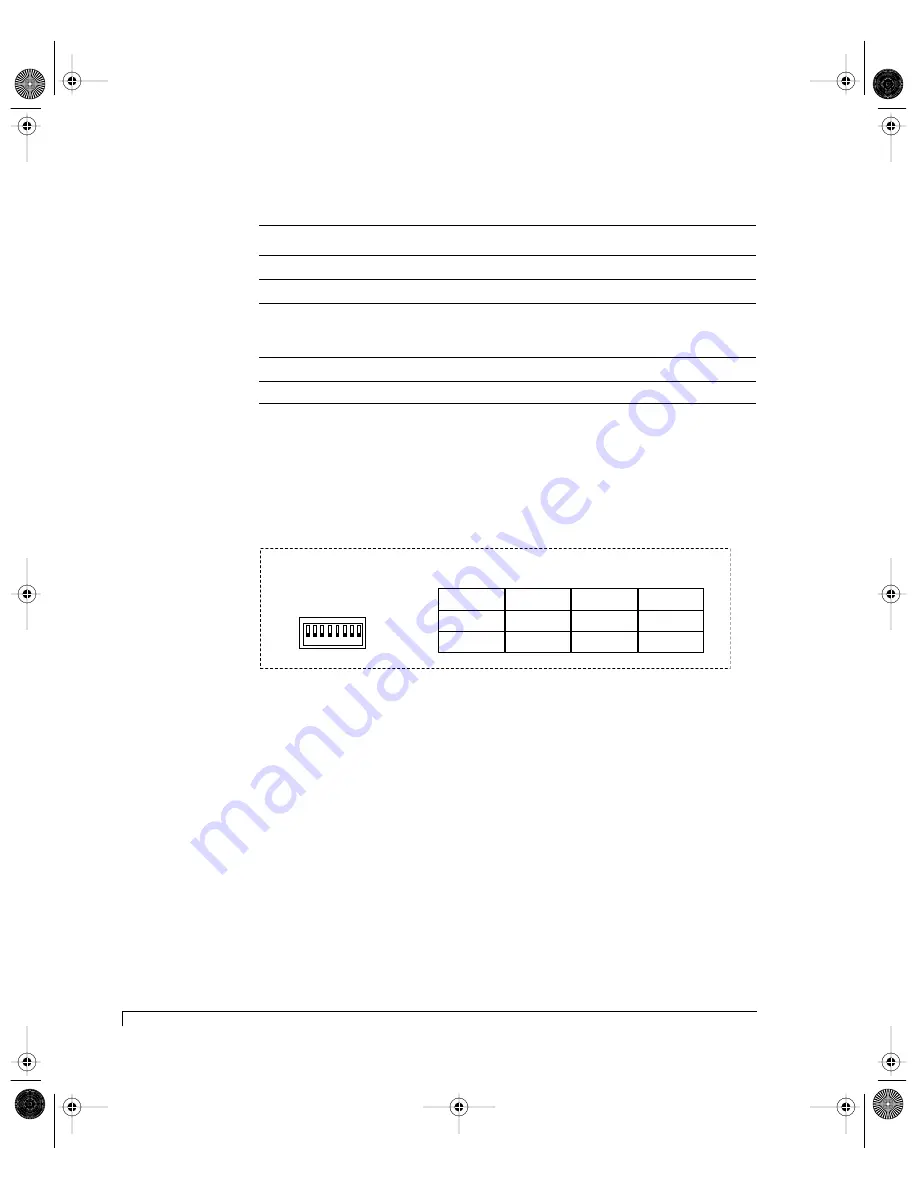
Locate the switches on the SES Controller card and set them as indicated in
the illustration below. Refer to “SES Controller Card Switch Setting Overview”
on page 52 for the other available settings.
SES Controller Card Switch Settings
4
Set the Host I/O card switches. Position the switches 1, 2, and 4 to the “Up”
position.
Loosen the two captive fastener screws for a Host I/O card and pull it from
the enclosure using the fastener screws. Set the switches as described in the
illustration on the following page. Refer to the “Host I/O Card” on page 11
for switch setting details.
Disk I/O Card Jumper Settings for the imageRAID IRF-1Sxx-xx/IRF-1Dxx-xx Enclosures
JUMPER
INSTALLED BOTH PINS
INSTALLED ONE PIN (OFFSET)
JP1
imageRAID Controllers Only
* Non-imageRAID Controllers
JP2
imageRAID Controllers Only
* Non-imageRAID Controllers
JP3
Split Bus Mode
JBOD Enclosures Only
* Single Bus Mode
RAID Enclosures and Daisy
Chain JBOD Enclosures
JP4
1 Gb/sec Bus Speed Mode
* 2 Gb/sec Bus Speed Mode
* indicates default setting
A
D
2
A
D
0
1 2 3 4 5 6 7 8
A
D
1
S
P
0
S
P
1
B
D
R
D
L
Y
R
M
T
ID 0
Slot 1
Slot 2
Slot 4
Slot 5
Slot 7
Slot 8
Slot 10
Slot 11
ID 2
ID 1
ID 3
Slot 3
Slot 6
Slot 9
Slot 12
ID 8
ID 9
ID 4
ID 6
ID 5
ID 7
ID 10
ID 11
UP (1)
DOWN (0)
IDs Assigned to Disk Slots
Switch Settings
imageRAID.book Page 56 Tuesday, September 23, 2003 4:08 PM
Summary of Contents for IRF-1D series
Page 2: ...imageRAID book Page 2 Tuesday September 23 2003 4 08 PM ...
Page 8: ...Table of Contents iv imageRAID book Page iv Tuesday September 23 2003 4 08 PM ...
Page 180: ...Index 168 imageRAID book Page 168 Tuesday September 23 2003 4 08 PM ...
Page 181: ...imageRAID book Page 7 Tuesday September 23 2003 4 08 PM ...


