


Authentication/Security Settings
187
T
ools
5
•
To cancel the access rejection state, restart the machine by turning off and on the power.
Passcode Policy
Passcode Entry from Control Panel
You can set whether a passcode is required when the system administrator or a user
uses the machine. Select [On] to enable "System Administrator’s Passcode" (P.180),
and "Passcode" (P.183) for [Create/View User Accounts].
Select [Off] not to require the passcode, even if a passcode is set in the above settings.
Important •
The setting of [Passcode Entry from Control Panel] is used for authentication on the
machine. A passcode must always be entered when accessing from remote devices using
CentreWare Internet Services or the like, regardless of the use of passcode setting.
Depending on authentication procedures, a passcode may be required for other processes
as well.
Note
•
The system administrator’s passcode is also required when you change settings from
CentreWare Internet Services.
Minimum Passcode Length
You can set whether or not to set the minimum number of digits allowed for a passcode.
Specify a value in the range of 4 to 12.
Note
•
This is only applicable to ordinary users (not applicable to the machine administrator and
guests).
•
For users that have already been registered, authentication with less than the minimum
number of digits is possible.
Charge/Private Print Settings
You can set how received print jobs should be handled.
PJL Receive Command Control
Print jobs submitted by external equipment can be controlled by PJL commands. The settings
for [Receive Control] described later are applied when either [Off] is selected or no PJL
command is received.
PJL Output Command Control
Print jobs submitted by an external equipment can be controlled by PJL commands.
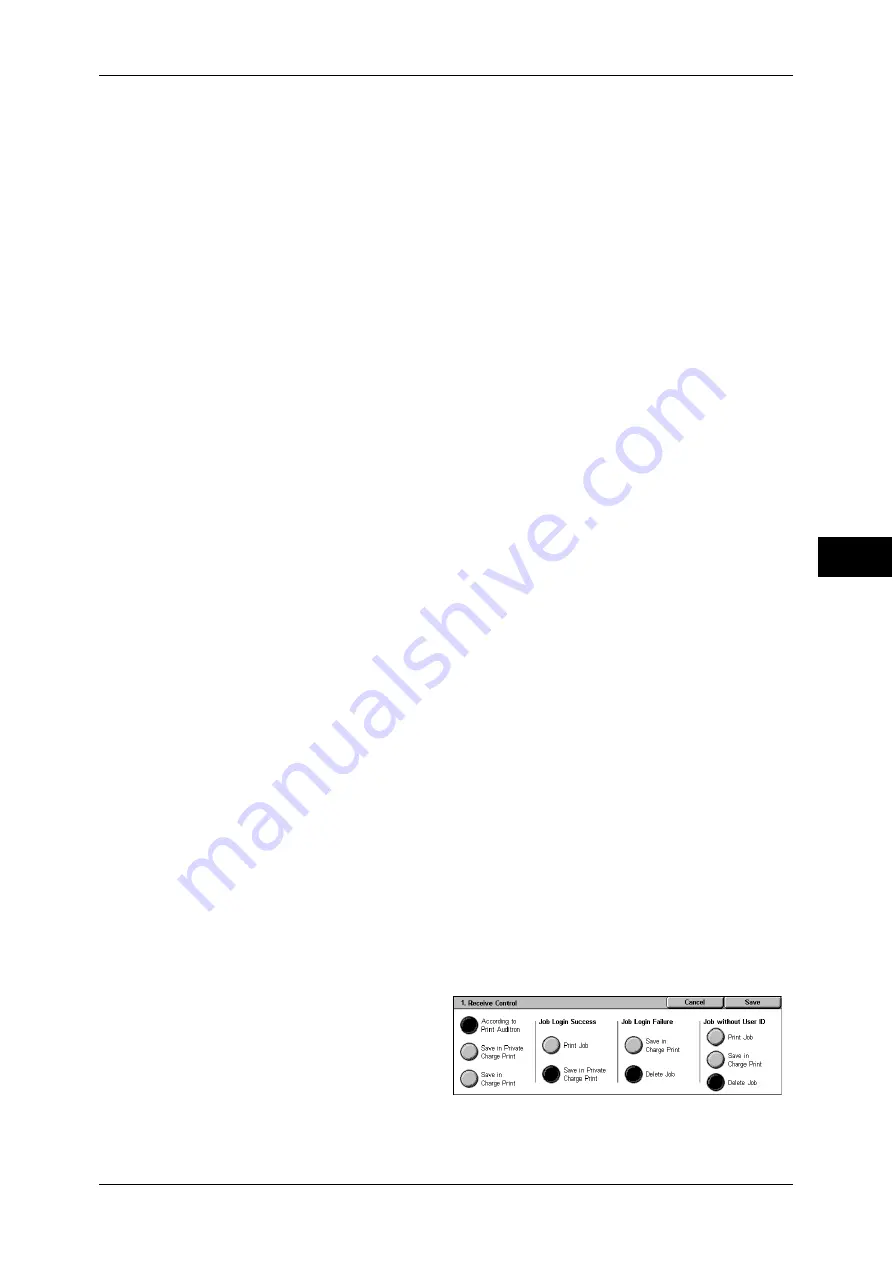
Receive Control
You can set how received print jobs should be handled.
For information about printing from a print driver, refer to "10 Computer Operations" in the User Guide.
For information about printing the print job that are saved after being received, refer to "9 Job Status" >
"Printing and Deleting Stored Documents" > "Private Charge Print" in the User Guide.
For information about deleting the print job that are saved after being received, refer to "Deleting the
Private Print Job with an Invalid User ID" (P.54).
1
Select [Receive Control], and select [Change Settings].
2
Select any item.
3
According to the selected item, set
the processing to be applied to
jobs.