427-0064-00-12 Version 100
August 2017
31
3
Advanced Configuration
3.2
Maintenance Menu
The following sections describe more advanced camera configuration options that require the
admin
login. For the configuration changes in the remainder of this chapter, it is necessary to save the
changes, then stop and restart the server to make the changes effective. Additional configuration
options are available that are not described in this manual. For more information on setting or
changing these camera parameters refer to the
Nexus IP Camera Configuration Guide
(FLIR Doc
#427-0030-00-28) or contact the local FLIR representative or FLIR Technical Support.
The basic camera configuration settings (
LAN Settings
,
Services
, and
Security Options)
available
through the
expert
login are described in
Server Menu, pg. 18
. When logged in as
admin
, additional
Maintenance menus are accessible, including
Sensor
,
Files
and
Product Info
.
3.2.1
Sensor Menu
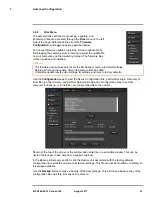
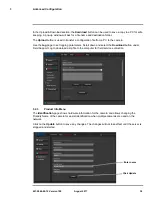
The configuration changes commonly used are done through the Sensor
menu. Described below are configuration steps from the
Communications
and
Modules
selections.
Communications Menu
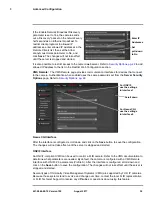
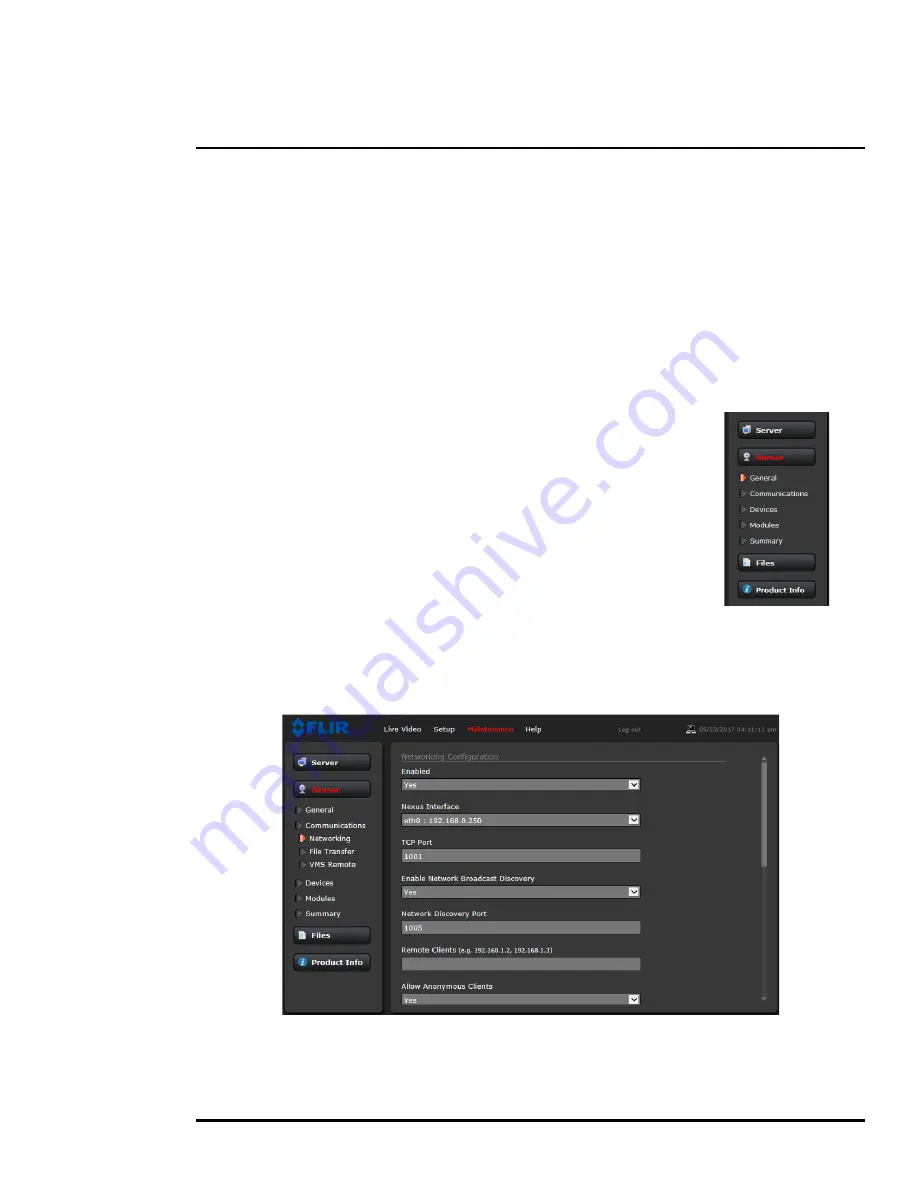
The primary IP configuration parameters, such as IP address, network
mask, and gateway, are configured with the LAN Settings page (refer to
LAN Settings, pg. 19
). The Networking page can be used to configure some
of the other IP networking parameters.
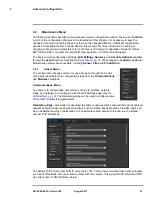
Networking Page:
Generally it is assumed the camera network will be secured through recognized
network security measures and best practices, such as limited physical access, firewalls, and so on.
As an additional security consideration, it is possible to restrict access to the camera to a limited
number of IP Addresses.
The default TCP port for most FLIR IP cameras is 1001. This is the port number that a client program
such as FLIR Latitude can use to communicate with the camera. If using an ONVIF-compliant VMS
as a client, refer to VMS Remote, below.


