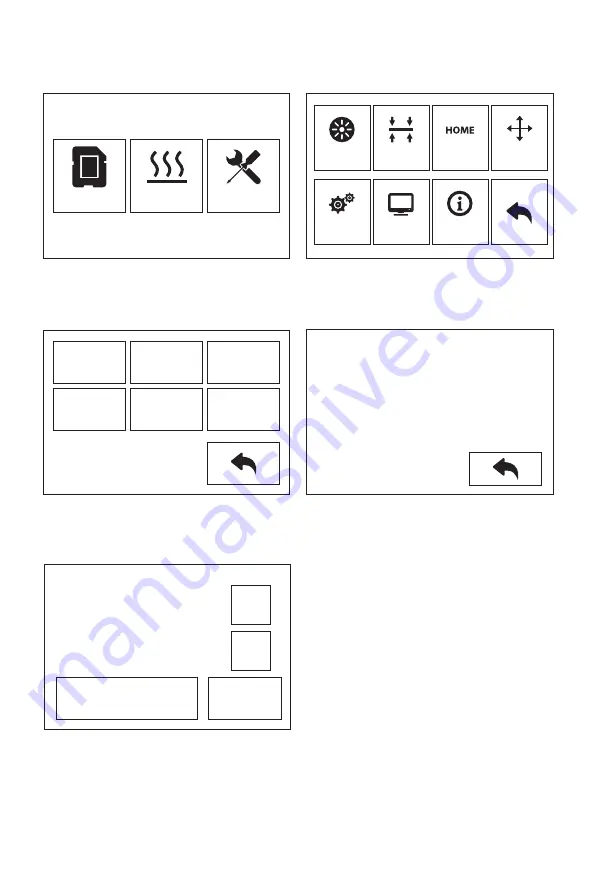
XYZ Axis Calibration
1.
2.
Tap [Tools]-[Setting]-[Z calibration]. Creator Pro 2 uses a compensation layer mecha-
nism. Instead of manually adjusting the installation positions of the left and right
nozzles, a program is used to calculate the height difference between the two nozzles.
The extruder and platform will return to the zero position first, select any extruder to
calibrate. When the temperature of the nozzle and the platform is too high, it will wait
for the nozzle to cool down to 50 ° C to prevent the nozzle from scalding the build tape.
3.
Follow the on-screen instructions and insert the leveling card between the nozzle and
the platform, please click Z- or Z + to adjust the appropriate spacing. The adjustment
range is sliding leveling paper. If you feel a little frictional resistance, it indicates that
the distance between the nozzle and the platform is appropriate. When one extruder is
adjusted, it will be switched to another extruder for calibration.
Note: Do not turn the nuts under the platform during Z-axis calibration.
Z Axis Calibration
Preheat
Tools
Z:0.08
Z-
Z+
OK
Z Calibration
Initializing moving...
Please tap Z-,Z+ to adjust and
put the leveling card between
nozzle and platform to verify a
proper distance.
Filament
Setting
Level
Status
Home
About
Manual
X
Calibration
Y
Calibration
Z
Calibration
Expert
Mode
Language
FactoryReset
10
Summary of Contents for Creator Pro 2
Page 15: ...Creator Pro 2 1 2 1 2 3 4 14...
Page 16: ...6 5 X 7 8 10 9 15...
Page 18: ...3D USB SD 3D CREATORPRO2 PRO2 17...
Page 19: ...1 M2 5 4 M3 1 2 3 4 18...
Page 20: ...2 1 2 3 19...
Page 21: ...1 2 20 ABS PLA 2 3 4 M3x8...
Page 22: ...1 2 3 75 220 21...
Page 23: ...1 2 3 22...
Page 24: ...XYZ 1 2 Z Creator Pro 2 Z 50 3 Z Z Z Z Z 0 08 Z Z Z Z Z X Y Z 23...


