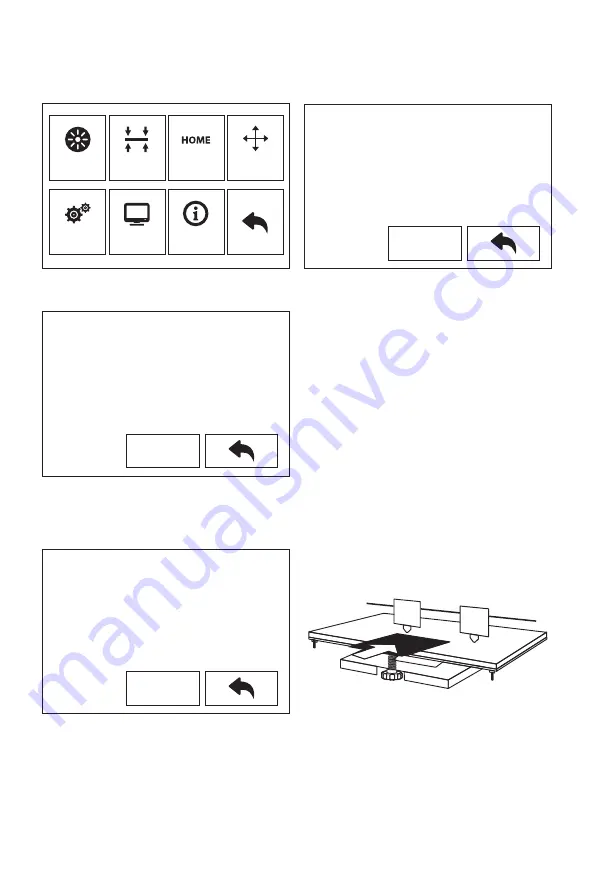
Leveling
1.
2.
Tap [Tools]-[Leveling] to start leveling. The machine will finish homing first.
Clearing the remaining materials on the nozzle first to avoid leveling fails.
After stop movement of extruder and platform, tighten the three nuts below the
platform counterclockwise (To avoid scratch build plate by extruder and it is important
action)
3.
Choose one extruder and move it to the first nut by hand. Place a paper under the
extruder and tighten the nut to reduce the distance between extruder and platform.
Gently move the paper and feel the fraction. If move the paper with gent fraction, it is a
suitable distance between extruder and platform. Finished the first place, and repeat
the same actions in the second and third nut.
Note: the small distance between the extruder and platform causes removing printed
objects hard, while big distance causes adhesion fails or wrapping.
Filament
Setting
Level
Status
Home
About
Manual
Please wait, device is homing.
Next
Screw the three nuts tnder the platform
counterclockwise until they are tight, then
tap the [Next].
Next
Please adjust the front thumb screw under
Platform when stop.
Next
9
Summary of Contents for Creator Pro 2
Page 15: ...Creator Pro 2 1 2 1 2 3 4 14...
Page 16: ...6 5 X 7 8 10 9 15...
Page 18: ...3D USB SD 3D CREATORPRO2 PRO2 17...
Page 19: ...1 M2 5 4 M3 1 2 3 4 18...
Page 20: ...2 1 2 3 19...
Page 21: ...1 2 20 ABS PLA 2 3 4 M3x8...
Page 22: ...1 2 3 75 220 21...
Page 23: ...1 2 3 22...
Page 24: ...XYZ 1 2 Z Creator Pro 2 Z 50 3 Z Z Z Z Z 0 08 Z Z Z Z Z X Y Z 23...


