321037
71
13.1
Transporting of Refrigerators
It is not recommended that the cabinet be laid on its back or its side. This could lead to problems
with oil from the compressor running into the suction line inside the compressor. All cabinets
should be transported upright.
It is recommended that:
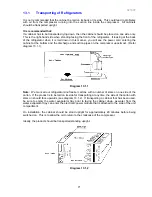
If a cabinet has to be transported lying down, then the cabinet should be placed on one side only.
This is the right-hand side when standing facing the front of the refrigerator. If looking at the back
of the refrigerator when it is laid down in this manner, you will see the power cord entering the
cabinet at the bottom and the discharge and suction pipes on the compressor uppermost. (Refer
diagram 13.1.1).
Diagram 13.1.1
Note:
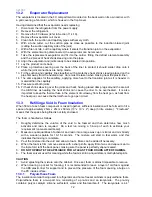
We mark all our refrigerator and freezer cartons with a number of stars on one side of the
carton. If the product is to be laid on its side for transporting at any time, the side of the carton with
stars on should face upwards (see diagram 13.1.2). If transporting a cabinet that has been used,
be sure to empty the water evaporator tray prior to laying the cabinet down, as water from the
water evaporator tray can enter the electronic power module that is attached to the side of the unit
compartment.
On installation, the cabinet should be stood upright for approximately 20 minutes before being
switched on. This is to allow the oil to return to the crankcase of the compressor.
Ideally, the product should be transported standing upright.
Diagram 13.1.2
Summary of Contents for RF175W
Page 1: ...321037 Service Manual Active Smart Refrigerator Freezer Models RF195A RF175W...
Page 19: ...321037 19 5 4 5 Condenser Mullion Layout Diagram 5 4 5...
Page 77: ...321037 77 15 WIRING DIAGRAM 15 1 RF175 Wiring Diagram...
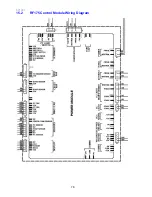
Page 78: ...321037 78 15 2 RF175 Control Module Wiring Diagram...
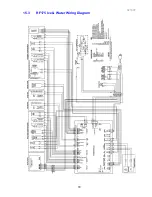
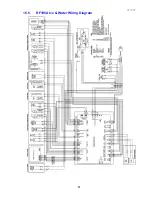
Page 79: ...321037 79 15 3 RF175 Ice Water Wiring Diagram...
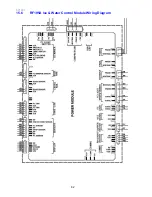
Page 80: ...321037 80 15 4 RF175 Ice Water Control Module Wiring Diagram...
Page 81: ...321037 81 15 5 RF195A Ice Water Wiring Diagram...
Page 82: ...321037 82 15 6 RF195A Ice Water Control Module Wiring Diagram...

