EDITING EFFECTS
In addition to amp models, each preset also features various combinations of effects. Effects can be edited in
several ways—they can be bypassed, replaced, moved, added or deleted. Further, the individual settings
of each effect can be modified. Each option is explained below and on the following pages.
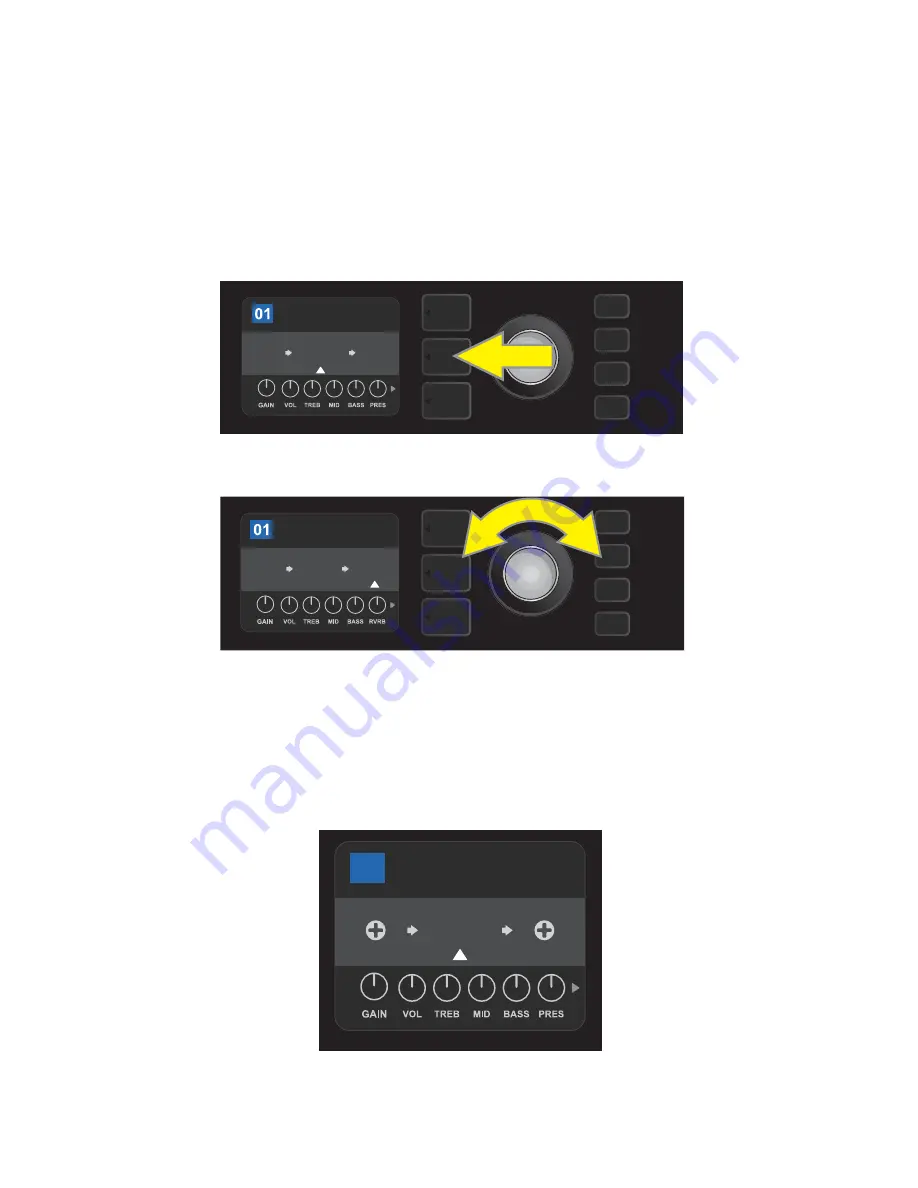
Editing the types of effects in use and their position in the signal path happens in the SIGNAL PATH LAYER. To
do this, first access the SIGNAL PATH LAYER by pressing its corresponding LAYER BUTTON, which will auto-
matically highlight the
amplifier
model in use first. To highlight an
effect
, turn the ENCODER in either direc-
tion (
see illustrations below
). The effect will be highlighted with a white arrow below it and a label above it.
For each preset, note that a placeholder symbol consisting of a plus sign (+) in a circle appears at the right and
left ends of the SIGNAL PATH LAYER (
see illustration below
). This symbol indicates an open slot into which an ef-
fect can be moved or added (
see “Adding an Effect,” page 16
). In many presets that include one or more effects,
the user must scroll to the far right or far left using the ENCODER in order to see this symbol.
ROCK & ROLL
REVERB
FUZZ
TWIN
REVERB
AMPLIFIER
To access effects, first press the middle LAYER BUTTON to enter SIGNAL PATH LAYER.
ROCK & ROLL
TWIN
REVERB
REVERB
FUZZ
POST FX 1
Turn the ENCODER in either direction to highlight an effect (as indicated
here by the white arrow below it and label above it).
12
TWIN
REVERB
AMPLIFIER
STUDIO TWIN
02
Close-up detail—of a different preset that doesn’t include one or more effects—in which open slots that effects can be
placed in are marked by a placeholder symbol consisting of a plus sign in a circle at both ends of the SIGNAL PATH LAYER.


