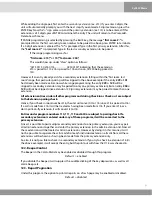
If the called number has been dialed with an alternate carrier access code prefixed to the actual
called number, the Call-A-Matic automatically identifies and strips off the excess digits. However, in
the reports and the print on fly records, such calls can be easily detected since a “
+
” is prefixed in
front of the called number field of the output record.
If the called number is right justified in the incoming call record, the Call-A-Matic automatically
adjusts the digits properly. Hence, while defining the SMDR fields, the starting column must be
defined in such a way that the leading digits of even the longest called number including the
Alternate carrier access digits - are not missed out.
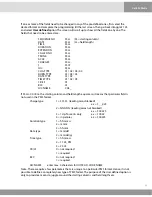
104 - Set Date and Time
The time and date of the 'real time clock' in the system may be set as per the actual time. Use the
right and left arrow keys to go from one field to the next or previous one. Use the NO key to scroll
through the month and day-of-week. The date and time has to be entered in by using the digit
keys. The YES key would also take you to the next field. Enter will take you to the next screen.
The time received from the PBX in the call record is used for checking whether the call was during
Evening or Weekend rate period.
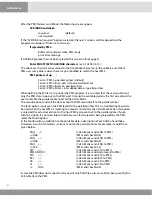
105 - Print On Fly
As soon as a call record is received, it is validated & formatted as per the standard format of the
system, the type of call is identified, the charges calculated and stored in memory. If this formatted
record is to be immediately printed out every time after the record is received, then enable the
'print on fly' option. By default, this option is enabled. The options available are -
Print-on-fly without header
(default)
Print-on-fly with Header
Print-on-fly Disabled
The NO key and the left / right arrow keys toggle through the available options. Press YES or ENTER
to go to the next screen.
Store no charge calls
ENABLED
(Default)
DISABLED
Additional blank lines between print-on-fly records? (0 to 9)
If you set 0 as the number of additional lines between print on fly records, then each
of these records would be printed on consecutive lines.
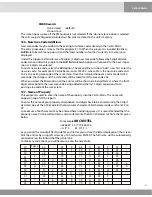
Printer set up:
Options available are
PARALLEL PRINTER ONLY
(default)
SERIAL PRINTER ONLY
SERIAL = PFLY ONLY, P'LLEL = ALL DATA
SERIAL = PFLY+NON CALLS, P'LLEL=REPORTS
ALL DATA ON SERIAL & P'LLEL PRINTERS
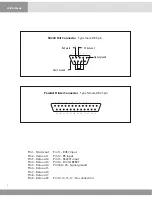
The serial printer is connected to the port marked SERIAL/PMS PC at the back of the unit. If both
serial and parallel printers are being used and you want to separate type of information to appear
on the two printers, choose the third or the fourth option given above. The fifth option is usually
used for troubleshooting.
If the PMS option is enabled, this `printer set up' screen will not pop-up.
Call
A
Matic
Summary of Contents for Call a Matic
Page 1: ......
Page 2: ...Call A Matic User Manual...
Page 5: ...Call A Matic...
Page 7: ...Call A Matic...
Page 63: ......

