Deleting a Group Master
To delete a group:
1.
Click
Tools | Configure Groups
to open the configure groups dialog box
or click
View | Group Controls
and then click
Add a Group
.
2.
In the
Select Group
drop-down box, click a numbered group (such as "Group #1") to
select it.
3.
Click
Delete Current Group
button in the lower left area.
4.
Click
Yes
in the
Confirm Deletion
dialog box.
Viewing and Using a Group Master
Click
View > Group Controls
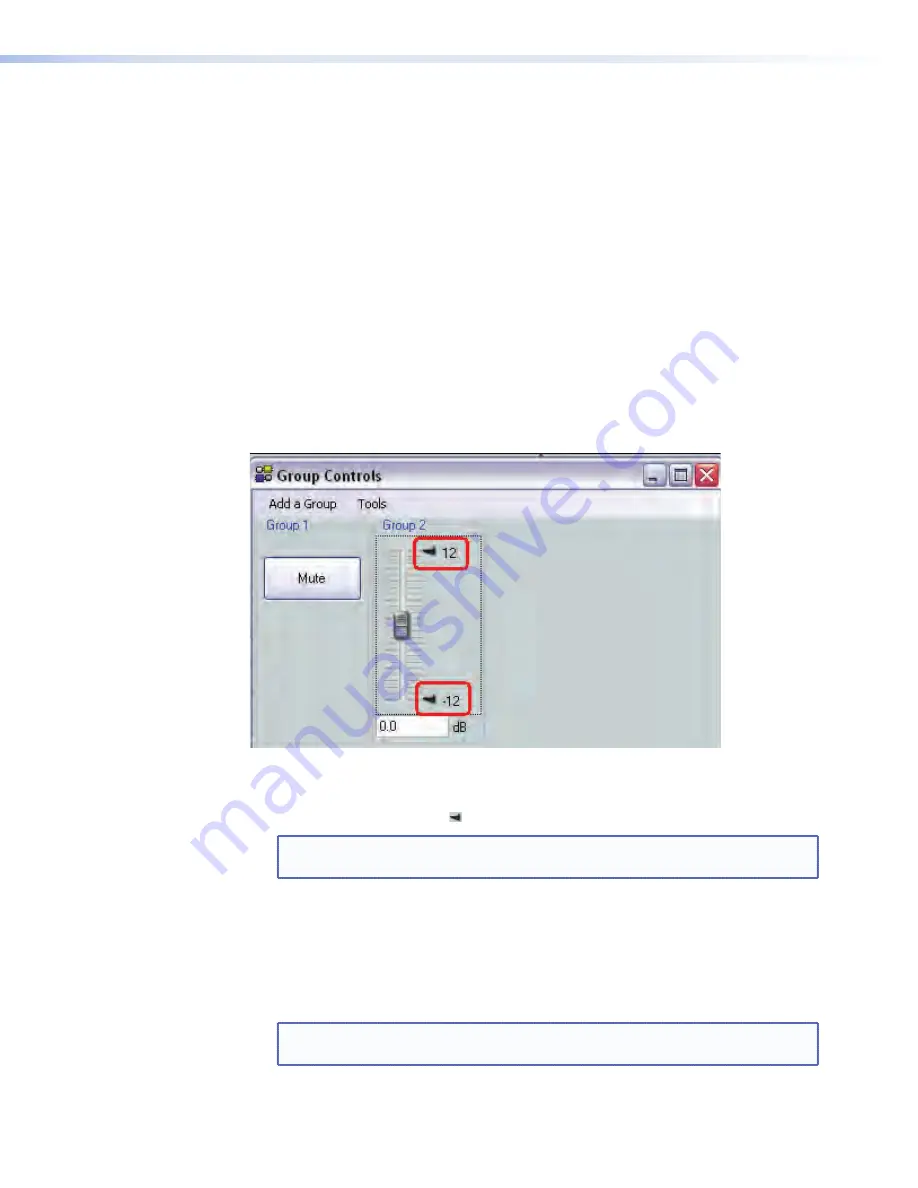
to open the group controls dialog box (figure 53) which
displays all current group master controls. This window can be resized for convenience.
The group controls dialog contains two menu items:
Add a Group
Tools
Figure 53.
Group Controls Dialog Box
•
Slide a group fader up and down to adjust all gain controls in the group.
•
Click and drag a soft limit ( ) to set the ceiling and/or floor for the group.
NOTE:
The soft limits cannot be dragged beyond the current setting of the group
fader.
Add a Group
To launch the configure groups dialog from the group controls window, click
Add a Group
. When a new group is added and the
Add New Group
dialog is closed,
the group controls window refreshes to display the added control.
•
Click the
Mute
button in a mute group to mute or unmute all blocks in the group.
NOTE:
If a block is muted, that block remains muted when the group mute is
released.
DMP 64 • Software Control
104
Summary of Contents for DMP 64
Page 4: ......


