18
www.evolutionsteel.com
• Correctly position the machine on the work piece, with the electro
magnet energised and with the safety strap secured in place.
• Check for sufficient Coolant/Lubrication fluid flowing at the cutter.
• Start the motor by selecting the ON position of the BLACK
switch, located on top of the machine.
(refer to Fig.5)
• Using the feed handles slowly lower the cutting head until the
cutter makes contact with the work piece.
• Continue to apply only sufficient pressure to allow the cutter to cut
freely through the work piece.
• Depending on the thickness of the workpiece periodically raise
the cutter to clear the swarf build up prior to continuing the cut.
Note:
When fitted, the 3 jaw chuck (and any twist drill fitted
into it) are considerably longer than any of the annular cutters
usually fitted into this machine. To accommodate this greater
overall length the secondary slide facility of the machine must be
employed.
The locking lever for the secondary slide has a left hand thread and
is found on the lower Left Hand side of the gearbox housing.
(Fig.
9)
Loosen this lever to adjust the height (length) of the machine
(max 670mm) to suit the drilling application.
Once adjustment has been satisfactorily completed, ensure that
the secondary slide is securely tightened using the locking lever.
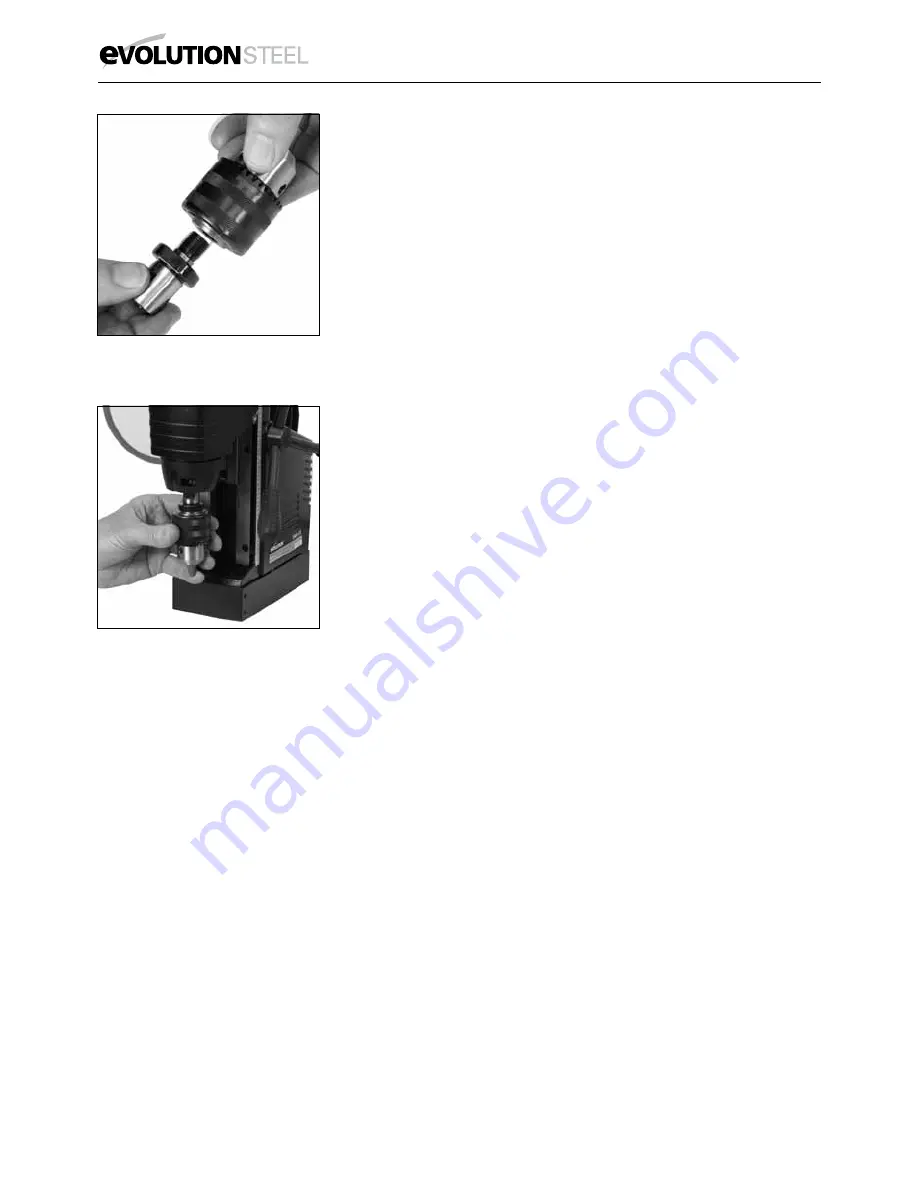
To fit the chuck:
• Screw the 3 jaw auxiliary chuck into the threaded bore of the
chuck adaptor.
(Fig. 10)
• Align the two flats on the chuck adaptor with one of the screws
in the spindle.
(Fig.11)
• Start to tighten the grub screw and at the same time slightly
rotate the chuck adaptor backwards and forwards until the grub
screw is fully tightened. This will ensure that the grub screw is
located squarely onto the flat preventing the
chuck adaptor from
becoming loose.
• Tighten the remaining grub screw.
MAINTENANCE
Note
: Any maintenance must be carried out with the machine
switched off and disconnected from the mains/battery power supply.
Check that all safety features and guards are operating correctly on a
regular basis. Only use this machine if all guards/safety features are
fully operational.
All motor bearings in this machine are lubricated for life. No further
lubrication is required.
Use a clean, slightly damp cloth to clean the plastic parts of the
machine. Do not use solvents or similar products which could
damage the plastic parts.
Fig. 10
Fig. 11


