eSync DVR Manual
Revision A
- 40 -
© 2008 eSync Manual
© eSync
System
Setup
5) Relay - If an alarm or event occurs, any or all external alarm devices connected to the assigned relay port
will
be
activated.
1.
Select
{Alarm Out}
{Relay}
for the channel using the arrow keys and press the [Select] button.
2. On the selection window, select the event type to activate the Relay function by using the arrow
keys and press the [Select] button.
3.
Select
{Alarm Out}
{Relay}
{Relay Type}
for the channel using the arrow keys and press the Menu
button.
4. On the selection window, select the relay type using the arrow keys and press the [Select] button.
To set all channels at the same time, navigate the arrow keys to go to the top of the
{Relay}
column and
press the [Select] button.
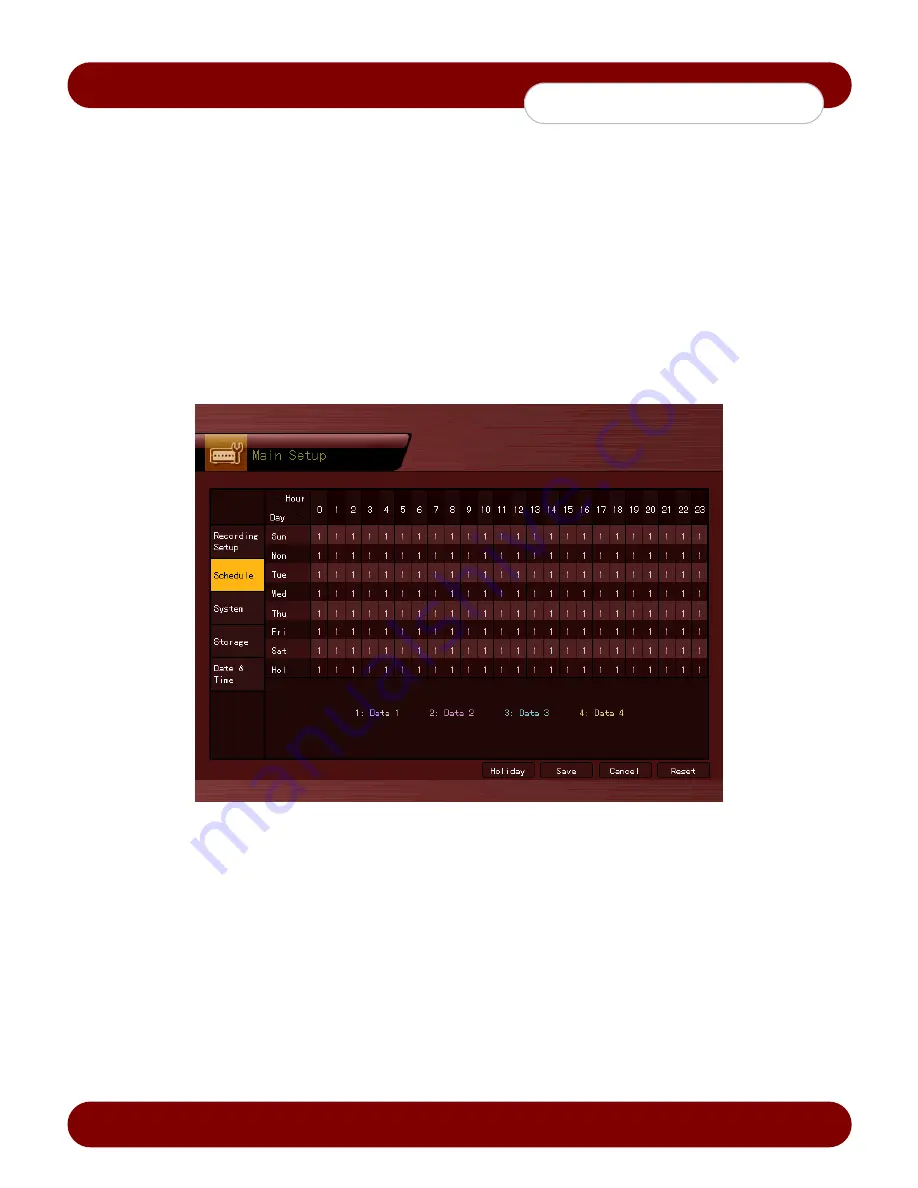
5-1-6 Recording Schedule
{Recording Schedule}
is used to save the system configuration as data from
Data 1
to
Data 4
and to make a recording
based on the system configuration for each day/time.
[Figure 5-5. Recording Schedule Window]
1) Selecting the Recording Schedule Menu
On the initial Main Setup screen shown in Figure 5-1, the user can select a recording schedule using the arrow
keys and the [Select] button.
The initial recording schedule screen will appear as shown in Figure 5-5.
2) Recording Schedule Setting
1) To set each column
1. Navigate to the time and date using the directional arrow keys.
2. Presss the [Select] button to change the data profile number.
2) To set the entire column
1. Navigate to the top with the hours with directional arrow keys.
2. Press the [Select] button to change the data profile number.
Summary of Contents for SSA-0424e
Page 1: ......


