


ELite 3, User Manual
Page 20/72
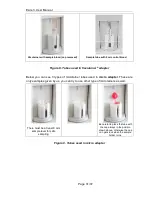
2.3.1.
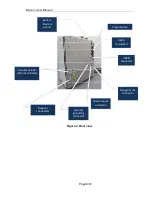
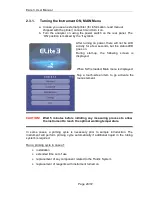
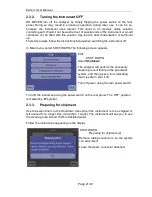
Turning the Instrument ON, MAIN Menu
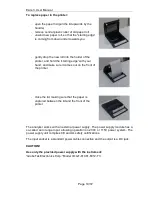
a. In case you use an external printer (for information, read manual
shipped with the printer) connect it and turn it on.
b. Turn the analyzer on using the power switch on the rear panel. The
‘ON’ position is marked by the ‘I’ symbol.
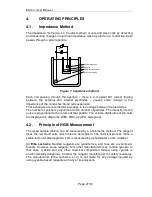
After turning on power, there will not be LCD
activity for a few seconds, but the status LED
goes on.
During start-up, the following screen is
displayed.
When SW is loaded, Main menu is displayed.
Tap a touch-screen item to go activate the
menu element.
CAUTION!
Wait 5 minutes before initiating any measuring process to allow
the instrument to reach the optimal working temperature.
In some cases, a priming cycle is necessary prior to sample introduction. The
instrument will perform priming cycle automatically if additional liquid in the tubing
system is required.
Run a priming cycle in case of:
•
installation
•
extended time out of use
•
replacement of any component related to the Fluidic System
•
replacement of reagents with instrument turned on