


ELite 3, User Manual
Page 18/72
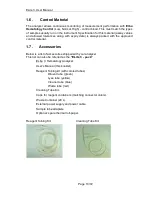
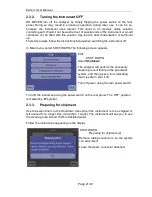
2.3.
Unpacking and installation
1. Carefully remove the analyzer from the shipping carton. Inspect the
instrument for any visible signs of damage incurred during shipping. Would
you find any damage, file a claim with the carrier or your distributor
immediately. Check the accessories received against the packing list.
Contact Service if anything is missing.
CAUTION! Prior to initial operation, allow the instrument to reach room
temperature (approx. 2 hours). Rapid temperature changes in an
operating unit can lead to water condensation, which may damage
electronic parts, and cause malfunction.
2. Place the instrument on a firm work surface in the designated work area,
near an appropriate AC electrical outlet. The power outlet connection
MUST be grounded.
NOTE
Before making connections: Make sure that all power is in “OFF”
state before connections (printer, external keyboard) are made.
Carefully read all literature accompanying the instrument and its
accessories. Pay particular attention to the operating procedures
for the external printer.
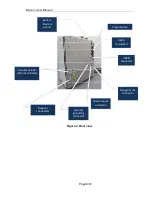
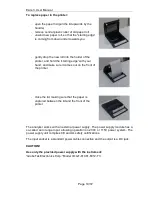
3. Keyboard and external printer
Attach the keyboard cable to one of the USB A ports on the back of the
instrument. Attach both ends of the printer cable to the appropriate ports
on the printer and
E
E
L
L
i
i
t
t
e
e
3
3. Attach the AC adapter to the printer (if required)
and plug it into an AC outlet.
4. Host Computer
The instrument has a built-in USB B port that allows connection to a host
computer. You can export results, including histograms. USB B I/O
settings are located in Settings menu.
For installation instructions for communication, please, contact Service.
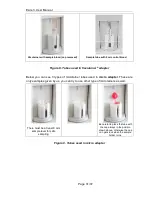
5. Power supply
Connect the power supply to the instrument. Attach power cord outlet to
the external power supply of
E
E
L
L
i
i
t
t
e
e
3
3 and plug the other end into a properly
grounded AC outlet.
WARNING: Do not switch on the analyzer before connecting external power
supply to it and to the AC outlet, as well as before connecting an
external printer or a keyboard to the analyzer.