


178
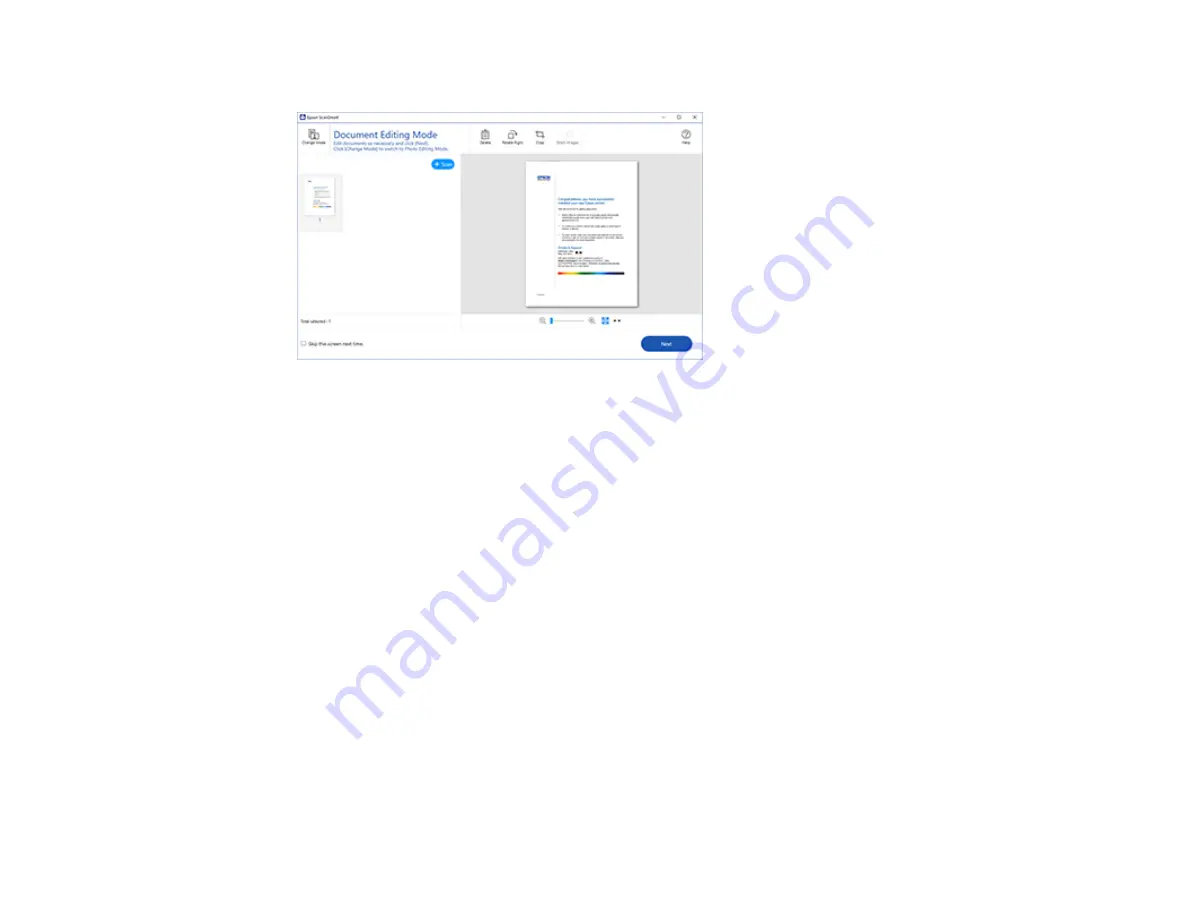
The original is scanned. When scanning is complete, you see a screen like this:
5.
You can review, edit, or reorder the scanned images as follows:
• Select
+ Scan
to scan more originals.
• Select
Delete
to delete selected scanned images.
• Select
Rotate Right
to rotate each scanned image.
• Select
Crop
to crop the selected image.
• Control-click two images, select
Stitch Images
, and follow the on-screen instructions to combine
them into a single image.
6.
If Photo Mode is automatically detected, the following enhancement options are available:
•
Auto Color Enhancement
: automatically adjusts the brightness, contrast, and saturation of your
photos
•
Restore Faded Colors
: restores the colors in faded photos automatically
•
Remove Red Eye
: automatically removes the red-eye effect from your photos
•
Auto Cropping
: automatically crops the scanned image edges
7.
When you finish reviewing and editing the scanned images, click
Next
.
Summary of Contents for WorkForce Pro WF-C4810 Series
Page 1: ...WF C4810 Series User s Guide ...
Page 2: ......
Page 14: ......
Page 34: ...34 Product Parts Inside 1 Document cover 2 Scanner glass 3 Control panel ...
Page 49: ...49 Related topics Wi Fi or Wired Networking ...
Page 99: ...99 1 Open the ADF document support 2 Slide the ADF edge guide outward ...
Page 173: ...173 You see an Epson Scan 2 window like this ...
Page 175: ...175 You see an Epson Scan 2 window like this ...
Page 189: ...189 You see a screen like this 2 Click the Save Settings tab ...
Page 194: ...194 You see this window ...
Page 248: ...248 Parent topic Printing Fax Reports ...
Page 291: ...291 Related tasks Loading Paper in the Cassette ...
Page 293: ...293 5 Open the document cover ...
Page 295: ...295 8 Open the ADF cover ...
Page 322: ...322 3 Open the ADF cover 4 Carefully remove any jammed pages ...


