


364
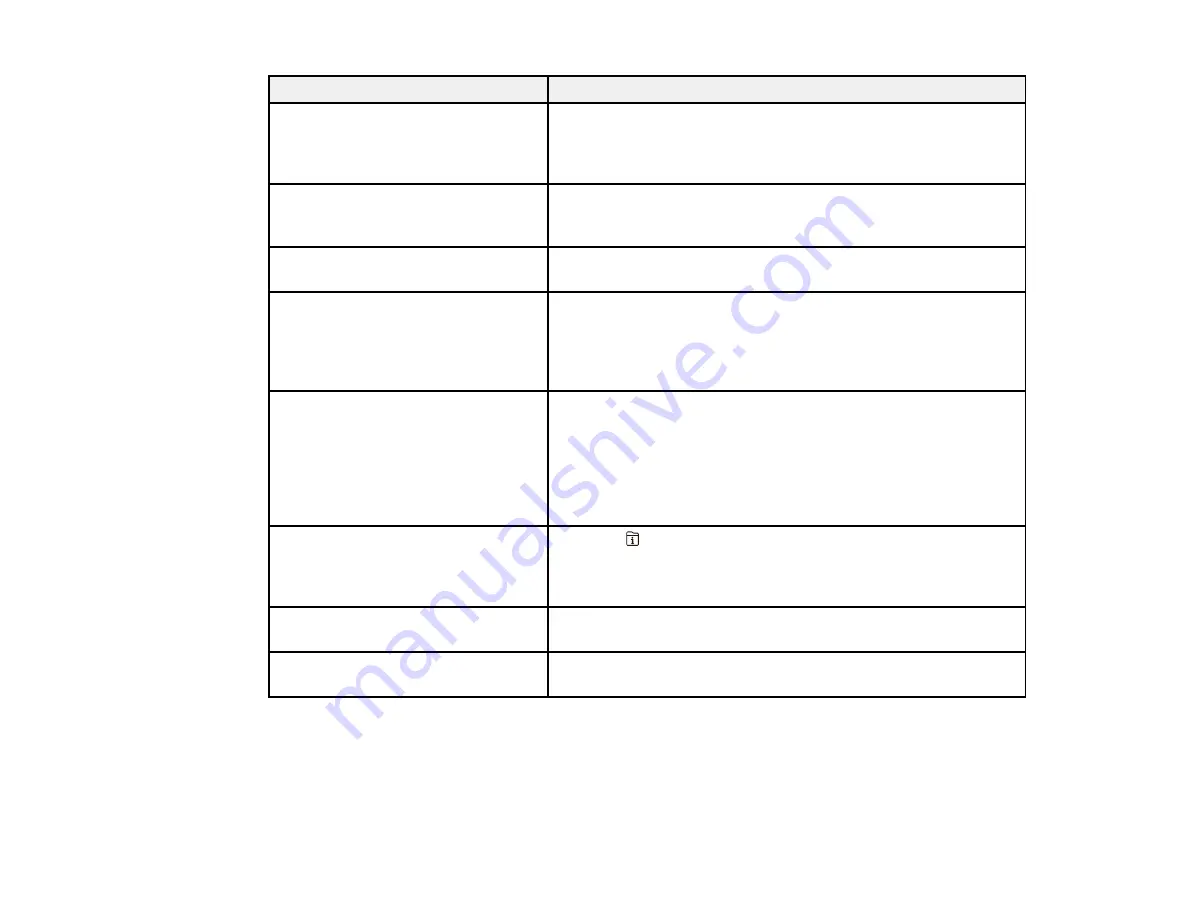
LCD screen message
Condition/solution
Maintenance rollers in XX is nearing
the end of its service life. .
The maintenance rollers need to be replaced periodically for
optimal performance. (Paper may not feed correctly from the
paper cassette when the maintenance roller is near the end of its
service life.)
Maintenance rollers in XX is at the
end of its service life. Replace it and
reset the maintenance roller counter
Replace the maintenance rollers.
You need to replace ink supply
unit(s).
Replace the indicated ink packs.
Paper Setup Auto Display is set to
Off. Some features such as paper
size and type settings may be
unavailable. For details, see your
documentation.
AirPrint is not available when the
Paper Setup Auto Display
setting is disabled. Change
Paper Setup Auto Display
to
On
.
No dial tone detected.
Make sure the phone cable is connected correctly and the
phone line works. If you connected the product to a PBX (Private
Branch Exchange) phone line or Terminal Adapter, change the
Line Type
setting to
PBX
. If you still cannot send a fax, turn off
the
Dial Tone Detection
setting. (Turning off the Dial Tone
Detection setting may cause the product to drop the first digit of
a fax number.)
Failed to receive faxes because the
fax data capacity is full. Touch the
Job/Status at the bottom of the Home
Screen for details.
Press the
Job/Status
button and select
Printer Status
and
resolve any printer errors that prevented faxes from printing.
Make sure the product is connected to a computer or that a USB
device is connected to the product.
Combination of the IP address and
the subnet mask is invalid.
There is a problem with the network connection to your product.
Set up your product on the network again.
Update the root certificate to use
cloud services.
Access the Web Config utility and update the cloud service root
certificate.
Summary of Contents for WF-C869R
Page 1: ...WF C869R User s Guide ...
Page 2: ......
Page 20: ...20 8 Attach the front cover to the stands 9 Remove the output tray from the product ...
Page 25: ...25 5 Remove the output tray 6 Remove paper cassette 2 from the product ...
Page 56: ...56 8 Optional cabinet 1 Rear paper feed edge guides 2 Paper support and extension ...
Page 74: ...74 Parent topic Product Basics Related topics Wi Fi or Wired Networking ...
Page 223: ...223 You see an Epson Scan 2 window like this ...
Page 225: ...225 You see an Epson Scan 2 window like this ...
Page 230: ...230 You see this window ...
Page 246: ...246 DSL connection 1 Telephone wall jack 2 DSL filter 3 DSL modem ...
Page 247: ...247 ISDN connection 1 ISDN wall jack 2 Terminal adapter or ISDN router ...
Page 329: ...329 6 Pull out rear cover 2 D2 7 Remove the roller cover inside the printer ...
Page 334: ...334 5 Open the rear cover E that matches with the paper cassette you removed ...
Page 343: ...343 You see a window like this 4 Click Print ...
Page 354: ...354 Parent topic Adjusting Print Quality Related topics Loading Paper ...
Page 388: ...388 3 Carefully remove any jammed paper 4 Pull out rear cover 2 D2 ...
Page 390: ...390 2 Open rear cover E on the optional paper cassette unit with the jammed paper ...
Page 393: ...393 4 Carefully remove any jammed pages ...
Page 394: ...394 5 Close the ADF cover then raise the document cover ...
Page 395: ...395 6 Carefully remove any jammed pages 7 Lower the document cover ...


