4.
Select
Scan
.
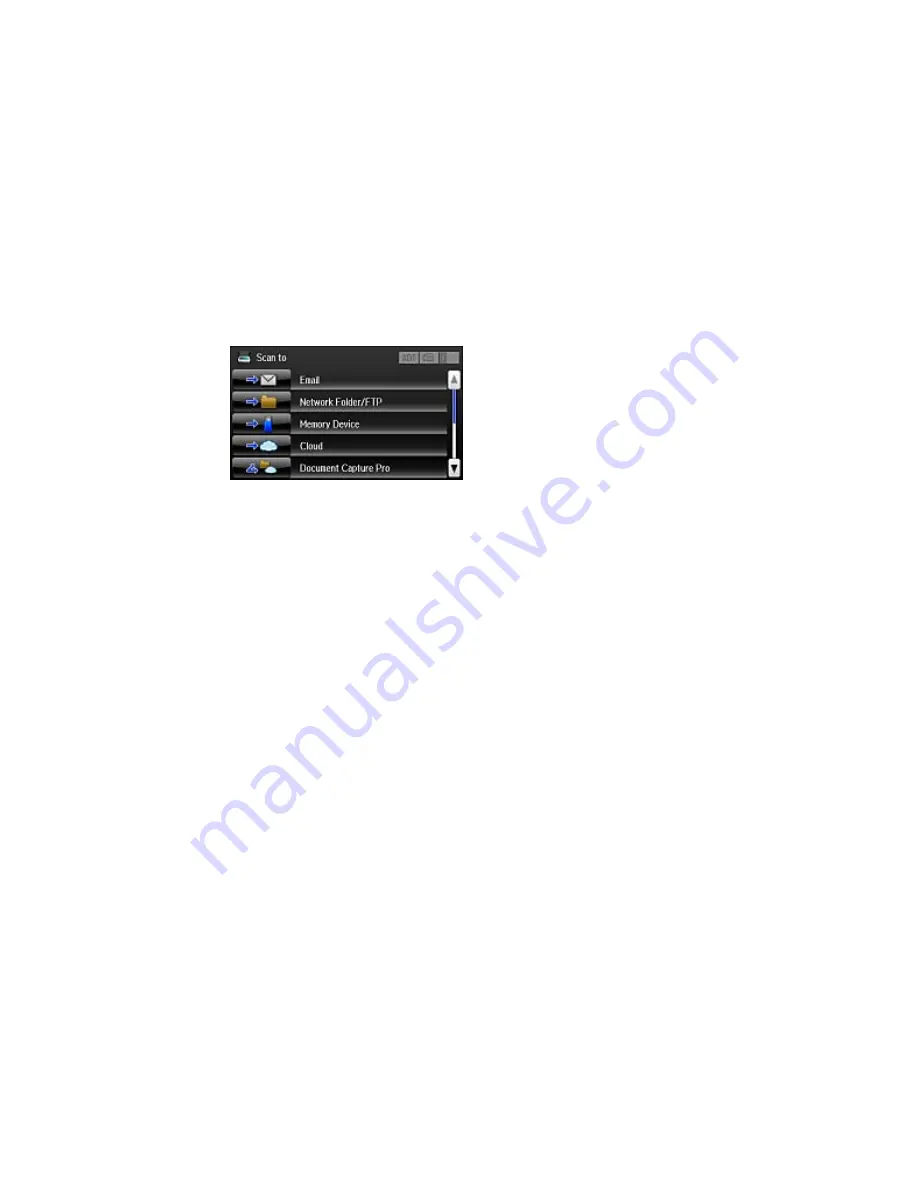
You see a screen like this:
5.
Select one of the following
Scan to
options:
•
Memory Device
saves your scan file on a memory or USB device and lets you select the file
format, quality, and other settings.
•
Cloud
sends your scanned files to a destination that you have registered with Epson Connect.
•
Document Capture Pro
allows you to scan over a network using your saved job settings in
Document Capture Pro or Document Capture.
•
Computer (WSD)
lets you manage network scanning in Windows 8, Windows 7, or Windows
Vista (English only). To use this feature, you must first set up WSD (Web Services for Devices) on
the computer.
6.
Select
Preset
to save your scan settings.
Note:
Presets can be locked by an administrator. If you cannot access or change this setting,
contact your administrator for assistance.
7.
Do one of the following:
• If you are scanning to a computer, select the target computer, and select the format and 2-sided
setting, if necessary.
• If you are scanning to a memory device, select
Settings
to display additional scanning options.
Adding and Assigning Scan Jobs
Parent topic:
Starting a Scan
142
Summary of Contents for WF-5690
Page 1: ...WF 5690 User s Guide ...
Page 2: ......
Page 14: ......
Page 145: ...You see a window like this 2 Click the Scan icon 145 ...
Page 160: ...You see this window 160 ...
Page 203: ...You see this window 3 Select Fax Settings for Printer Select your product if prompted 203 ...
Page 215: ...You see this window 4 Select Speed Dial Group Dial List 215 ...
Page 262: ...Related concepts Purchase Epson Ink Cartridges and Maintenance Box 262 ...
Page 354: ...Parent topic Technical Specifications 354 ...
Page 412: ...7 14 CPD 40226R1 Parent topic Copyright Notice 412 ...


