


Epson Easy Photo Print lets you lay out and print digital images on various types of paper. The step-by-step
instructions in the window let you preview the printed images and get the effects you want without having to make any
difficult settings.
Using the Quick Print function, you can perform one-click printing with the settings you make.
Starting Epson Easy Photo Print
For Windows
❏
Double-click the
Epson Easy Photo Print
icon on the desktop.
❏
For
Windows 7
and
Vista:
Click the start button, point to
All Programs
, click
Epson Software
, and then click
Easy Photo Print
.
For
Windows XP:
Click
Start
, point to
All Programs
, point to
Epson Software
, then click
Easy Photo Print
.
For Mac OS X
Double-click the
Applications
folder on your Mac OS X hard drive, then double-click in turn on the
Epson Software
and
Easy Photo Print
folders and finally double-click the
Easy Photo Print
icon.
Product presets (For Windows Only)
Printer driver presets make printing a snap. You can also create presets of your own.
Product settings for Windows
A
Access the printer settings.
&
“Accessing the printer driver for Windows” on page 29
B
Select a Printing Presets in the Main tab. Product settings are automatically set to the values displayed in the
pop-up window.
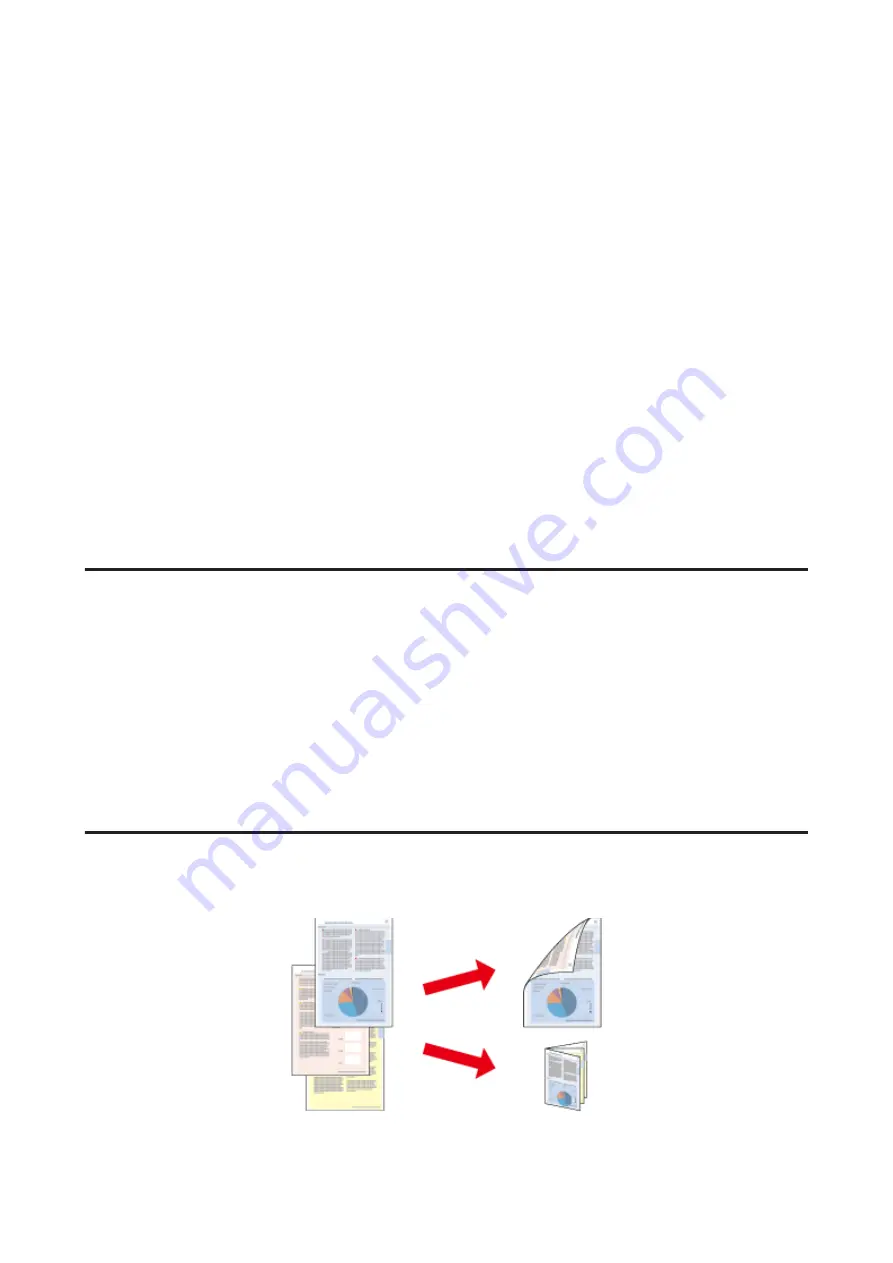
2-sided printing (for Windows only)
Use the printer driver to print on both sides of the paper.
Two types of 2-sided printing are available: standard and folded booklet.
User’s Guide
Printing
36


