


Related topics
Replacing the Ink and Chip Unit
Preparing for Maintenance
Before you perform any maintenance procedures, see these sections to prepare for maintenance.
Maintenance Supplies
Maintenance Precautions
Using Ink Cleaner
Moving the Print Head for Maintenance
Parent topic:
Maintenance
Maintenance Supplies
Before performing any maintenance tasks or replacing ink, make sure you have the maintenance
supplies listed here.
Protective eyewear
Obtain commercially available eyewear to protect your eyes from ink and ink cleaner.
Mask
Obtain a commercially available mask to protect your mouth and nose from ink and ink cleaner.
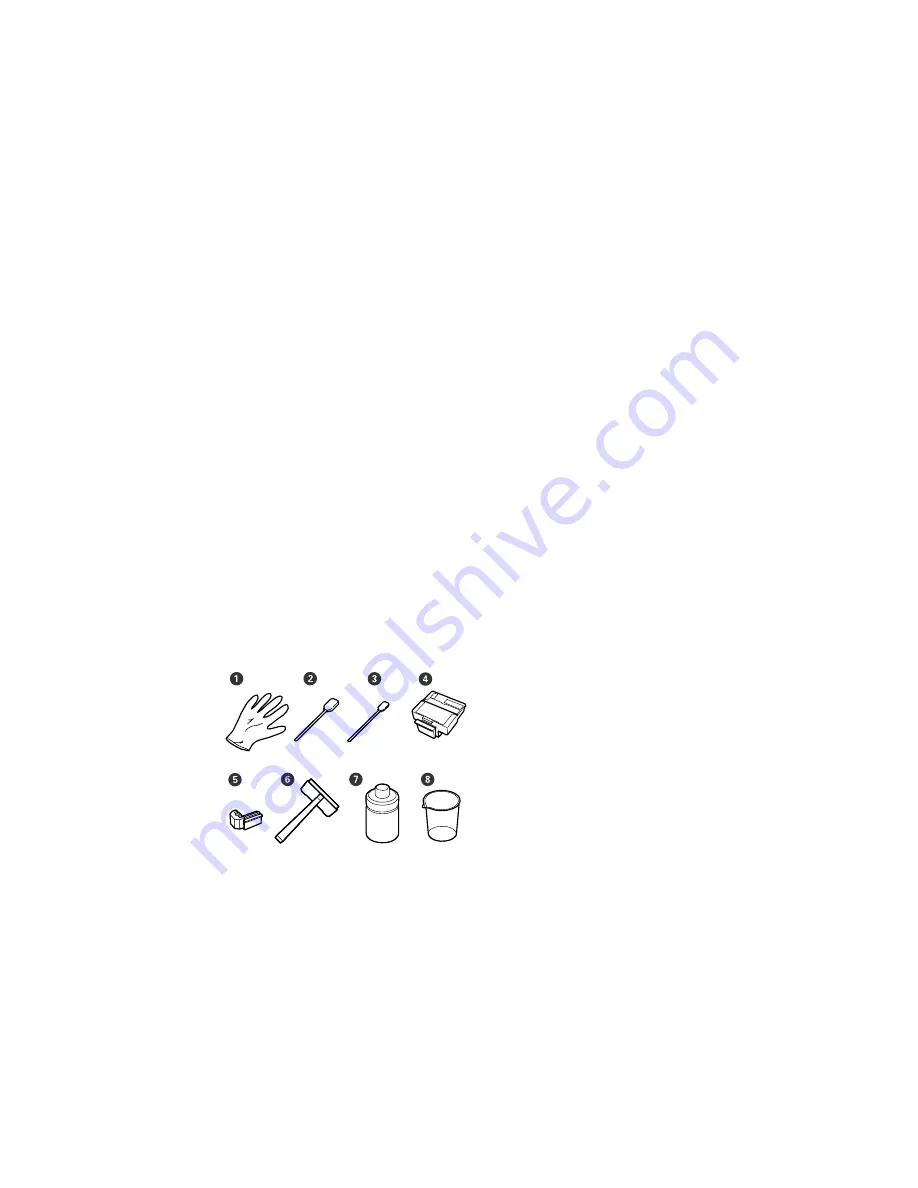
Maintenance Kit
Use the maintenance kit that came with your product for general cleaning. The kit contains the
following items:
81
Summary of Contents for SureColor F7200
Page 1: ...Epson SureColor F7200 User s Guide ...
Page 2: ......
Page 7: ...Epson SureColor F7200 User s Guide Welcome to the Epson SureColor F7200 User s Guide 7 ...
Page 11: ...Slider Chip Holder Parts 1 Slider 2 Ink inlet cover 3 Chip unit LAN Port Parts 11 ...
Page 34: ...21 Open the front cover 22 Lower the media loading lever to hold the media in place 34 ...
Page 50: ...1 Move the Auto switch to the off position 50 ...
Page 68: ...7 Lower the media roll onto the roll support Parent topic Using the Auto Take up Reel 68 ...
Page 86: ...2 Grasp the loop at the top of the ink inlet cap and slowly remove the ink inlet cap 86 ...
Page 97: ...Rest the stirring stick on the tab at the edge of the tank as shown 97 ...
Page 98: ...10 Cut or tear off the ink pack spout seal 98 ...
Page 123: ...3 Grasp the wiper cleaner and lift it out of your product as shown 123 ...
Page 129: ...5 Align the white line on a new media holding plate with the edge of the platen 129 ...
Page 159: ...6 Place the tabs over the screws at the front of the product and attach them as shown 159 ...
Page 180: ...19 Use the small hexagon wrench to loosen the two screws 180 ...


