


Caution:
Follow the instructions in the topic links below the table to use these menu settings correctly.
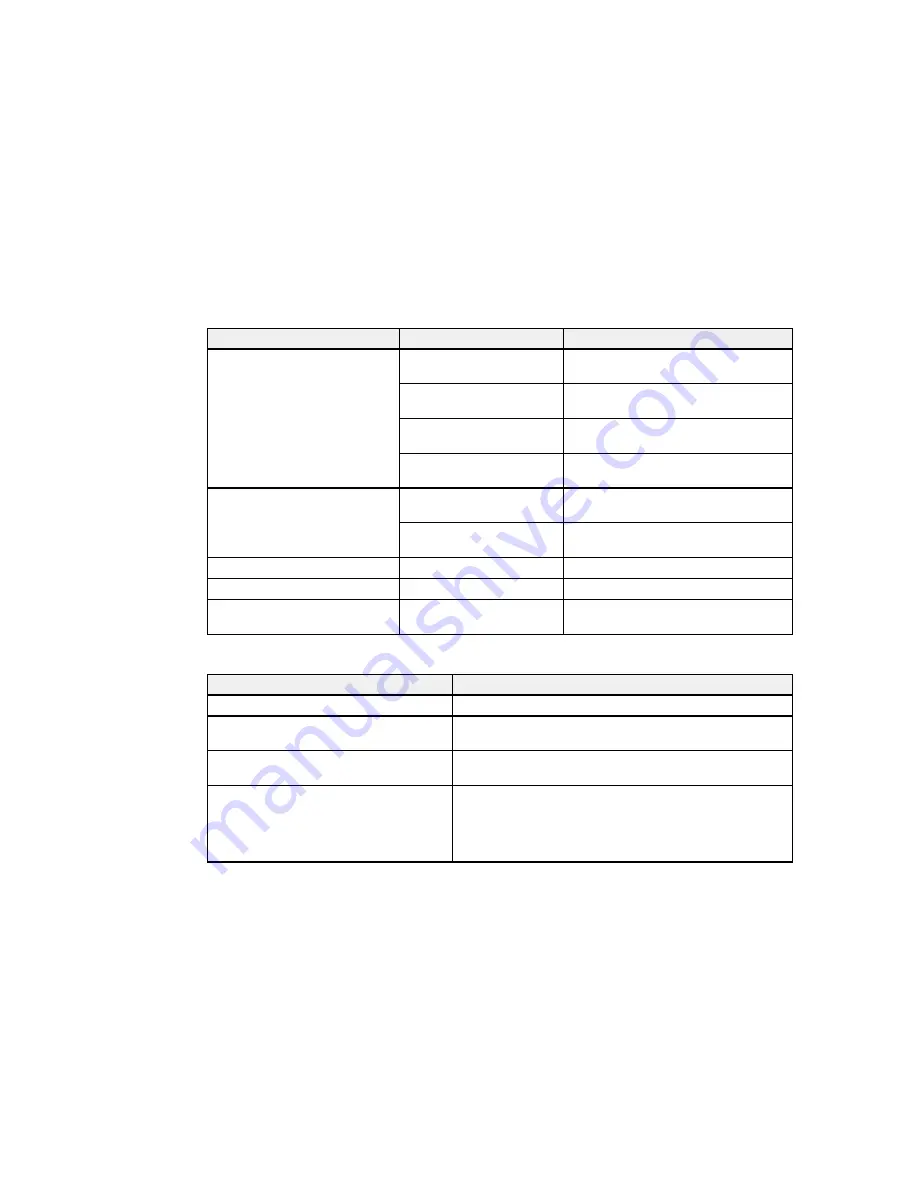
Setting
Options
Description
Media Remaining
Remaining Setup
Displays and records the amount of
media remaining on a roll.
Length
Enter the total roll length, from 3 to
3280 ft (1.0 to 999.5 m).
Remaining Alert
Enter the length at which the printer will
alert you, from 4 to 50 ft (1 to 15 m).
Print Remaining Length
Prints the amount of media remaining
on the current roll before you replace it.
Select Media
1
to
30
Selects a number for the settings bank
to use for printing.
RIP Settings
Specifies using the software RIP
settings instead of the printer settings.
Customize Settings
—
See the next table.
RIP Settings
—
See the third table.
Print Media List
Prints the contents of media setting
banks 1 to 30.
Customize Settings
options
Options
Description
Current Settings
Changes settings for the currently selected media.
Setting Name
Enter a name up to 22 characters for the media settings
bank.
Feed Adjustment
Select
Manual
if banding persists after head cleaning and
alignment .
Platen Gap
Select
2.0
for most media. Select
1.5
if print quality is
unsatisfactory. Select
2.5
only if printouts are scratched or
smudged. Choosing a larger gap than necessary can
cause ink stains inside the printer, reduced print quality, or
shorter product life.
70
Summary of Contents for SureColor F7200
Page 1: ...Epson SureColor F7200 User s Guide ...
Page 2: ......
Page 7: ...Epson SureColor F7200 User s Guide Welcome to the Epson SureColor F7200 User s Guide 7 ...
Page 11: ...Slider Chip Holder Parts 1 Slider 2 Ink inlet cover 3 Chip unit LAN Port Parts 11 ...
Page 34: ...21 Open the front cover 22 Lower the media loading lever to hold the media in place 34 ...
Page 50: ...1 Move the Auto switch to the off position 50 ...
Page 68: ...7 Lower the media roll onto the roll support Parent topic Using the Auto Take up Reel 68 ...
Page 86: ...2 Grasp the loop at the top of the ink inlet cap and slowly remove the ink inlet cap 86 ...
Page 97: ...Rest the stirring stick on the tab at the edge of the tank as shown 97 ...
Page 98: ...10 Cut or tear off the ink pack spout seal 98 ...
Page 123: ...3 Grasp the wiper cleaner and lift it out of your product as shown 123 ...
Page 129: ...5 Align the white line on a new media holding plate with the edge of the platen 129 ...
Page 159: ...6 Place the tabs over the screws at the front of the product and attach them as shown 159 ...
Page 180: ...19 Use the small hexagon wrench to loosen the two screws 180 ...


