Maintenance and Transportation
260
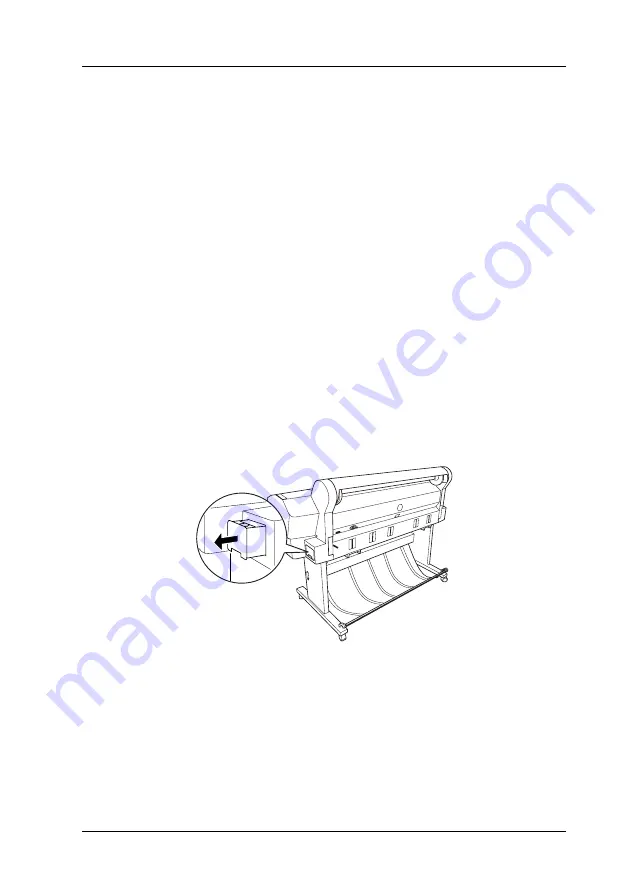
Replacing the Maintenance Tank
If the maintenance tank icon tells that the maintenance tank is full
or near full on the LCD panel, replace the maintenance tank.
To check the product code of the Maintenance Tank, see
“Consumable Products” on page 363.
To replace the maintenance tank, follow the steps below.
1. Open the package of a new maintenance tank.
2. Put your hand on the handle on the side of the printer, then
gently pull the maintenance tank outward.
Note:
EPSON Stylus Pro 9880/9880C/9450 has two maintenance tanks.
Make sure which maintenance tank is needed to be replaced with the
message on the LCD panel.
3. Put the used maintenance tank in the plastic bag provided.
Note:
Do not tilt the used maintenance tank until after it is sealed in the
plastic bag.
4. Insert the new maintenance tank into the place.
Summary of Contents for Stylus Pro 7450
Page 1: ...User s Guide NDP2996 00 ...
Page 19: ...Using the Printer Software Windows 19 Example Example ...
Page 84: ...Variety of Printings 84 2 Select Advanced B W Photo for the Color Windows Mac OS X ...
Page 92: ...Variety of Printings 92 4 Select Borderless and then click Expansion ...
Page 244: ...Paper Handling 244 2 Turn the paper basket to the backward position as shown below ...


