49
8.
Select
IP Settings
and press
Enter
.
9.
Select your IP settings as necessary:
• If your network assigns addresses automatically, turn on the
DHCP
setting.
• If you must set addresses manually, turn off
DHCP
and enter the projector's
IP Address
,
Subnet
Mask
, and
Gateway Address
as needed.
Note:
To highlight the numbers you want from the displayed keyboard, press the arrow buttons on
the remote control. To select a highlighted number, press
Enter
. Alternatively, press and hold the
Num
button on the remote control while entering the desired numbers.
10. To prevent display of the IP address on the standby screen, turn off
IP Address Display
in the
Wired LAN menu.
11. Select
Return
and press
Enter
to return to the Network Settings menu.
12. Select
Network Projection
and press
Enter
.
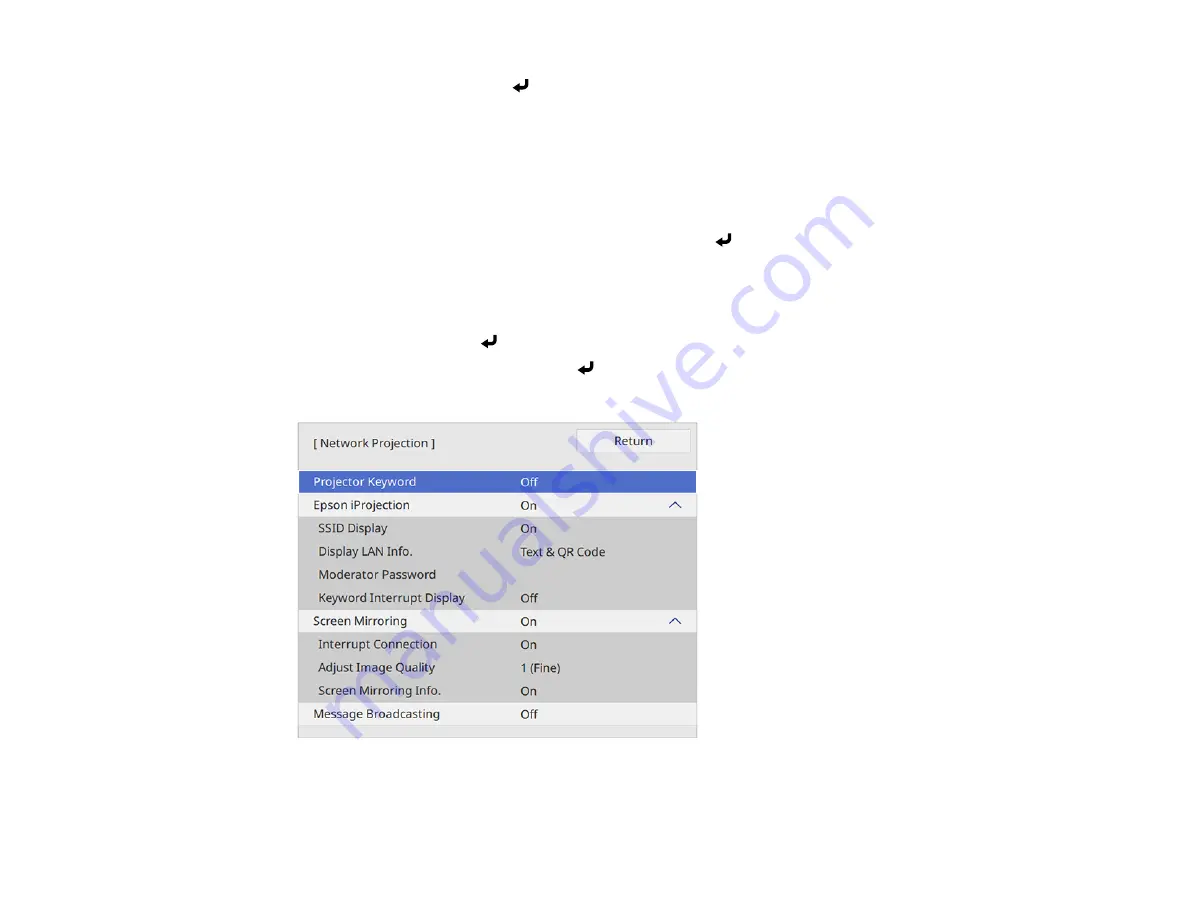
You see a screen like this:
13. Set the
Epson iProjection
setting to
On
.
Summary of Contents for Pro EX10000
Page 1: ...Pro EX10000 User s Guide ...
Page 2: ......
Page 10: ......
Page 22: ...22 Related references Projector Light Status Projector Parts Remote Control ...
Page 25: ...25 Front Rear Front ceiling ...
Page 120: ...120 3 Select the Operation menu and press Enter ...
Page 164: ...164 You see a screen like this 6 Select Add New and press Enter ...
Page 168: ...168 Parent topic Scheduling Projector Events ...
Page 242: ...242 As with any bright source do not stare into the beam RG2 IEC EN 62471 5 2015 ...


