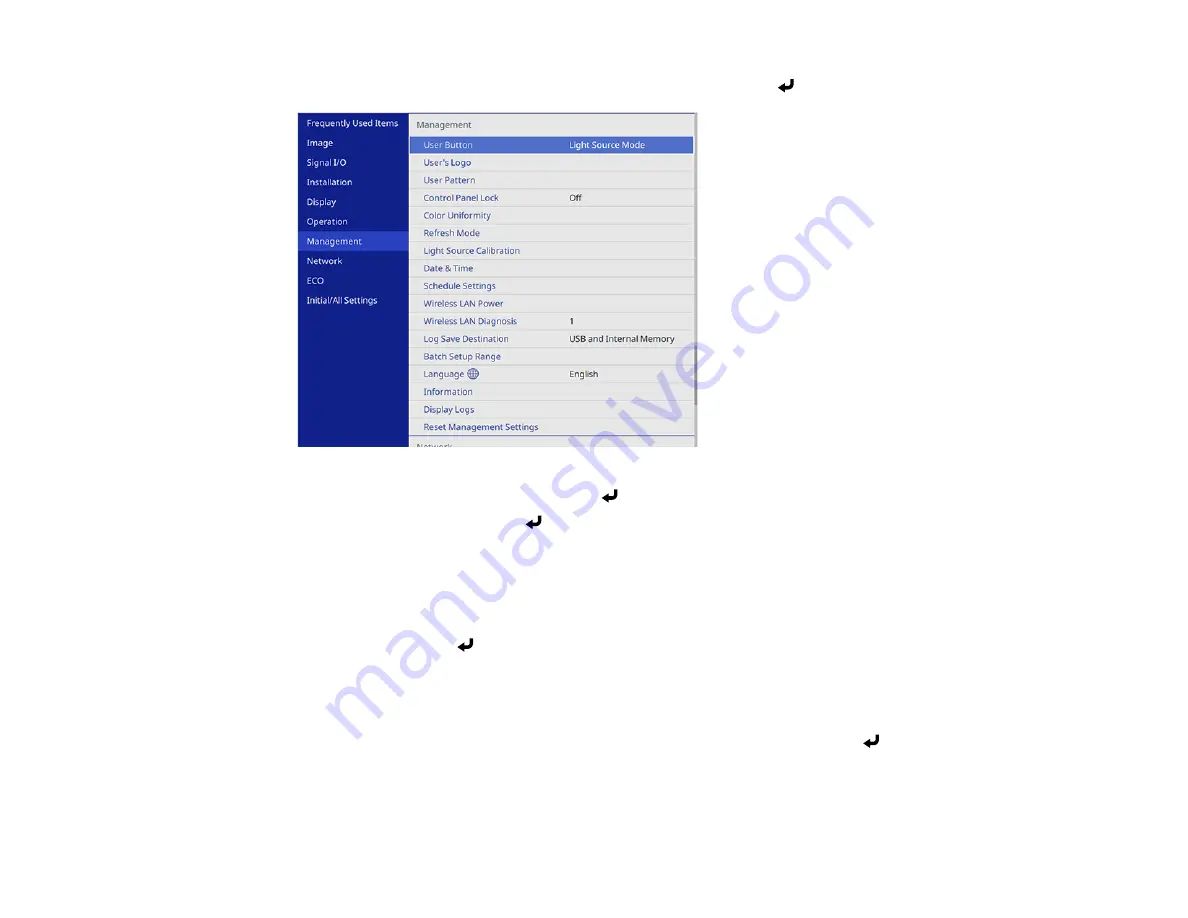
152
2.
Press the
Menu
button, select the
Management
menu, and press
Enter
.
3.
Select the
User's Logo
setting and press
Enter
.
4.
Select
Start Setting
and press
Enter
.
You see a prompt asking if you want to use the displayed image as a user's logo.
Note:
When you select
User's Logo
, adjustments such as
Geometry Correction
,
E-Zoom
,
Aspect
, and
Screen Type
are temporarily canceled.
5.
Select
Yes
and press
Enter
.
Note:
Depending on the image signal, the screen size may change to match the resolution of the
image signal.
6.
Make sure the image appears as you want it, then select
Yes
again and press
Enter
.
You see a completion message.
7.
Press
Esc
to exit the message screen.
Summary of Contents for Pro EX10000
Page 1: ...Pro EX10000 User s Guide ...
Page 2: ......
Page 10: ......
Page 22: ...22 Related references Projector Light Status Projector Parts Remote Control ...
Page 25: ...25 Front Rear Front ceiling ...
Page 120: ...120 3 Select the Operation menu and press Enter ...
Page 164: ...164 You see a screen like this 6 Select Add New and press Enter ...
Page 168: ...168 Parent topic Scheduling Projector Events ...
Page 242: ...242 As with any bright source do not stare into the beam RG2 IEC EN 62471 5 2015 ...


