62
OS X
5.
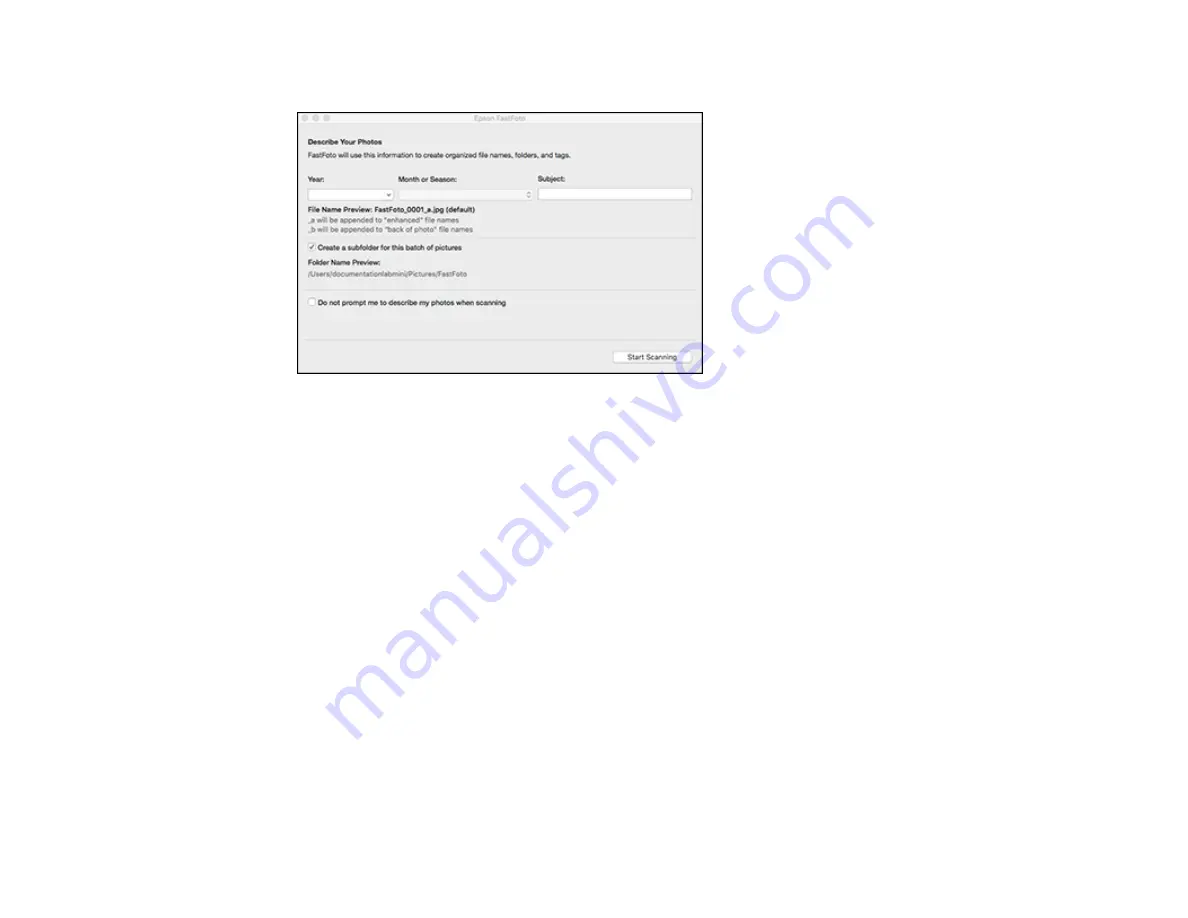
If you want, enter a subject and date for this batch of photos. This information is added to the name
of each scanned image, as shown in the preview text.
6.
If you want to create a new subfolder for the scanned images, select the
Create a subfolder for this
batch of pictures
checkbox.
7.
If you do not want to see this window every time you scan, select the
Do not prompt me to
describe my photos when scanning
checkbox.
8.
Click
Start Scanning
.
The scanner scans your photos and prompts you to load more photos. When you are finished, the
photos are processed and saved in the location you chose.
After you scan your photos with Windows, you can share, upload, or edit them using FastFoto.
Sharing Photos with FastFoto - Windows
Uploading Photos with FastFoto - Windows
FastFoto Edit Menu - Windows
Available FastFoto Settings
Parent topic:
Related tasks
Summary of Contents for FF-640
Page 1: ...FF 640 User s Guide ...
Page 2: ......
Page 6: ...6 A Note Concerning Responsible Use of Copyrighted Materials 136 Copyright Attribution 136 ...
Page 19: ...19 2 Slide the input tray edge guides all the way out ...
Page 24: ...24 2 Slide the input tray edge guides all the way out ...
Page 29: ...29 6 Slide the edge guides against the edges of the carrier sheet ...
Page 33: ...33 2 Slide the input tray edge guides all the way out ...
Page 38: ...38 2 Slide the input tray edge guides all the way out ...
Page 43: ...43 2 Slide the input tray edge guides all the way out ...
Page 45: ...45 4 Slide the edge guides against the edges of the plastic card ...
Page 49: ...49 2 Slide the input tray edge guides all the way out ...
Page 52: ...52 5 Slide the edge guides against the edges of the sheet ...
Page 60: ...60 Windows OS X ...
Page 95: ...95 9 Remove the middle pickup roller from the spindle ...
Page 111: ...111 4 Gently pull out any jammed originals from inside the scanner ...


