1.
Load a few sheets of plain paper in the product.
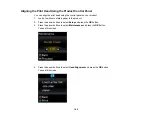
2.
Press the arrow buttons to select
Setup
and press the
OK
button.
3.
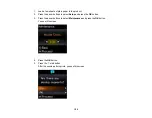
Press the arrow buttons to select
Maintenance
and press the
OK
button.
You see this screen:
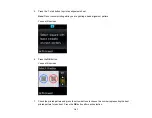
4.
Press the
OK
button.
5.
Press the
start button.
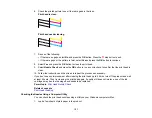
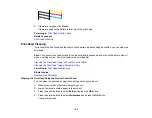
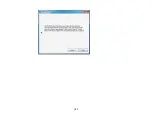
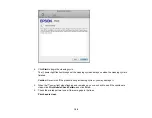
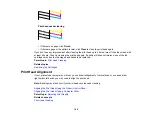
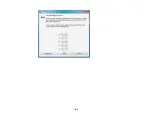
After the nozzle pattern prints, you see this screen:
150
Summary of Contents for Epson Stylus NX330
Page 1: ...Epson Stylus NX330 User s Guide ...
Page 2: ......
Page 10: ...Default Delay Times for Power Management for Epson Products 221 Copyright Attribution 221 10 ...
Page 11: ...Epson Stylus NX330 User s Guide Welcome to the Epson Stylus NX330 User s Guide 11 ...
Page 20: ...Product Parts Back 1 AC inlet 2 USB port Parent topic Product Parts Locations 20 ...
Page 87: ...87 ...
Page 97: ...3 Adjust the scan area as necessary 97 ...
Page 104: ...104 ...
Page 112: ...3 Adjust the scan area as necessary 112 ...
Page 144: ...144 ...
Page 157: ...157 ...
Page 163: ...163 ...

