7.
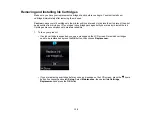
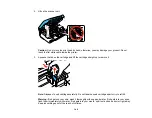
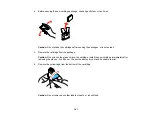
Insert the new cartridge into the holder and push it down until it clicks into place.
8.
Press the
OK
button.
9.
Lower the scanner unit.
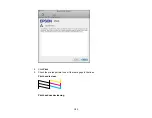
The print head moves to its home position and the printer starts charging the ink. This takes about 2
minutes. When you see the
Ink Cartridge Replacement
screen, ink charging is finished.
Caution:
Never turn off the product while the
power light is flashing or you will waste ink.
142
Summary of Contents for Epson Stylus NX330
Page 1: ...Epson Stylus NX330 User s Guide ...
Page 2: ......
Page 10: ...Default Delay Times for Power Management for Epson Products 221 Copyright Attribution 221 10 ...
Page 11: ...Epson Stylus NX330 User s Guide Welcome to the Epson Stylus NX330 User s Guide 11 ...
Page 20: ...Product Parts Back 1 AC inlet 2 USB port Parent topic Product Parts Locations 20 ...
Page 87: ...87 ...
Page 97: ...3 Adjust the scan area as necessary 97 ...
Page 104: ...104 ...
Page 112: ...3 Adjust the scan area as necessary 112 ...
Page 144: ...144 ...
Page 157: ...157 ...
Page 163: ...163 ...

