c
Select
High Speed
, and then press the [
] button.
If you are concerned about the operation noise of Auto Iris, set it to
Normal
.
The setting is stored for each color mode.
d
Press the [Menu] button to finish making settings.
Changing the Aspect Ratio of the Projected Image
You can change the Aspect Ratio
of the projected image to suit the type,
the ratio of height and width, and the resolution of the input signals.
Available aspect modes vary depending on the Screen Type currently set.
a
Set the
Screen Type
before changing the aspect ratio.
s
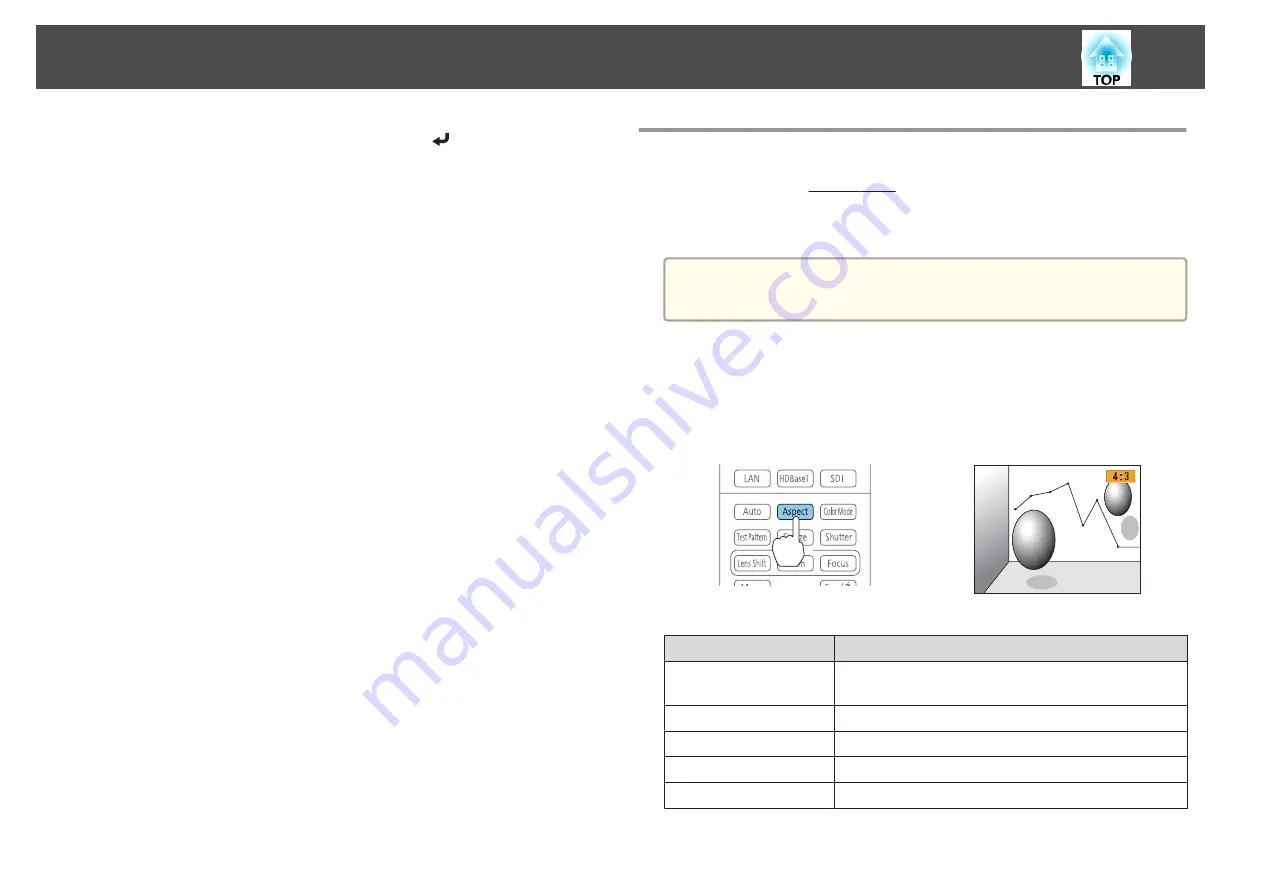
Changing methods
Each time you press the [Aspect] button on the remote control, the aspect
mode name is displayed on the screen and the aspect ratio changes.
Remote control
Aspect Mode
Explanation
Auto
Projects in an appropriate aspect ratio based on
information from the signal being input.
Normal
Projects while retaining the aspect ratio of the input image.
4:3
Projects at an aspect ratio of 4:3.
16:9
Projects at an aspect ratio of 16:9.
Full
Projects at the full size of the projected screen.
Adjusting Projected Images
72
Summary of Contents for EB-Z10000U
Page 1: ...User s Guide ...
Page 13: ...Introduction This chapter explains the names for each part ...
Page 24: ...Remote control operating range Part Names and Functions 24 ...
Page 57: ...Basic Usage This chapter explains how to project and adjust images ...
Page 113: ...Configuration Menu This chapter explains how to use the Configuration menu and its functions ...
Page 185: ...Appendix ...
Page 233: ...Z Zoom 19 37 Index 233 ...


