


a
If the image is not located correctly, select
Manual
in step 6,
and then follow the steps below to locate the image manually.
(1) Set
Row
and
Column
in
Layout
.
(2) Select
Set
, and then press the [
] button.
(3) Select the location in
Location Setup
, and then press the [
]
button.
(4) Repeat step (3) to reposition the location of all projectors.
(5) Select
Set
, and then press the [
] button.
h
Input the image signal to display the image.
s
"Automatically Detecting Input Signals and Changing the
Projected Image (Source Search)"
When tiling is complete, adjust any positional gaps and the tint of the
projected images.
s
"Adjusting the projected images"
a
•
After tiling is complete, do not change the IP addresses or projector
names of the projectors. Otherwise the image will not be adjusted
automatically.
•
After tiling is complete, you can set each projector with one remote
control. Select the projector ID for the projector you want to set
with the remote control. You can check the projector ID in
Tiling
-
Location Info
.
s
"Setting the remote control ID"
Performing tiling manually
This section explains how to perform location settings for the image
manually without performing
Projector Grouping
.
a
Press the [Menu] button while projecting.
b
Select
Multi-Projection
from
Extended
, and then press the [
]
button.
c
Select
Tiling
, and then press the [
] button.
d
Select
Layout
, and then press the [
] button.
(1)
Set the number of projectors in
Row
and
Column
.
(2)
Select
Set
, and then press the [
] button.
e
Repeat steps 1 to 4 for each projector to be used for tiling.
f
Select
Location Setup
, and then press the [
] button.
(1)
Set the positions of the projected images in
Row Order
and
Column
Order
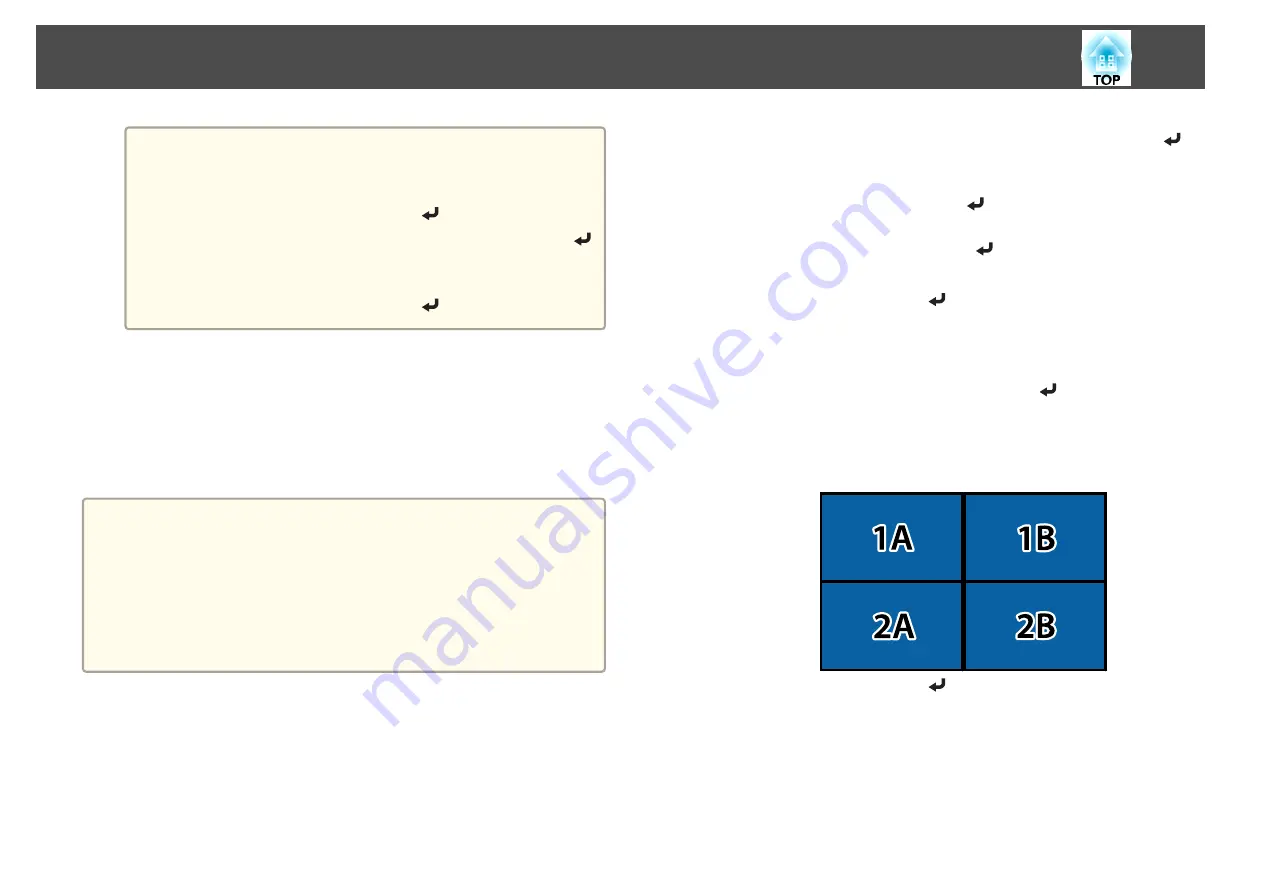
.
Row Order
: Place screens from top to bottom in the order of
1
,
2
,
3
.
Column Order
: Place screens from left to right in the order of
A
,
B
,
C
.
(2)
Select
Set
, and then press the [
] button.
g
Repeat step 6 for each projector.
h
Input the image signal to display the image.
s
"Automatically Detecting Input Signals and Changing the
Projected Image (Source Search)"
Multi-Projection Function
97
Summary of Contents for EB-L1490U
Page 1: ...User s Guide ...
Page 15: ...Introduction This chapter explains the names for each part ...
Page 58: ...Connecting Equipment 58 ...
Page 59: ...Basic Usage This chapter explains how to project and adjust images ...
Page 140: ...Configuration Menu This chapter explains how to use the Configuration menu and its functions ...
Page 219: ...Appendix ...


