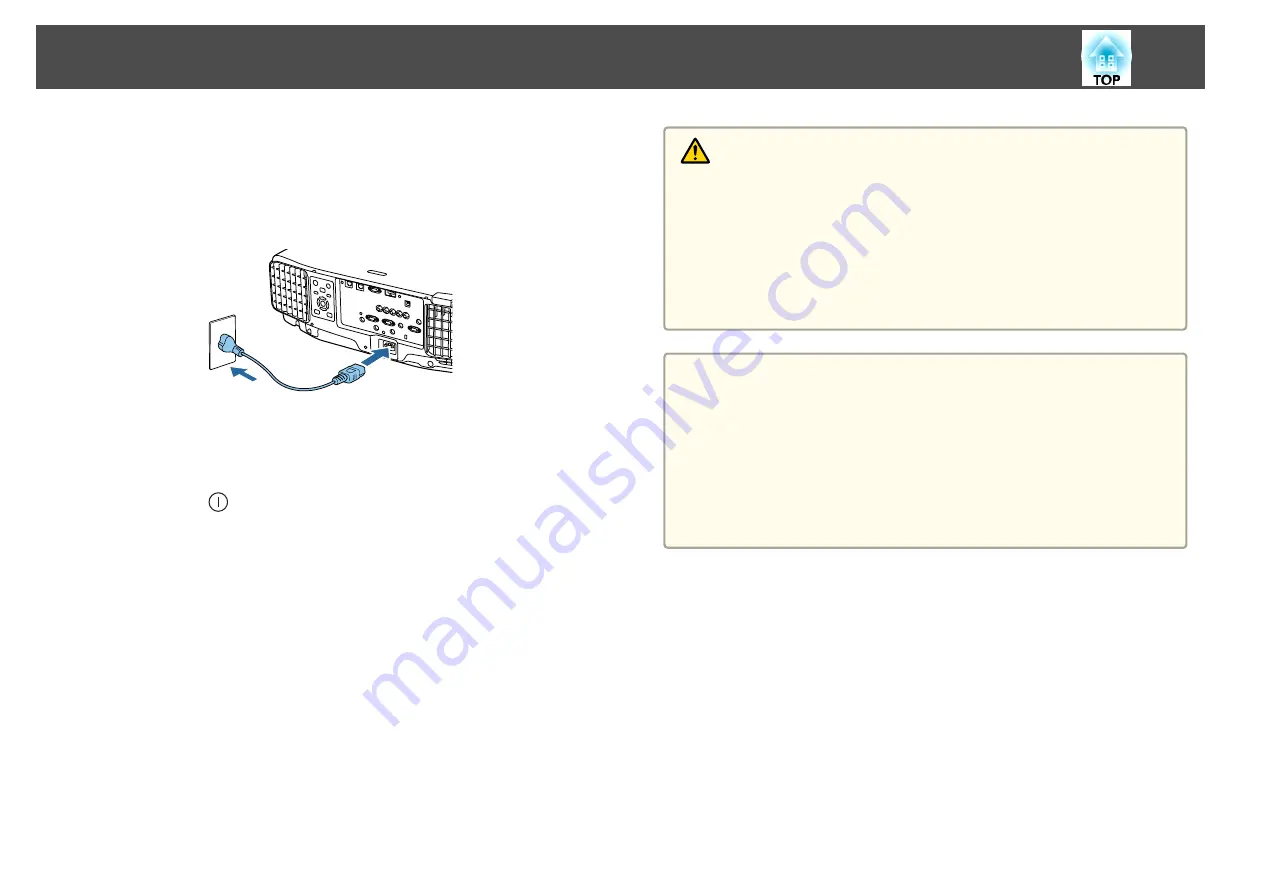
Before turning on the projector, connect your computer or video equipment
to the projector.
s
a
Connect the projector to an electrical outlet with the power cord.
The projector's power indicator turns blue (it is in standby mode).
This indicates that the projector is receiving power, but is not yet
turned on.
b
Press the [
] button on the control panel or remote control to
turn on the projector.
The confirmation buzzer beeps and the status indicator flashes blue
as the projector warms up. Once the projector is warmed up, the
status indicator stops flashing and turns blue.
If the image is not projected, try the following.
•
Turn on the connected computer or video equipment.
•
When using a laptop computer, change the screen output of the
computer.
•
Insert media such as a DVD and play it back.
•
Press the [Search] button on the control panel or the remote control to
detect the input source.
•
Press the button for the input source that you want to project by using
the remote control.
•
If the Home screen is displayed, select the input source that you want
to project.
Warning
•
Do not look into the projector's lens during projection. Doing so may
damage your eyes. Be especially careful if children are present.
•
During projection, do not block the light from the projector with a book and
so on. If the light from the projector is blocked, the area on which the light
shines becomes hot which could cause it to melt, burn, or start a fire. Also,
the lens may get hot due to the reflected light which could cause the
projector to malfunction. To stop projection, use the A/V Mute function or
turn off the projector.
a
•
If
Direct Power On
is set to
On
in the
Extended
menu, the
projector automatically turns on when the power cord is connected
to it. When the power cord is plugged in, note that the projector
turns on automatically in cases such as recovery from a power
outage.
s
Extended
-
Operation
-
Direct Power On
•
If an image signal from the source selected in
Auto Power On
is
input, the projector automatically turns on.
s
Extended
-
Operation
-
Auto Power On
Turning On the Projector
60
Summary of Contents for EB-L1490U
Page 1: ...User s Guide ...
Page 15: ...Introduction This chapter explains the names for each part ...
Page 58: ...Connecting Equipment 58 ...
Page 59: ...Basic Usage This chapter explains how to project and adjust images ...
Page 140: ...Configuration Menu This chapter explains how to use the Configuration menu and its functions ...
Page 219: ...Appendix ...


