g
When you are done, press the [Esc] button to exit the correction
menu.
Because
Keystone
was changed to
Quick Corner
, the corner
selection screen from step 3 is displayed when you press the [
],
[
], [
], and [
] buttons on the control panel next time.
Change
Keystone
to
H/V-Keystone
if you want to perform
horizontal and vertical correction using the [
], [
], [
], and
[
] buttons on the control panel.
s
Settings
-
Keystone
-
H/V-Keystone
a
If the [Esc] button is held down for about two seconds while
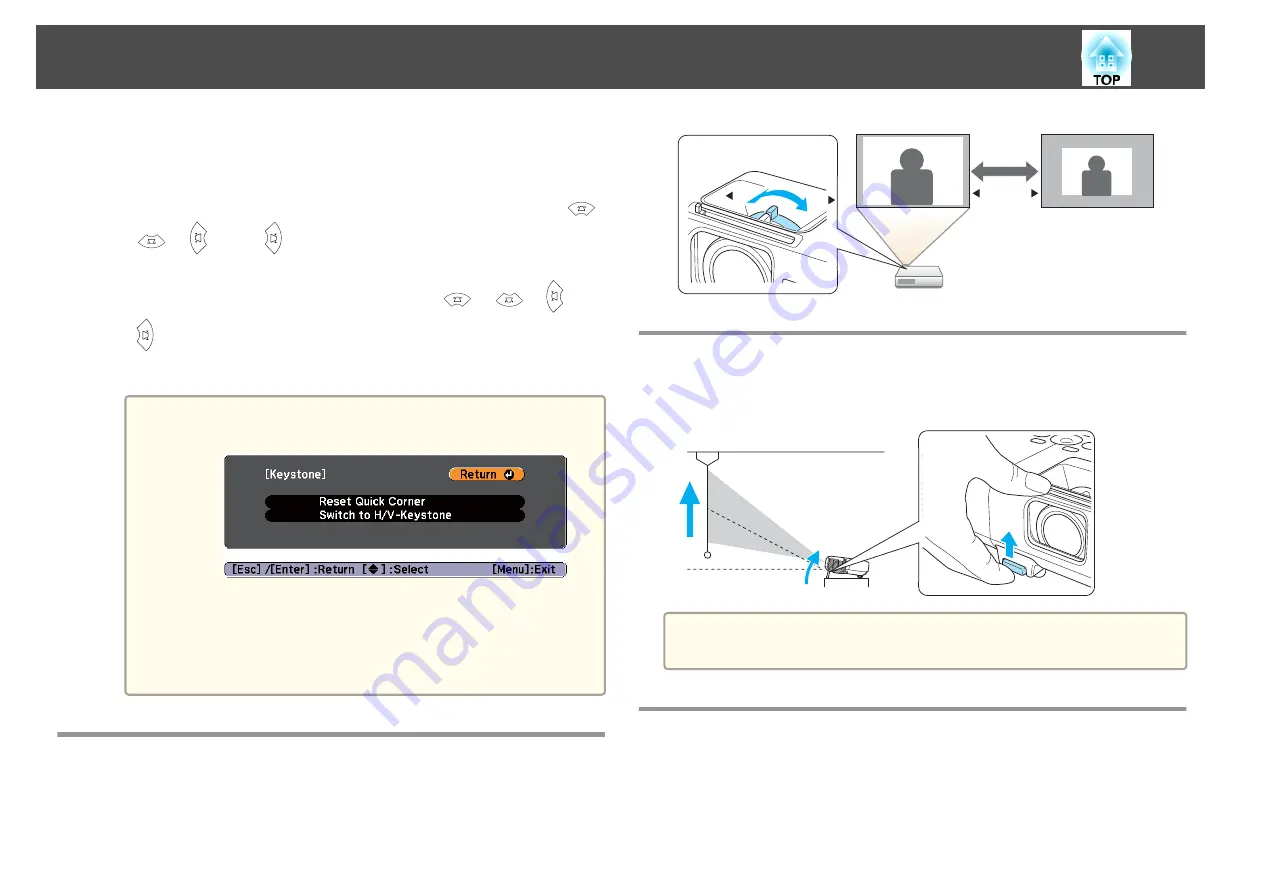
correcting with Quick Corner, the following screen is displayed.
Reset Quick Corner
: Resets the result of Quick Corner
corrections.
Switch to H/V-Keystone
: Switches the correction method to
H/V-Keystone
.
s
Adjusting the Image Size
Turn the zoom ring to adjust the size of the projected image.
T
W
T
W
Adjusting the Image Position
Press the foot lever to extend and retract the front foot. You can adjust the
position of the image by tilting the projector up to 16 degrees.
a
The larger the angle of tilt, the harder it becomes to focus. Install the
projector so that it only needs to be tilted at a small angle.
Adjusting the Horizontal Tilt
Extend and retract the rear feet to adjust the projector's horizontal tilt.
Adjusting Projected Images
37
Summary of Contents for EB-92
Page 1: ...User s Guide ...
Page 6: ...Introduction This chapter explains the projector s features and the part names ...
Page 27: ...Basic Usage This chapter explains how to project and adjust images ...
Page 70: ...Configuration Menu This chapter explains how to use the Configuration menu and its functions ...
Page 109: ...Appendix ...


