Cut-Sheet Feeders
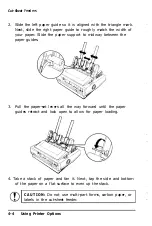
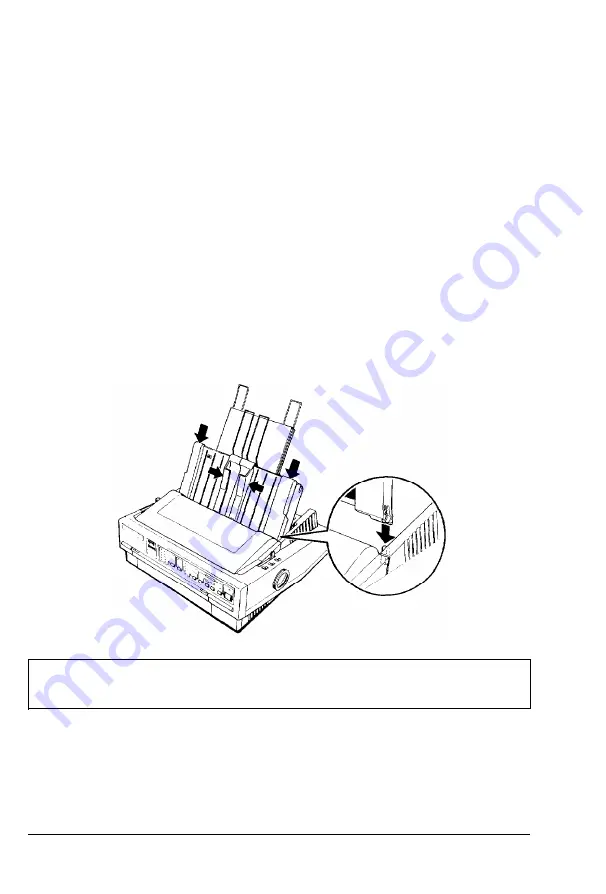
5. Insert up to 50 sheets of paper along the left paper guide.
6. Adjust the position of the right paper guide so that it matches
your paper’s width. Make sure the position of the guide allows
the paper to move up and down freely.
7. Push the paper-set levers back to clamp the paper against the
guide rollers.
8. If necessary, attach the stacker-support wires (that come with
the cut-sheet feeder) to the edge guides of the paper guide.
9. Replace the paper guide by placing the notches on the paper
guide straight down over the mounting posts on the printer.
Lower the paper guide into position and then slide the edge
guides to the middle.
Note: When the cut-sheet feeder is installed, you can still load
single sheets using the top paper guide or the front paper slot.
The cut-sheet feeder automatically loads paper when you send print
data to the printer (as long as the
PAUSE
light is not on). You can
also load paper from the cut-sheet feeder by pressing the
LOAD/EJECT
button.
Using Printer Options
4-5


