


Installing the CompactFlash Memory Card
XSR Getting Started Guide 2-5
Installing the CompactFlash Memory Card
The CompactFlash (CF) memory card provides additional non-volatile storage capabilities in
various increments. The CF’s controller interfaces with a host system allowing data to be written
to and read from the CF’s flash memory module. Refer to
Figure 2-6
.
If your CF is formatted, you can simply seat the card in the PCMCIA interface. Be sure the CF’s
wider grooved edge fits into the wider groove of the PCMCIA interface in the front of the XSR.
This interface supports both Type I and Type II CF cards. Note that the CF release mechanism pops
out when you install the card.
If your CF is
not
formatted, there are two ways you can format the card:
•
Use the XSR Bootrom Monitor Mode
ffc
command. A few seconds after you boot up the XSR,
press the
CTRL-C
keys and a password prompt will appear. Press
ENTER
(factory default) if
you have not defined a password. The Bootrom Monitor mode will appear. Enter
ffc
and the
router will complete the formatting.
•
Install the CF in a PCMCIA card and enter the Windows format command. For further
instructions, refer to Windows documentation.
•
After completing CF formatting via Bootrom Monitor mode, enter the
bc
command to restart
the XSR in normal mode.
The CF’s memory is large enough to store image files. You can do so simply by using the Bootrom
Monitor Mode
copy
command. For example, to copy a file from the Onboard
flash:
directory to the
cflash:
directory while in the
flash:
directory, enter:
XSR>copy <source_name> cflash:<destination_name>
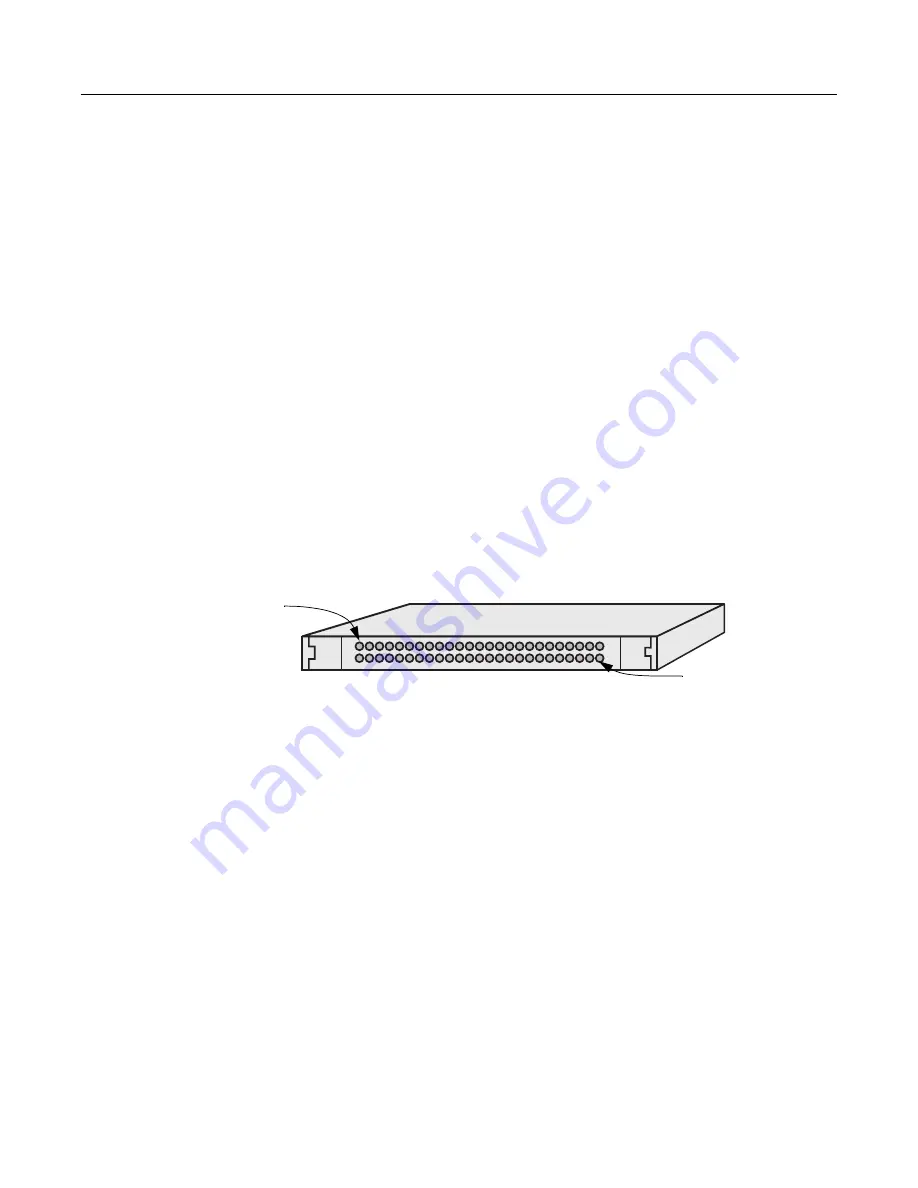
Figure 2-6 CompactFlash Memory Card
CompactFlash Card for the ADSL NIM
The ADSL NIM is shipped with a CompactFlash card carrying the DSP firmware necessary for
connecting to a DSLAM. Refer to
Figure 2-15
for an illustration and installation instructions.
Pin 50
Pin 1


